Key takeaways
- A focal point is one object that holds the eye, placed on a clear sightline from a key viewpoint
- Stick to one strong focal point per view, then let secondary interest support it, never compete
- Scale it to roughly one third of the viewing distance: 1.5 to 2m tall when seen from 9m
- The strongest position is the end of an axis from the back door or down the main path
- Frame the object with clipped hedges, an arch or a gap so the eye is funnelled towards it
- Uplighting a focal point at night extends its effect from a few daytime hours to all evening
Learning how to create a garden focal point is the fastest way to make a plot read as designed rather than planted at random. A garden focal point is one deliberate object that catches and holds the eye, giving every view a place to settle. Without one the eye wanders and a garden feels restless, however good the plants. With one, the same garden suddenly looks composed.
Why every garden view needs a focal point
A focal point gives the eye a destination. Human vision is restless and constantly searches a scene for the most important element. In a garden with no clear anchor, the eye flits between plants, fences and clutter, and the space feels busy and unresolved. Place one strong object on the main view and the eye locks onto it. The rest of the garden then reads as a setting for that object.
This is the oldest principle in formal garden design, used at Hidcote and Sissinghurst long before it had a name. The focal point does three jobs at once. It stops the view from leaking out past the boundary. It creates a sense of depth by giving the eye a measured distance to travel. It signals intent, so the garden looks authored rather than accidental.
Placing a focal point on sightlines and axes
The single most important decision is where the focal point sits. A focal point earns its keep by closing a sightline, the imaginary straight line your eye travels from a fixed viewpoint. The strongest viewpoints in any UK garden are the back door, the main patio seat, and the kitchen or living-room window you look out of most. Stand at each, note exactly what you see, and you have found your sightlines.
The classic axis runs straight down the garden from the back door. A focal point planted dead on that line, at the far boundary, draws the eye the full length of the plot and makes a short garden feel longer. In a typical UK terraced or semi garden of 10 to 15 metres, this single move transforms the view.
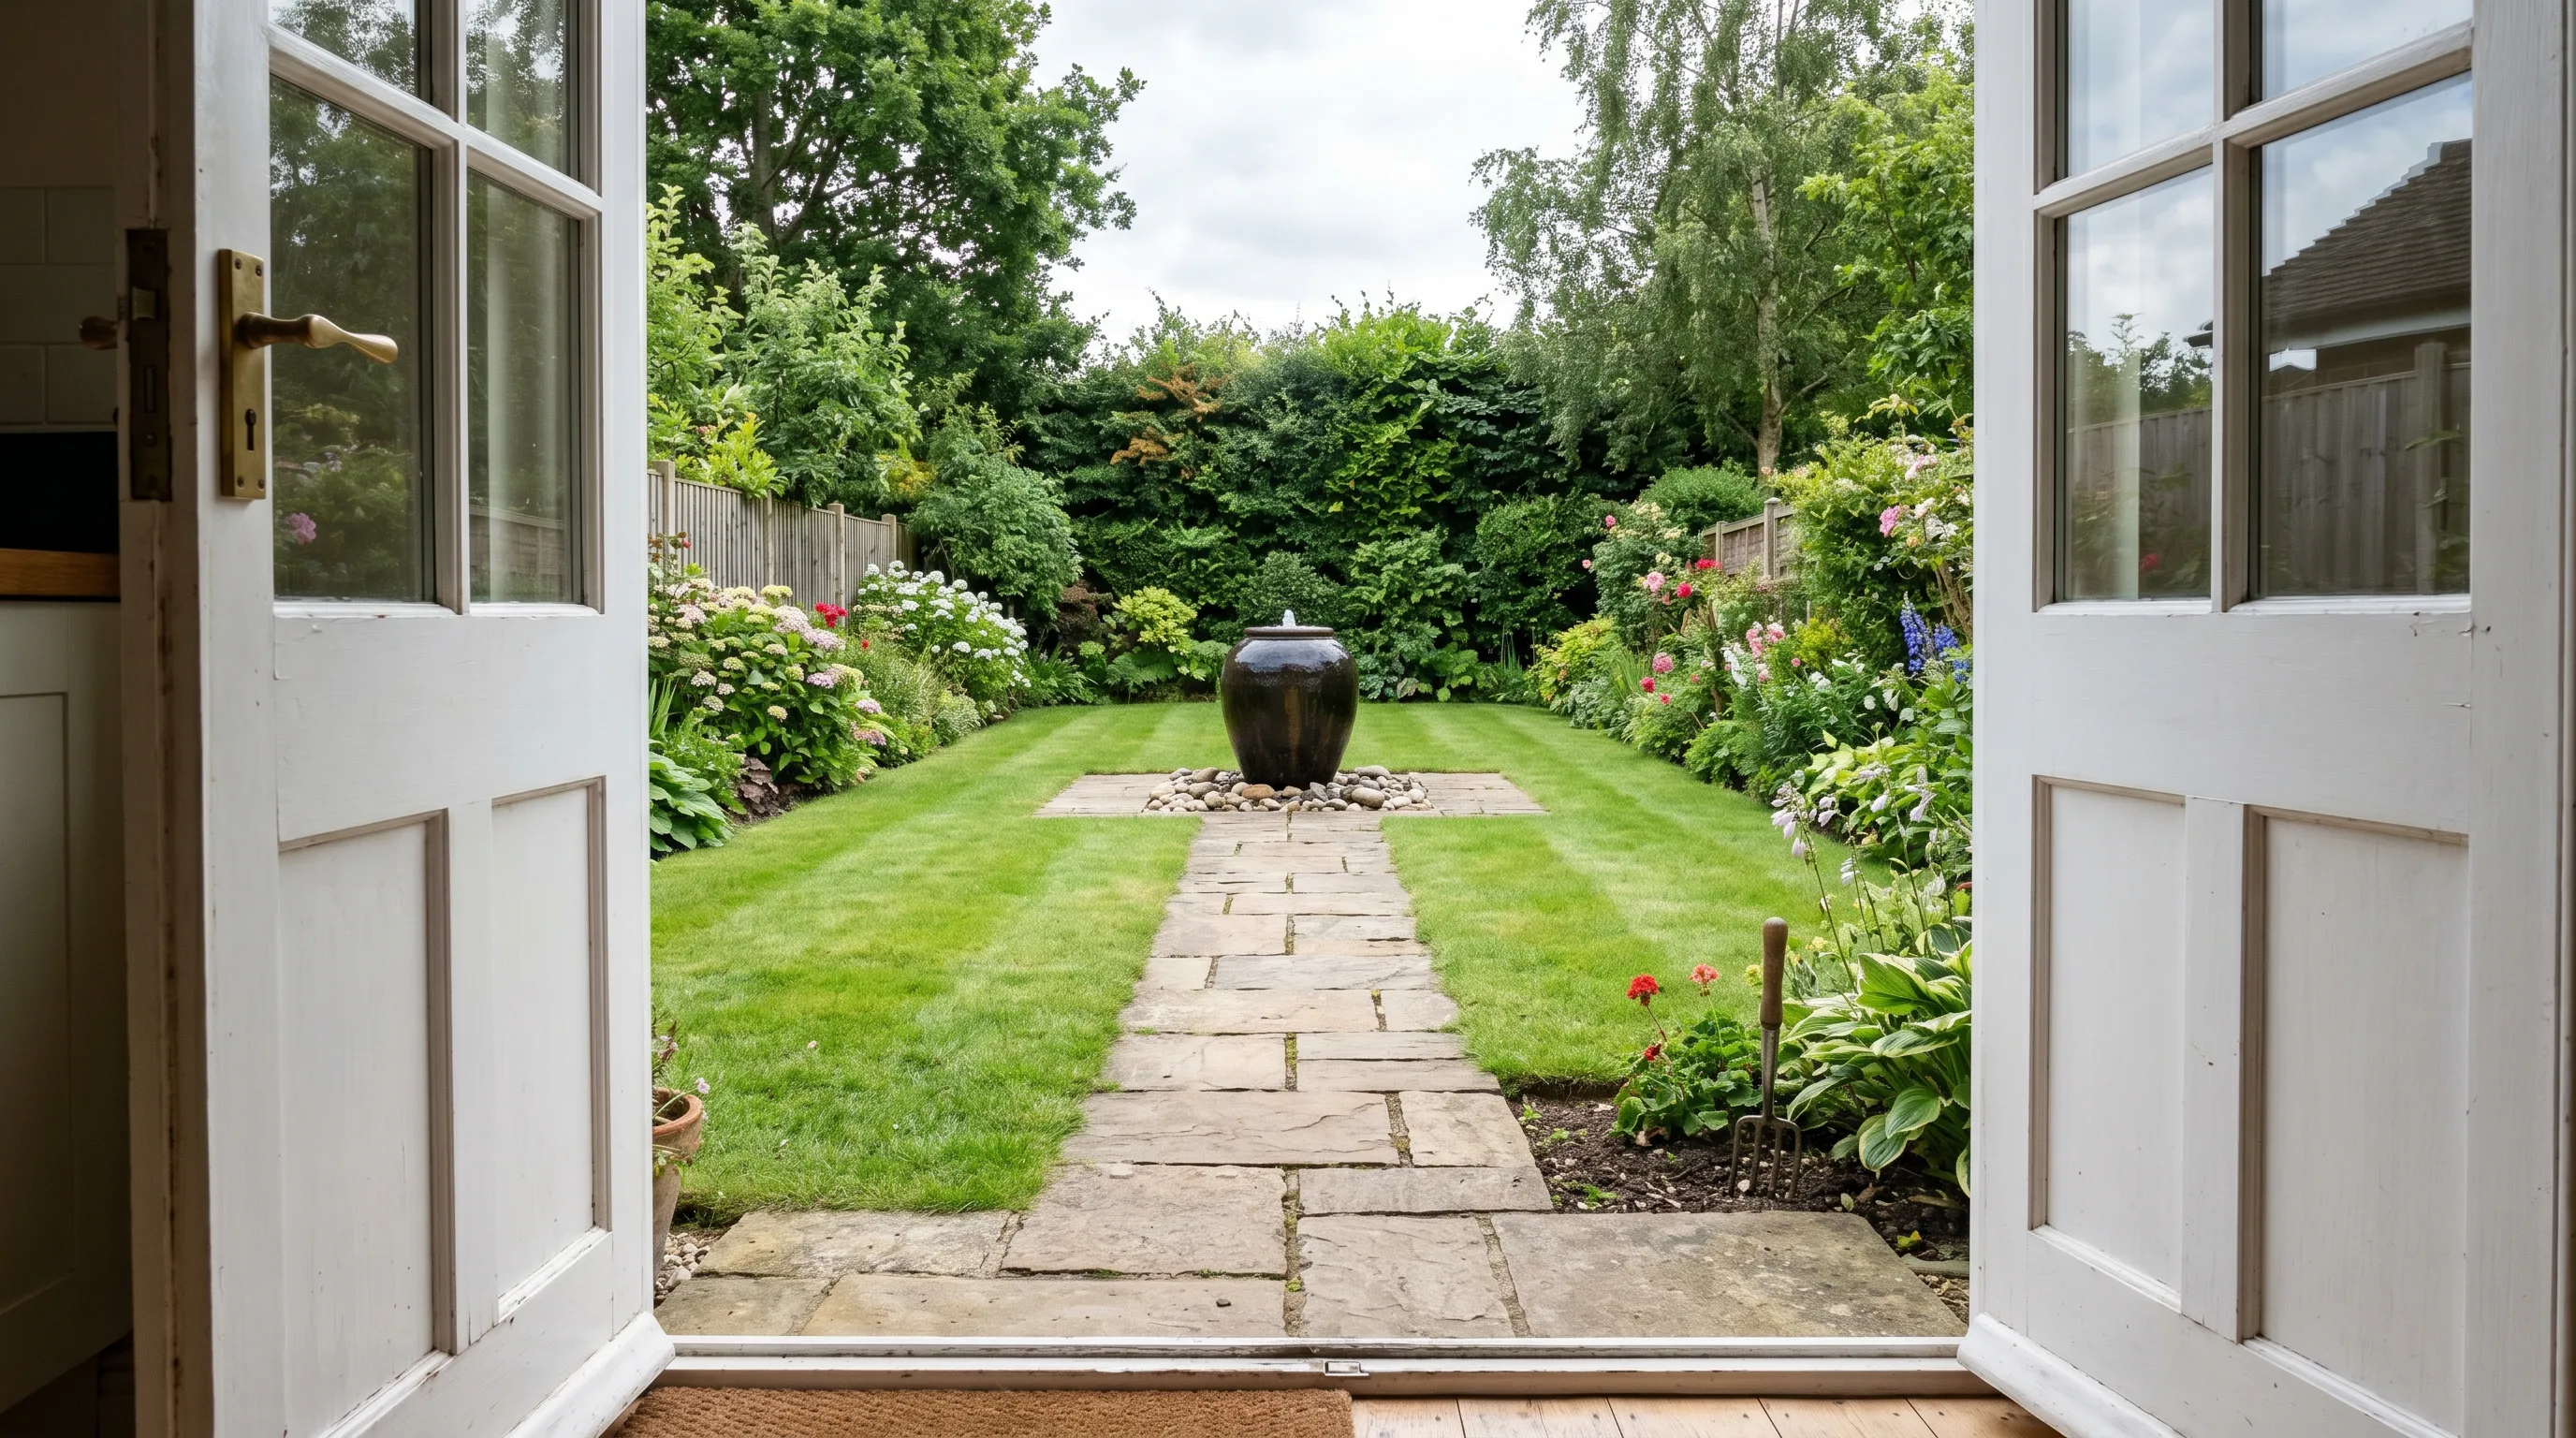 A focal point set dead on the axis from the back door pulls the eye the full length of the garden. Stand at your most-used viewpoint first, then place the object on that line.
The one strong focal point per view rule
One view should hold one focal point, and no more. This is the rule most home gardeners break. Faced with a bare garden, the instinct is to add a statue, a birdbath, a sundial and three pots, all in the same sightline. The result is visual noise. The eye cannot choose where to settle, and none of the objects gets the attention it deserves.
Discipline here is what separates a designed garden from a cluttered one. Pick the one object that will anchor each view, then make everything else support it. Secondary interest, a planted border, a clipped hedge, a path, should lead the eye towards the focal point, never compete with it for attention.
A larger garden can hold several focal points, but only if each belongs to a separate view or garden room. Hidden from one another, they are revealed one at a time as the visitor moves. Each new view then has its own single anchor. This is how a big plot stays calm rather than chaotic. If you can see two strong objects from one spot, move or remove one.
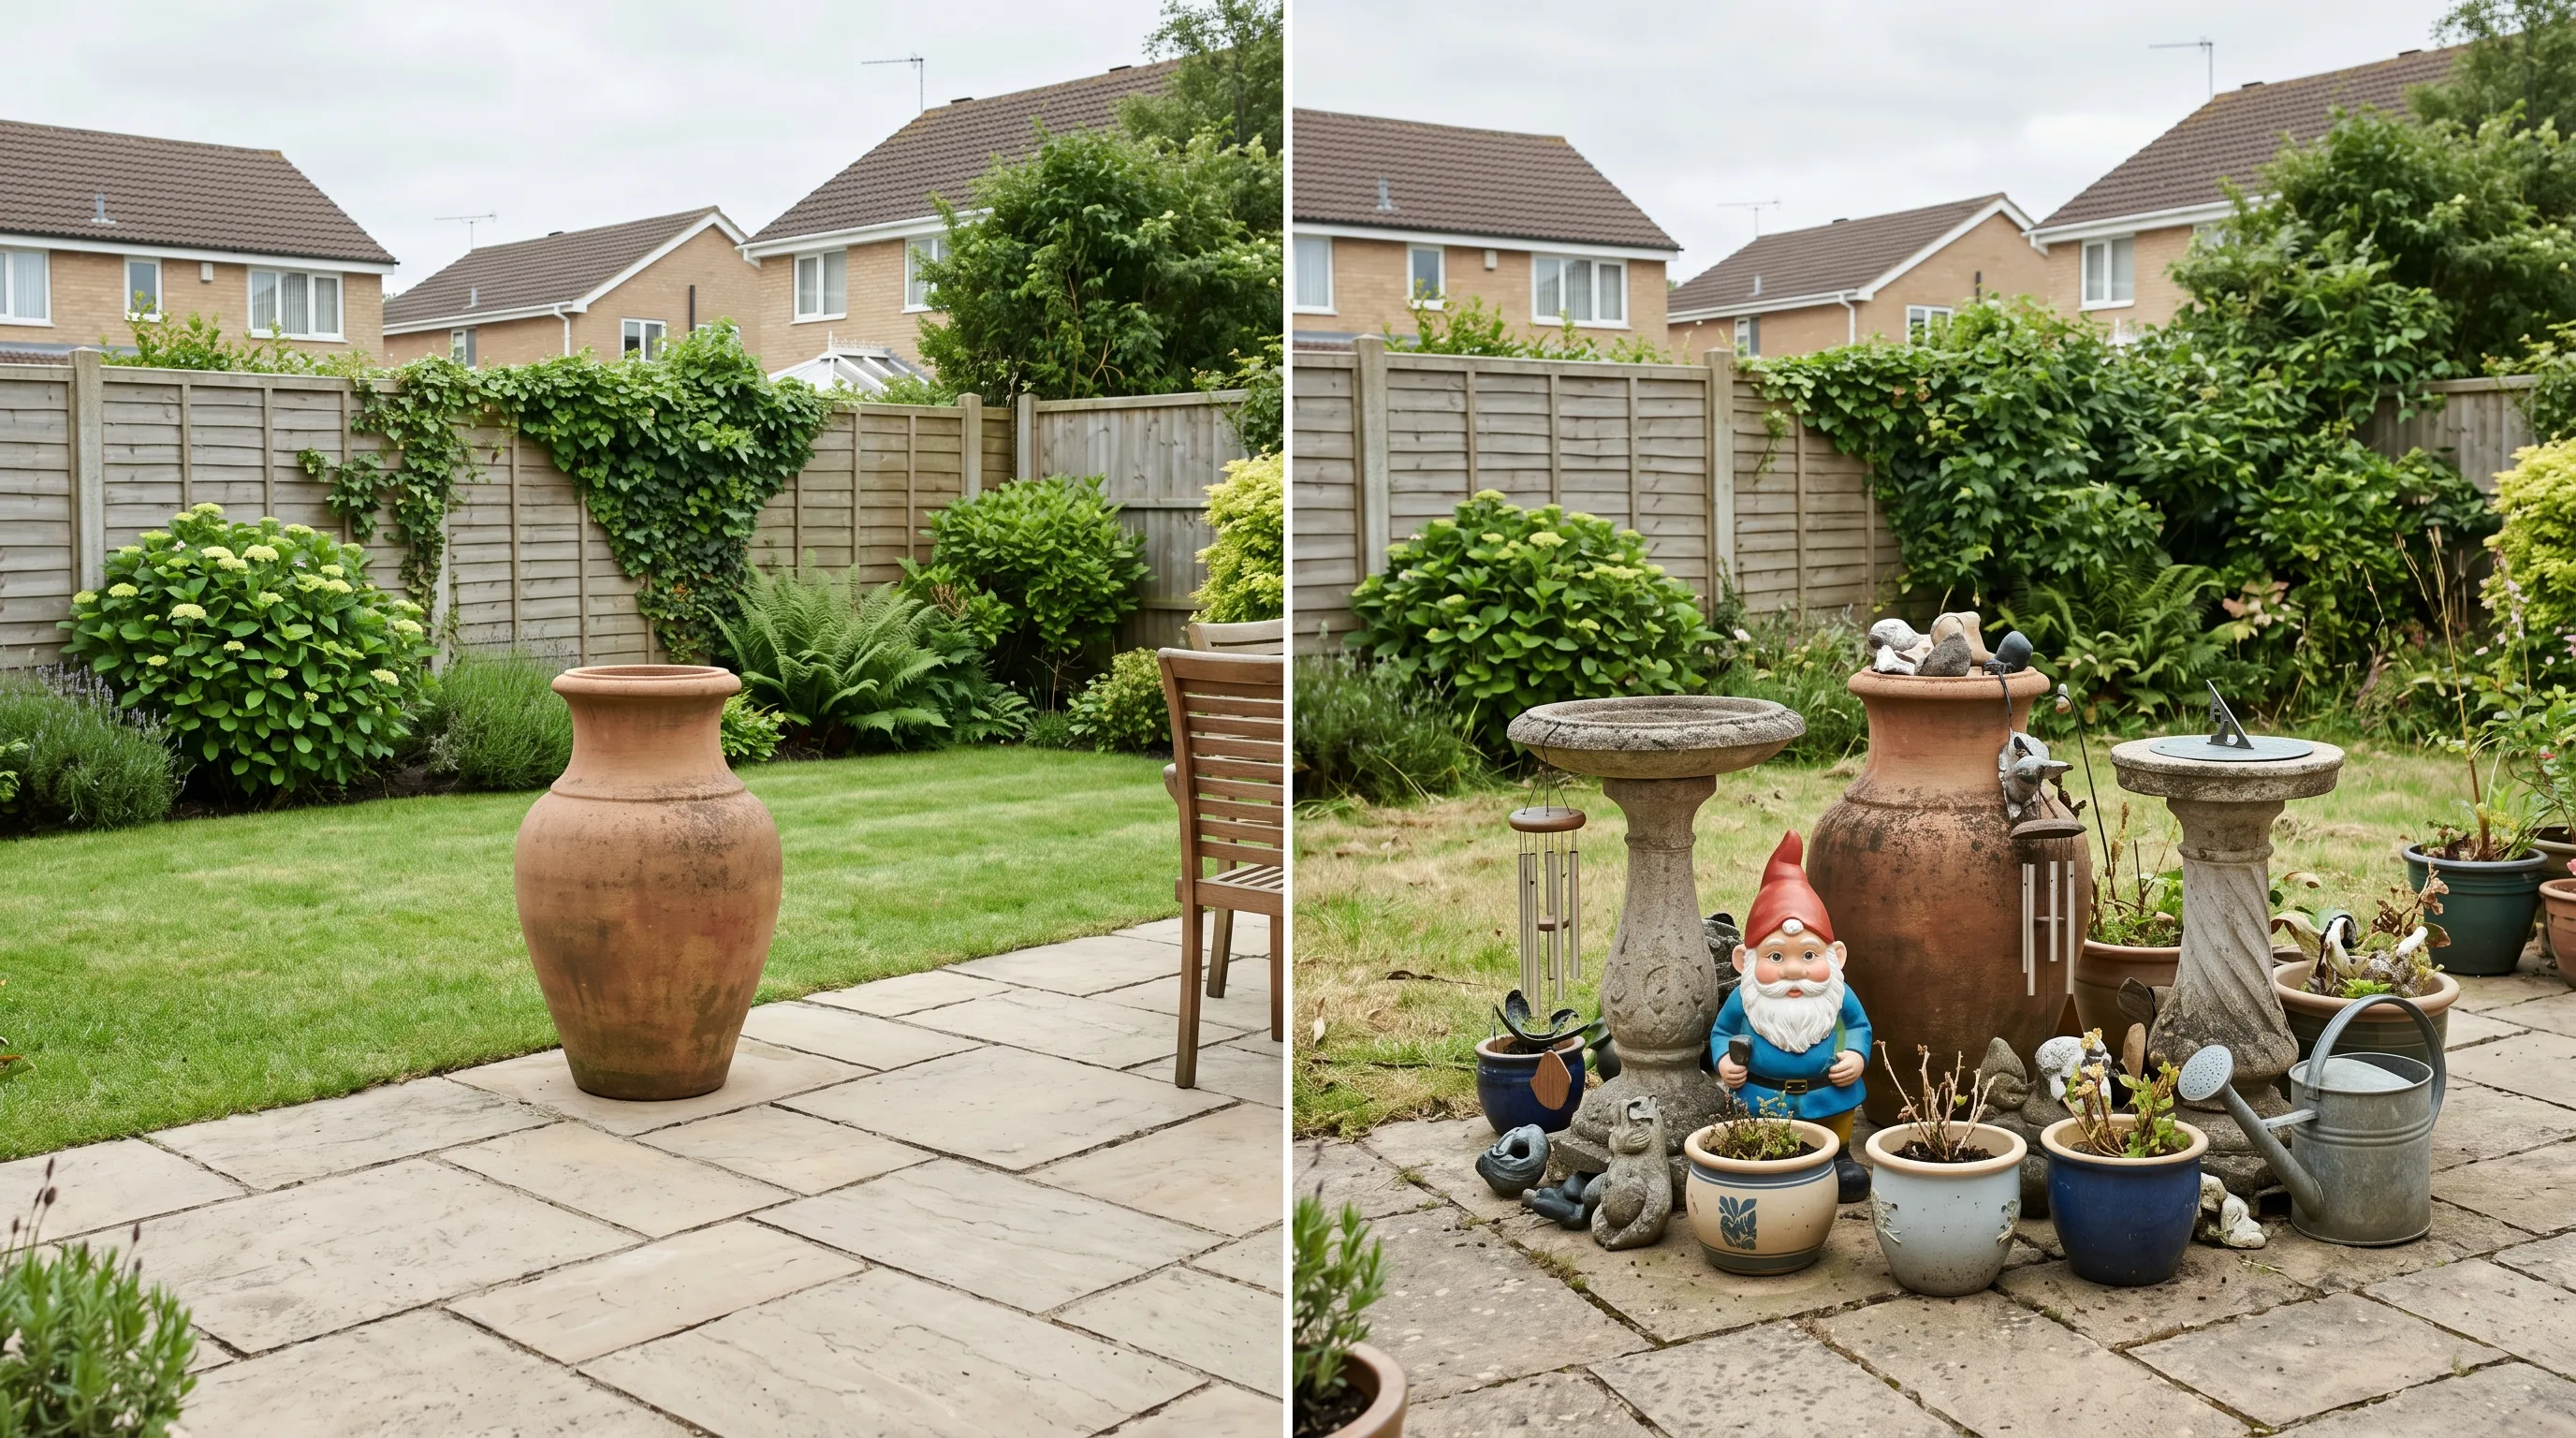 Left: one urn anchors the view and the eye rests. Right: a gnome, a birdbath, a sundial and pots all compete, and the eye finds nowhere to settle.
Getting the scale and proportion right
A focal point only works if its size suits the space. The most common failure is an object too small for the distance it is viewed from. A 30cm sundial marooned in a wide lawn looks lost, because at viewing distance it occupies almost none of the scene. The eye skips over it.
Proportion also depends on the backdrop. A 1.5 metre statue reads as bold against a low lavender border but disappears against a 3 metre conifer hedge. Set a pale object against a dark backdrop, a clipped yew or a stained fence, so it stands clear. A dark object needs a light wall or open sky behind it. Contrast is what makes the eye register the focal point at all.
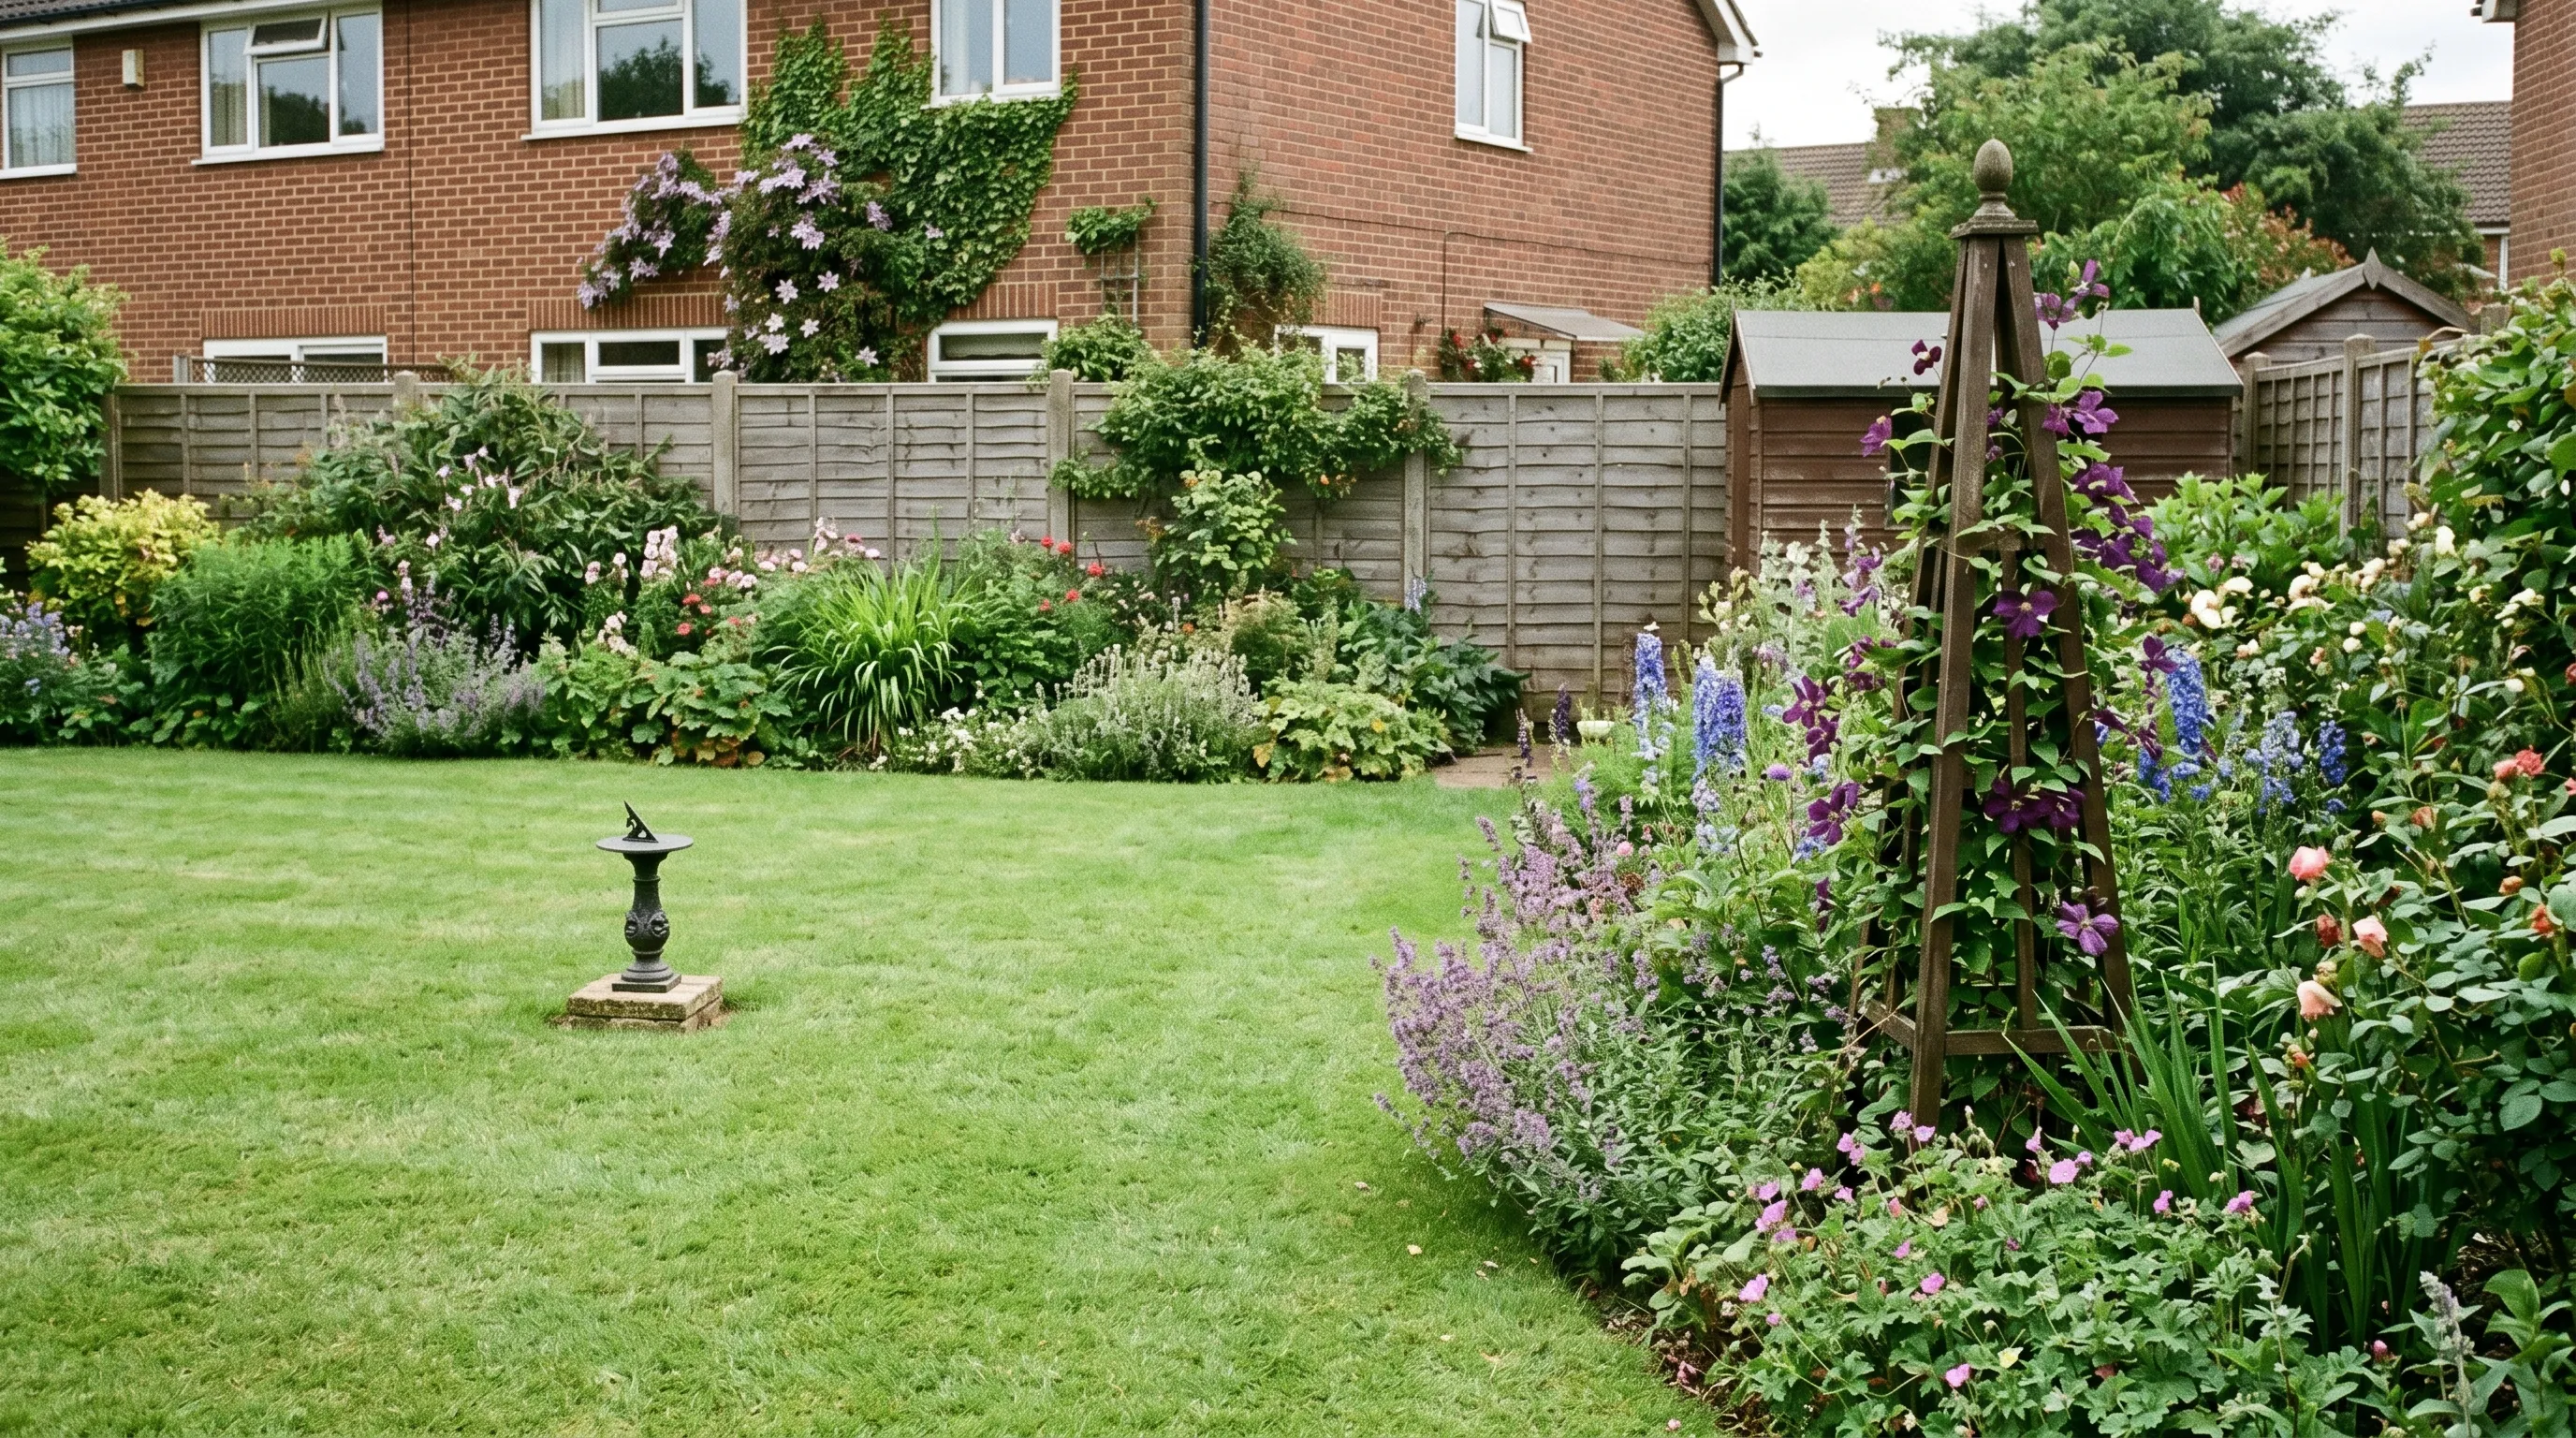 Left: a 30cm sundial is swallowed by the space. Right: a 1.5 metre obelisk, sized to about a third of the viewing distance, holds the eye.
Ranked focal point types and where they work best
Not every focal point suits every garden. The table below ranks the common options by how reliably they hold a view, with the position and scale each needs. A specimen tree and a strong water feature give the most dependable results, because they add movement, sound or seasonal change that a static ornament cannot.
| Focal point type | Best position | Scale needed | Typical cost | Effect |
|---|---|---|---|---|
| Specimen tree (Amelanchier, Acer, multi-stem birch) | End of axis or lawn centre | 2 to 4m tall | 60 to 250 pounds | Strongest, four-season interest and movement |
| Water feature (bowl, rill or fountain) | End of path or sightline | 0.6 to 1.5m | 80 to 600 pounds | Adds sound and light, draws the eye reliably |
| Statue or stone ornament | Path’s end, against a hedge | 0.9 to 1.8m | 40 to 500 pounds | Classic full stop, needs a dark backdrop |
| Obelisk or arch | Over a path or in a border | 1.5 to 2.4m | 30 to 200 pounds | Adds height and frames the view beyond |
| Striking pot or urn | Patio corner or axis end | 0.6 to 1.2m | 30 to 150 pounds | Cheapest strong option, plant it or leave bare |
| Bench or seat | Facing the best view | Human scale | 50 to 400 pounds | Doubles as use and destination |
| Clipped topiary (box, yew, bay) | Pairs or single in border | 0.6 to 1.5m | 25 to 120 pounds | Formal, evergreen, slow but permanent |
| Painted door or gate | On a wall or boundary | Wall scale | 10 to 40 pounds | Cheapest of all, pure colour and depth |
Framing the view and borrowing the scenery
A frame makes a focal point read as deliberate. Framing means setting something on either side of the view so the eye is funnelled towards the object. Clipped hedges, a pair of pots, an arch, or simply a gap left in a border all act as a frame. The narrower the frame, the more force it gives the focal point beyond it.
A wooden or metal arch over a path is the simplest frame. The visitor looks through it to whatever sits on the far side, and the arch concentrates the view. Two matching clipped box balls flanking a statue do the same job at ground level. The frame need not be solid. A deliberate gap between two shrubs reads as a window onto the focal point.
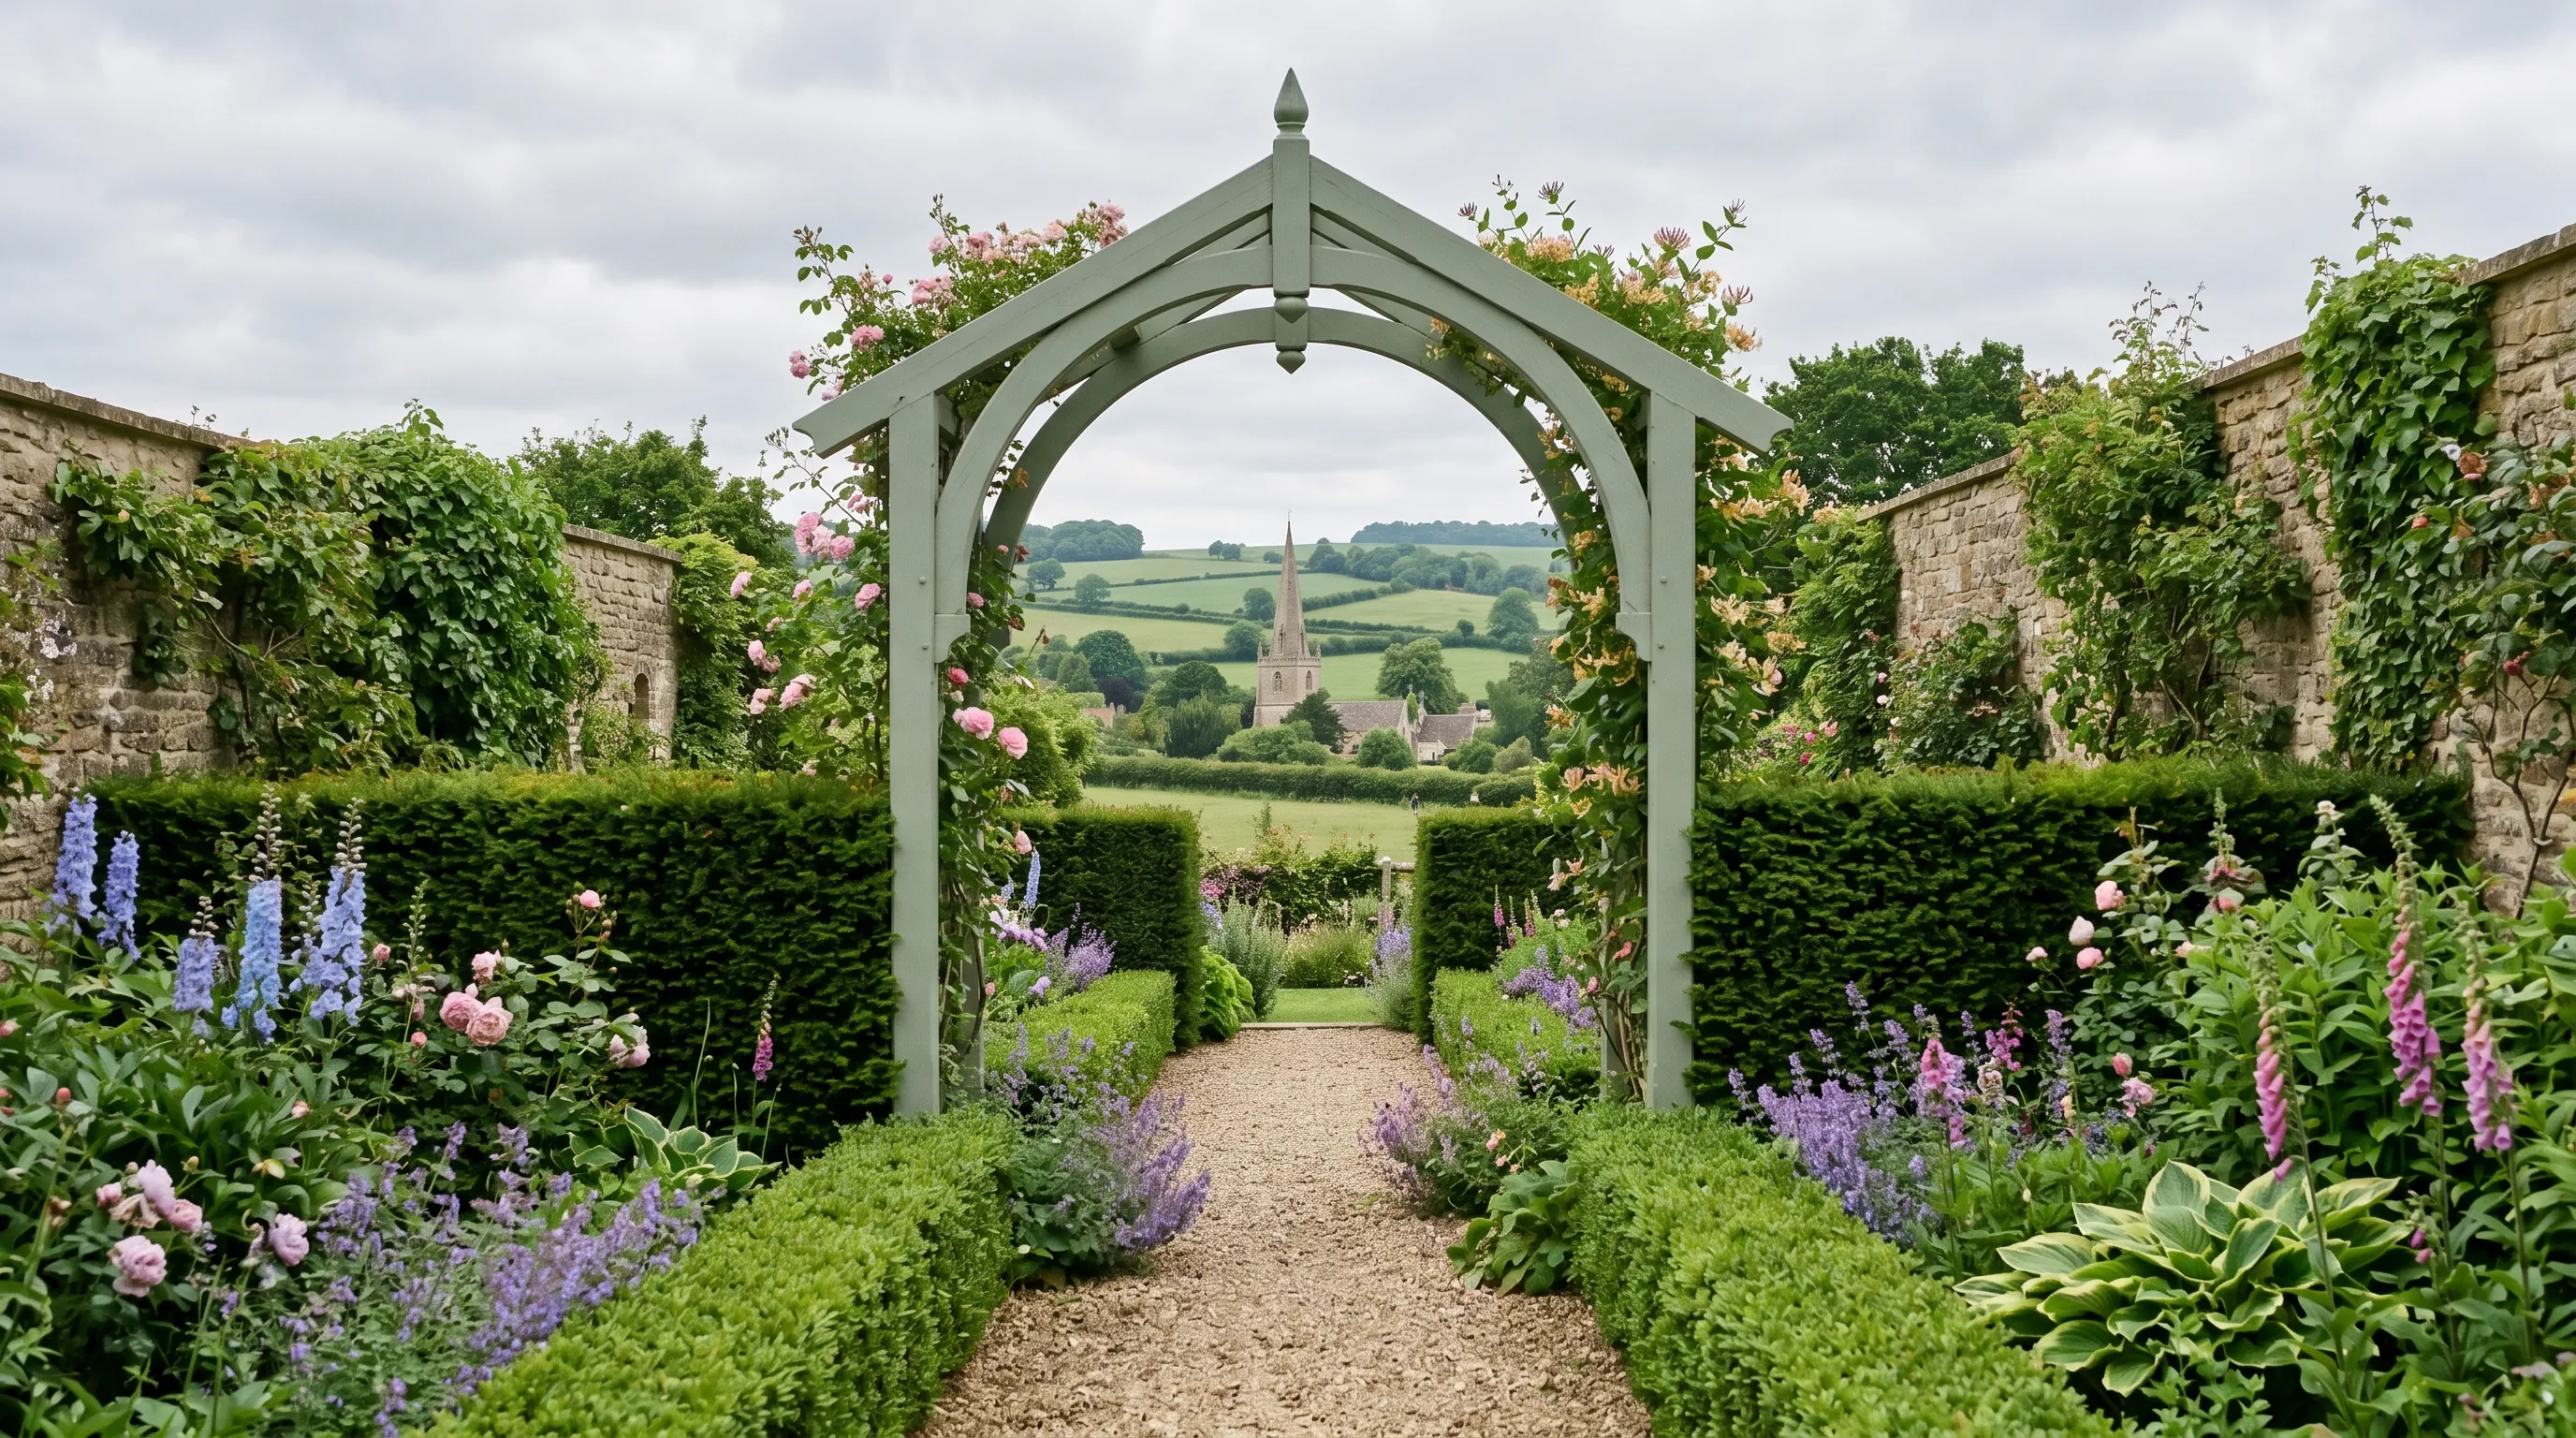 An arch frames a view borrowed from beyond the wall. Lowering the boundary on that line lets a distant spire become the focal point for nothing.
Using colour, repetition and a full stop at the end of a vista
Colour is the quickest way to make an object read as a focal point. The eye is drawn to the brightest, warmest or most saturated point in a scene first. A single red Japanese maple, a cobalt-blue pot or a door painted in a deep heritage green pulls attention before any shape registers. Use this deliberately. Reserve your strongest colour for the object you want to be the focal point, and keep the surroundings quieter.
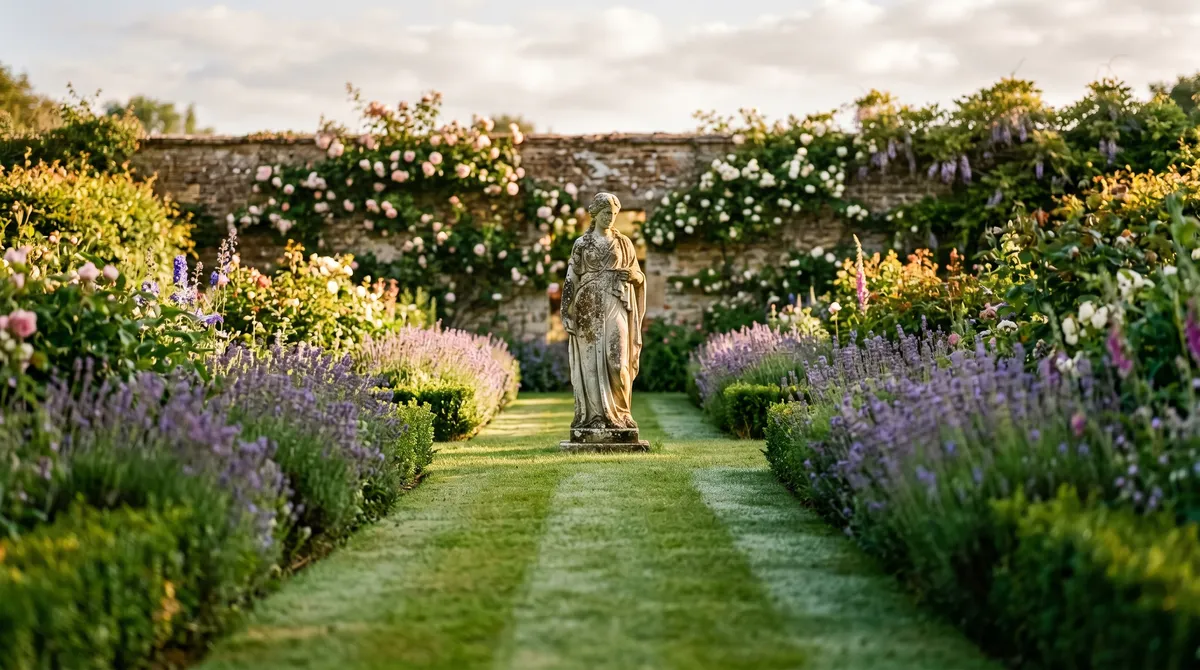
The end of a long view needs a full stop. Without one, the eye runs off the end of the garden and out over the fence, and the view feels unfinished. A bench, a statue, a tall pot or a single specimen tree at the far end closes the sentence. It tells the eye the view has arrived somewhere. This is why the most satisfying garden views always end on something solid.
Lighting a focal point at night
Uplighting roughly doubles the hours your focal point earns its place. A statue or specimen tree is visible for perhaps four to six daylight hours after work in summer, and almost none in a UK winter evening. A single low-voltage ground spotlight, angled up from the base, brings it back to life every evening of the year. From inside the house, a lit focal point at the end of a dark garden becomes the whole view through the window.
Use warm white LED, around 2700 to 3000 kelvin, not cold blue, which makes planting look dead. One narrow-beam uplighter of 3 to 5 watts is enough for a single object at 1.5 to 2 metres. Place it 30 to 60cm from the base, hidden behind low planting so the source is not seen, only the lit object. For a tree, two lights at different angles give depth without flattening the shape.
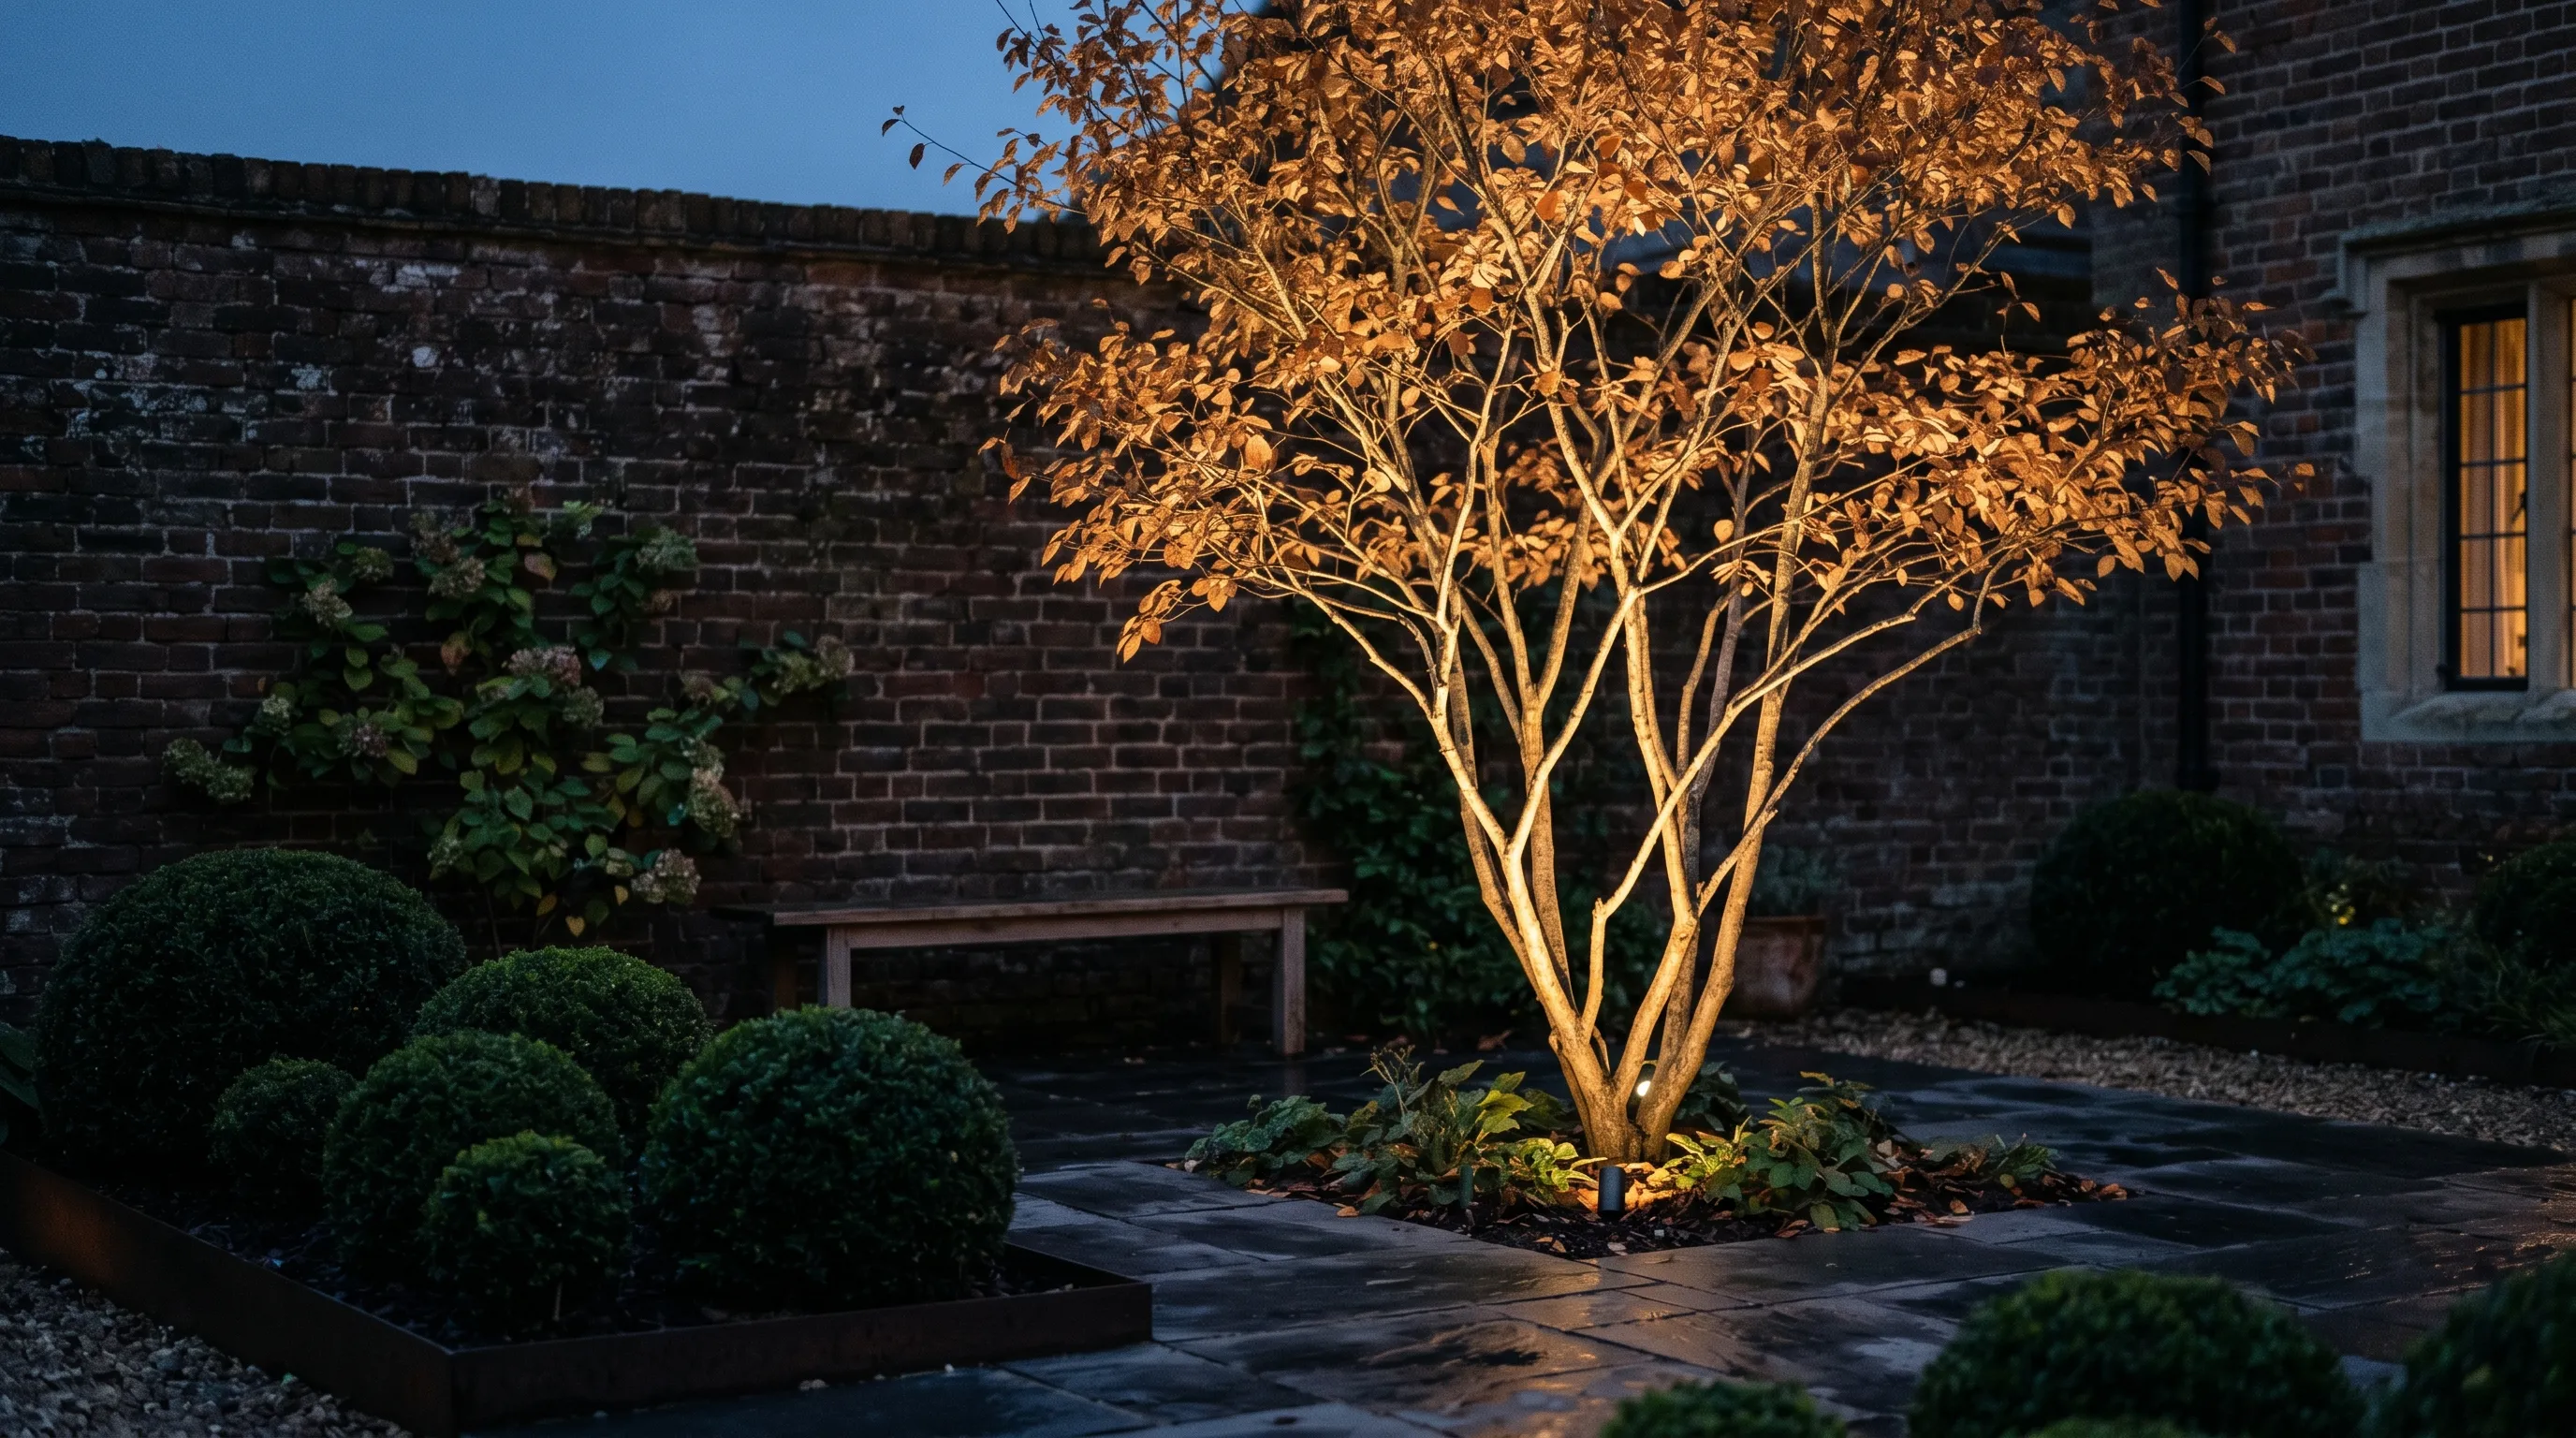 One warm-white uplighter at the base turns a daytime focal point into the evening view. Keep the surroundings dark so the lit object holds all the attention.
Front garden versus back garden focal points
Front and back gardens ask for different focal points. A front garden is seen mostly in passing, from the pavement and the approach to the door, and by you arriving home. The focal point here should read instantly and from the street. A clipped bay in a pot by the door, a single specimen tree, or a brightly painted front door itself all work. Avoid anything fussy that only reveals itself up close.
A back garden is dwelt in, not passed. Here the focal point is judged from a seat or a window over long periods, so it can reward closer and repeated looking. A water feature with sound, a specimen tree that changes through the seasons, or a sculpture with detail all suit the back garden, where you have time to take them in.
Seasonal focal points through the UK year
The best focal points change with the seasons, so the view never goes flat. A static ornament looks the same in January and July. A planted focal point gives you a different reason to look every month. Mixing one permanent anchor with a seasonal one keeps a UK garden interesting across the whole year.
In spring, blossom carries the view. A multi-stem Amelanchier or a flowering cherry becomes the focal point in April, then steps back as the garden fills out. In summer, a large pot planted with a single bold dahlia, a canna or an agapanthus holds the eye on the patio. Autumn belongs to fiery leaf colour, where an Acer palmatum or the red turn of an Amelanchier takes over. In winter, the permanent structure does the work: a clipped yew, a statue, or the bare red stems of a Cornus in low sun.
The table below shows a simple seasonal focal point plan for a typical UK garden.
| Season | Seasonal focal point | What it gives |
|---|---|---|
| Spring (Mar to May) | Amelanchier or cherry blossom | White or pink flower, fresh after winter |
| Summer (Jun to Aug) | Bold pot: dahlia, canna, agapanthus | Strong colour and form on the patio |
| Autumn (Sep to Nov) | Acer palmatum, Amelanchier leaf | Orange and red fire as borders fade |
| Winter (Dec to Feb) | Clipped yew, statue, Cornus stems | Permanent structure and stem colour |
Pair the seasonal star with a permanent anchor, and a year-round interest planting plan keeps a focal point in view in every month.
Common mistakes when creating a focal point
A few predictable errors stop a focal point working. Avoid these and the rest falls into place.
Too many focal points in one view. This is the biggest mistake. Two or three competing objects in the same sightline cancel each other out. Pick one per view and make everything else support it.
Wrong scale. An object too small for its viewing distance vanishes. Measure the distance and size the focal point to about one third of it. When in doubt, go bigger, not smaller, because under-scaling is far more common than over-scaling.
Competing colours behind it. A pale statue against a busy variegated shrub gets lost. Set the focal point against a plain, dark or quiet backdrop so it stands clear. Contrast is what registers the object.
Hiding it by accident. A focal point swamped by an overgrown border stops doing its job. Keep the planting around it lower and the sightline to it clear. Cut back anything that creeps in front of the view.
Off the sightline. An object placed where it looks good in isolation, but not on any actual line of sight, is wasted. Stand at your real viewpoints first, then place the object on a line you actually look down.
Gardener’s tip: Before you buy anything, mark the spot. Push a tall bamboo cane, or stand a cardboard box at the planned height, exactly where the focal point will go. View it from every key window and seat for a few days. Move it until it sits right on the sightline, then buy to that height. This costs nothing and prevents an expensive object ending up in the wrong place.
For the underlying science of why the eye behaves this way, the RHS guidance on garden design is a sound starting reference for UK conditions.
Frequently asked questions
What is a focal point in garden design?
A focal point is one object that draws and holds the eye. It anchors a view and gives the eye somewhere to rest. It can be a statue, a specimen tree, a water feature, a striking pot or a bench. Good gardens use one strong focal point per view, placed on a sightline, with planting kept supporting rather than competing.
How big should a garden focal point be?
Scale it to roughly one third of the viewing distance. An object seen from 9 metres reads best at around 1.5 to 2 metres tall. Too small and it looks lost in the space. Too large and it overwhelms a modest garden. Measure the distance from the main viewpoint, then size the object so it fills about a third of the view without crowding it.
Where should you place a focal point in a garden?
Place it at the end of a sightline or axis. The strongest positions are the view straight down the garden from the back door, the end of the main path, or the point where a path turns. A focal point at a path’s end acts as a full stop. One placed at a turn pulls the visitor onward and reveals the next part of the garden.
Can you have more than one focal point in a garden?
Yes, but only one per view. A larger garden can hold several focal points if each belongs to a separate view or garden room. The mistake is crowding two or three into a single sightline, where they compete and the eye cannot settle. Reveal each focal point in turn as the visitor moves, so each view has a single clear anchor.
What is the cheapest way to create a garden focal point?
A large pot or a painted door costs the least. A single oversized terracotta or glazed pot, left empty or planted with one bold specimen, makes a strong focal point for 30 to 80 pounds. Painting a shed door, gate or section of fence in a deep colour draws the eye for the price of a tester pot and an afternoon.
Our team produces practical UK gardening guidance from source research, contributor records and established horticultural practice. Editorial standards are overseen by Matt W.