Key takeaways
- Liner size: pond length or width, plus twice the deepest depth, plus 60cm
- EPDM and butyl rubber stay flexible and last for many years; PVC is cheaper but shorter-lived
- Always lay underlay first, as a sharp stone underneath is the usual cause of leaks
- Check the rim is level before the liner goes in, or a strip of liner will show
- Drape the liner loosely and let the water weight settle it as you fill
- Leave about 30cm spare all round, then bury it under turf, stone or paving
A pond liner holds water for years if you get three things right: the size, the underlay and a level rim. A flexible rubber liner moulds to whatever shape you dig, which is why it suits most garden ponds better than a rigid preformed shell.
This guide covers the liner job itself: choosing the material, working out the size, protecting it, fitting it and hiding the edge. For planning the whole pond, including where to put it and what to plant, see our full guide on how to build a garden pond.
Which pond liner is best: EPDM, butyl or PVC?
EPDM rubber is the best choice for most garden ponds. It stays flexible in cold weather, folds neatly into curves and lasts for many years. Butyl is just as good but usually costs more.
PVC is the budget option. It’s stiffer, especially in cold weather, and won’t last as long as rubber. A rigid preformed pond is fine for a very small pond, but you’re stuck with its shape and it’s fiddly to bed in level.
| Liner | Flexibility | Lifespan | Good for |
|---|---|---|---|
| EPDM rubber | Very flexible, even in cold | Long | Most garden and wildlife ponds |
| Butyl rubber | Very flexible | Long | Any pond, if budget allows |
| PVC | Stiffer, worse in cold | Shorter | Budget or temporary ponds |
| Rigid preformed | Fixed shape | Varies | Very small ponds |
Check the liner says it’s safe for fish and plants. Thicker liners resist punctures better, which is worth having on stony ground.
How to work out what size pond liner you need
Add twice the deepest depth plus 60cm to both the length and the width. Measure the longest and widest points of the pond, and use the depth at its deepest point.
Liner length = pond length + (2 x deepest depth) + 60cm
Liner width = pond width + (2 x deepest depth) + 60cm
The extra 60cm gives you about 30cm spare on each side to bury. For a pond 3m long, 2m wide and 60cm deep:
- Length: 3m + 1.2m + 0.6m = 4.8m
- Width: 2m + 1.2m + 0.6m = 3.8m
So you need a liner at least 4.8m by 3.8m. Buy the same size of underlay. If the size falls between standard sizes, always round up. An offcut is no problem, but a liner that’s too small can’t be stretched.
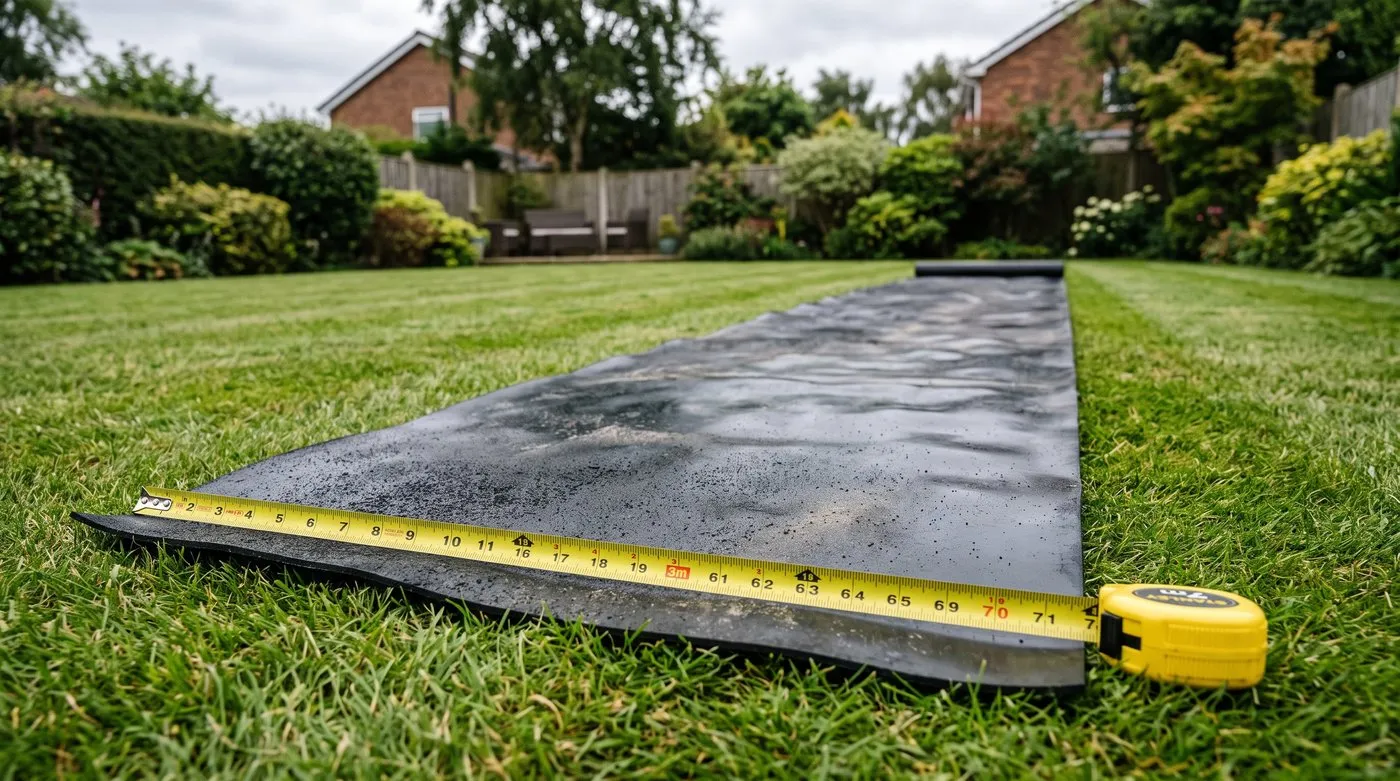
Measure twice before you order. The deepest point, not the rim, decides how much liner you need.
Preparing the hole for the liner
Before the liner goes anywhere near the hole, it needs smooth, stone-free sides and a level rim. The full dig is covered in the pond building guide, but here’s what matters for the liner.
Shape the sides gently. A shelf about 20-25cm deep holds marginal plants. A deeper middle of 45-60cm suits most garden ponds. Slope at least one side gently so wildlife can walk out. For a pond aimed at nature, our wildlife pond guide explains the shallow, sloping edges frogs and newts love.
Pick out every stone and root. Go over every surface by hand. A sharp stone pressing up under the water weight is the usual cause of a leak.
Check the rim is level. Lay a long, straight plank across the hole with a spirit level on top. Check it in several directions. If one side is low, the water will sit lower there and show a strip of liner forever.
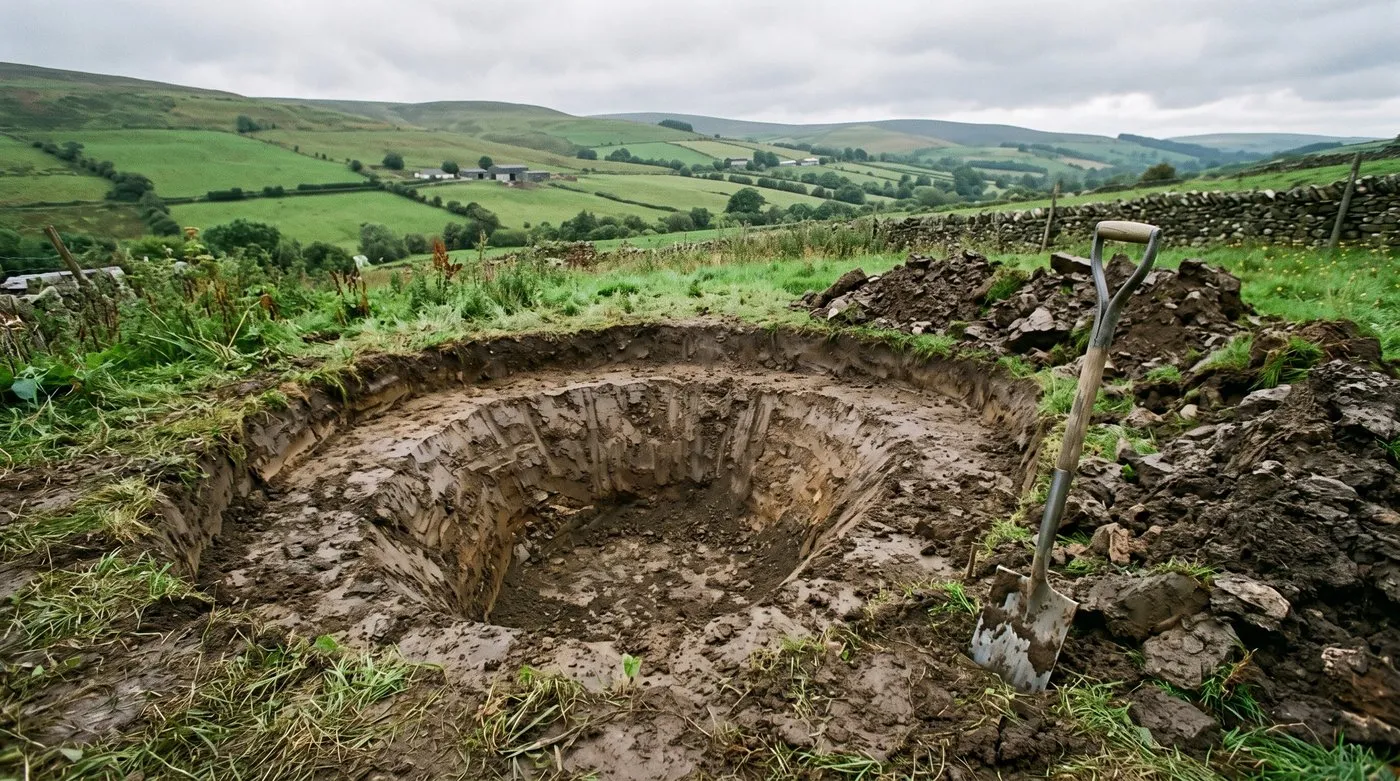
Once the digging’s done, go over every surface by hand for stones and roots before anything else goes in.
Why pond underlay matters
Underlay is the cushion that stops stones and roots pushing through the liner. Never skip it, even if the soil looks smooth.
You have three options:
- Pond fleece is the best. It’s rot-proof, easy to shape and made for the job.
- Old synthetic carpet works well. Avoid wool, which rots.
- A layer of soft sand about 5cm deep suits flat bases, but slides off steep sides.
Cover every surface, including the shelves and sides. Overlap any joins and press the fleece into the corners so no soil shows. On very stony ground, a layer of sand under the fleece gives extra protection.

Press the fleece into every shelf and corner. It’s the cheapest insurance your pond will ever have.
How to fit a pond liner step by step
Choose a mild, dry day if you can. Rubber liners are softer when it’s warm and much easier to fold. On a cold day, lay the liner out in the sun for a while first.
- Open it out. Carry the folded liner to the hole with a helper. Unfold it loosely over the underlay, centred, with roughly 30cm spare on every side.
- Don’t stretch it. Let it sag into the hole. The slack is what lets it settle into the shape without strain.
- Weigh down the edges. Use a few smooth stones or bricks on the overlap so it can’t slide as you fill.
- Start filling. Run a hose gently into the deepest part. The water weight pulls the liner down into the shape.
- Fold as it fills. Work your way round, easing the slack into a few large, neat pleats rather than lots of small wrinkles. Lift the edge stones as needed so the liner can move.
- Keep going until full. By now the liner should sit snug against the underlay.
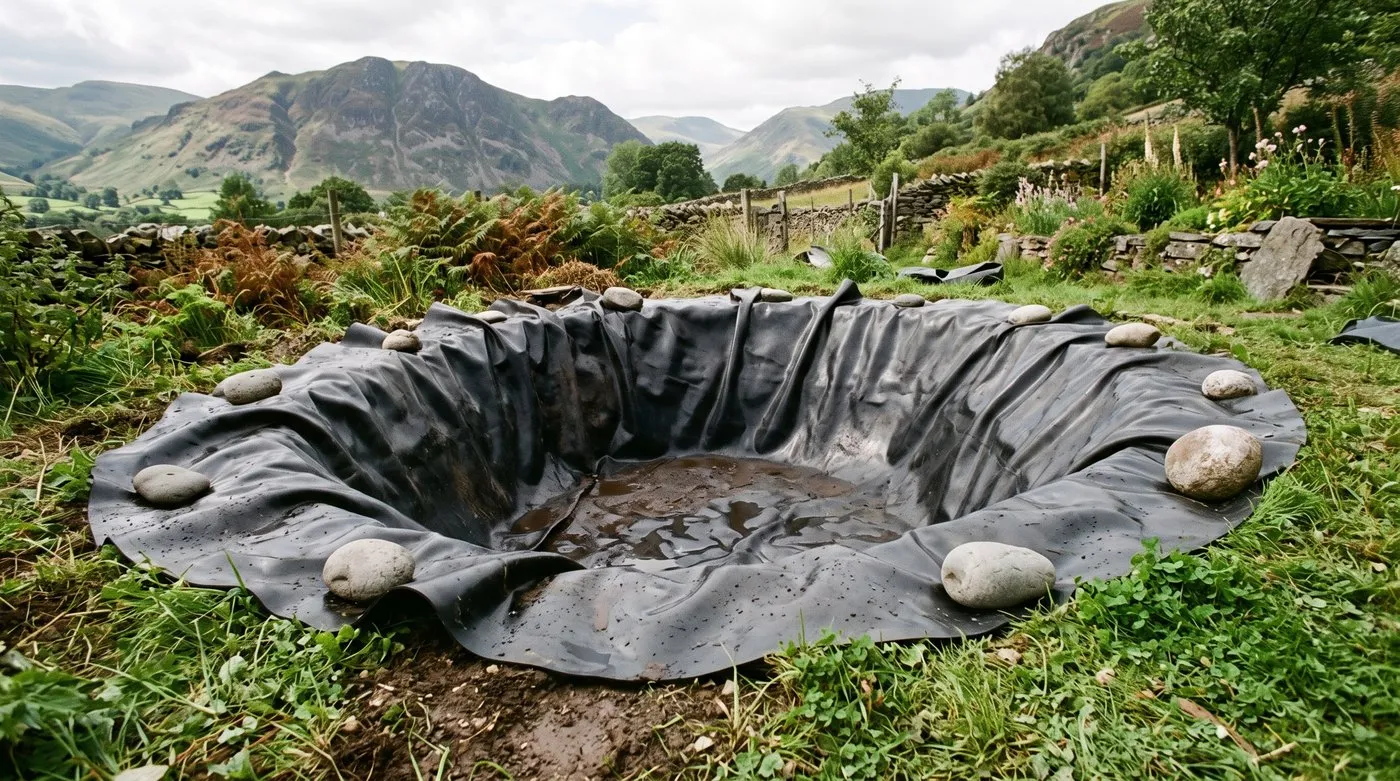
Drape it loose with plenty spare all round. Slack rubber settles neatly, tight rubber strains.
Rainwater is the best fill for a wildlife pond, as tap water is richer in nutrients that feed algae. If you use tap water, it’s fine, but expect some green water at first.
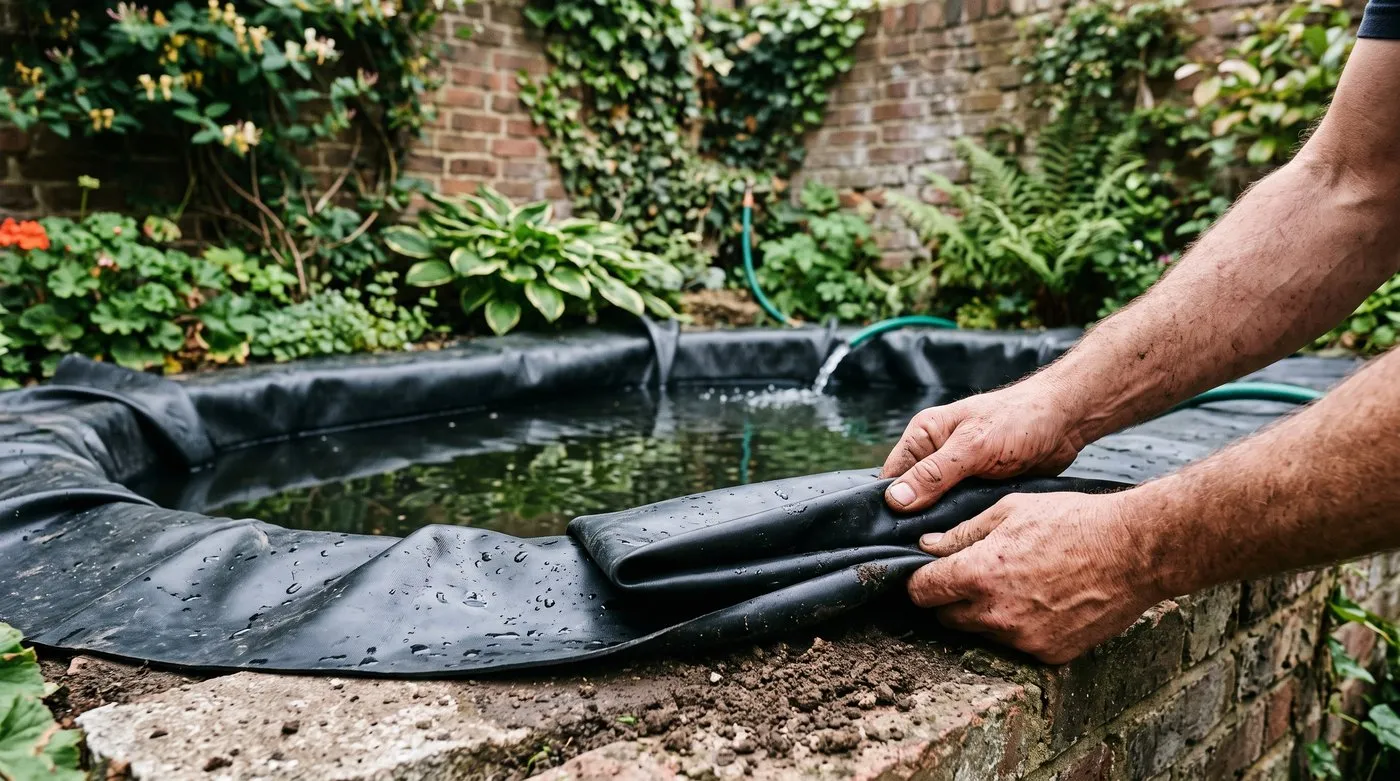
Gather the slack into a few big, tidy folds as the water rises. They’ll soon disappear under plants.
Trimming and hiding the liner edge
Wait until the pond is full and the liner has stopped moving, ideally a day later. Then trim the excess with sharp scissors, leaving about 30cm all round. Cut a little at a time. You can’t put liner back.
Fold that 30cm flap back and hide it:
- Under turf for a natural lawn edge. Tuck the liner up into a small lip of soil so water can’t wick out.
- Under paving or stones, with the edging overhanging the water slightly to hide the waterline.
- Under soil and plants for a boggy, planted margin.
Rubber liners break down in sunlight over time, so covering the exposed edge also helps it last.
On at least one side, add a pebble beach or a rough ramp down into the water. Hedgehogs, frogs and birds can then climb out safely. Planting the margins softens the edge too, and our list of the best pond plants has good choices.
Safety: Even shallow water is a drowning risk for small children. If toddlers use the garden, fit a strong mesh grid just under the surface, fence the pond or wait until they’re older.
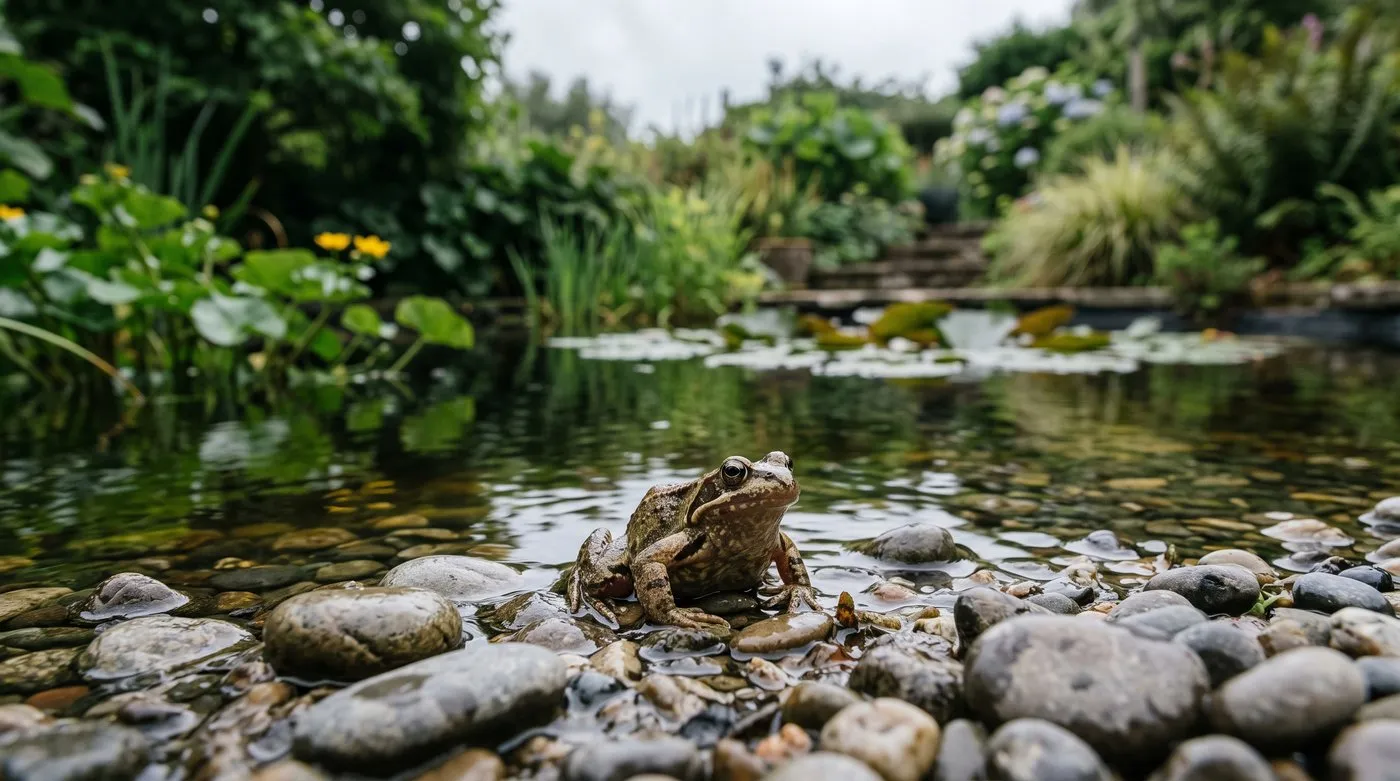
A pebble beach on one side lets frogs, hedgehogs and birds get in and out safely.
When can you add plants and fish to a new pond?
Add plants after a few days, and wait several weeks before adding fish. A brand-new pond needs time to settle.
If you filled it with tap water, treat it with a pond dechlorinator following the label. Put in oxygenating plants first. Our guide to the best oxygenating pond plants has good starters. Then add marginals and a water lily.
Introduce fish gradually once the water has cleared and settled. Wildlife ponds are best without fish, as fish eat frogspawn and tadpoles. Once it’s up and running, our pond maintenance guide covers the year-round care.
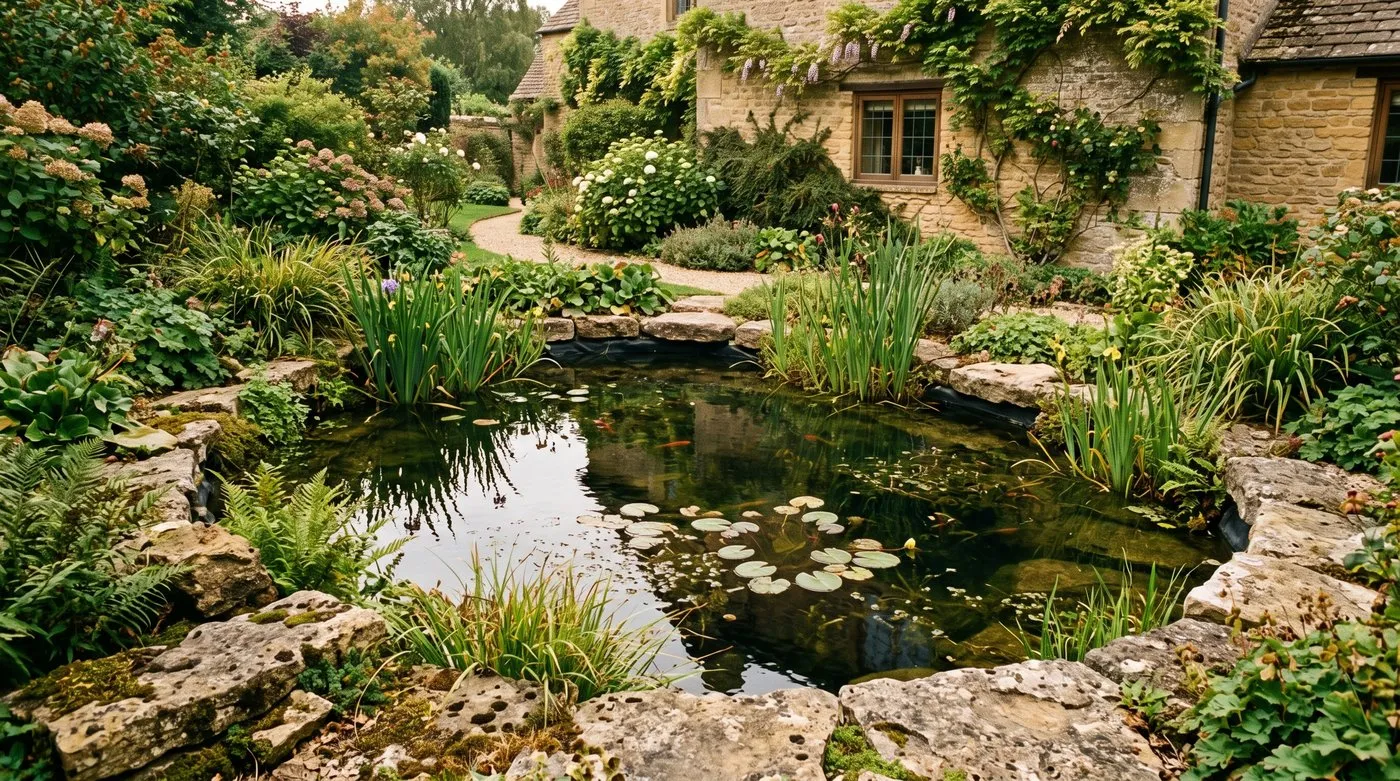
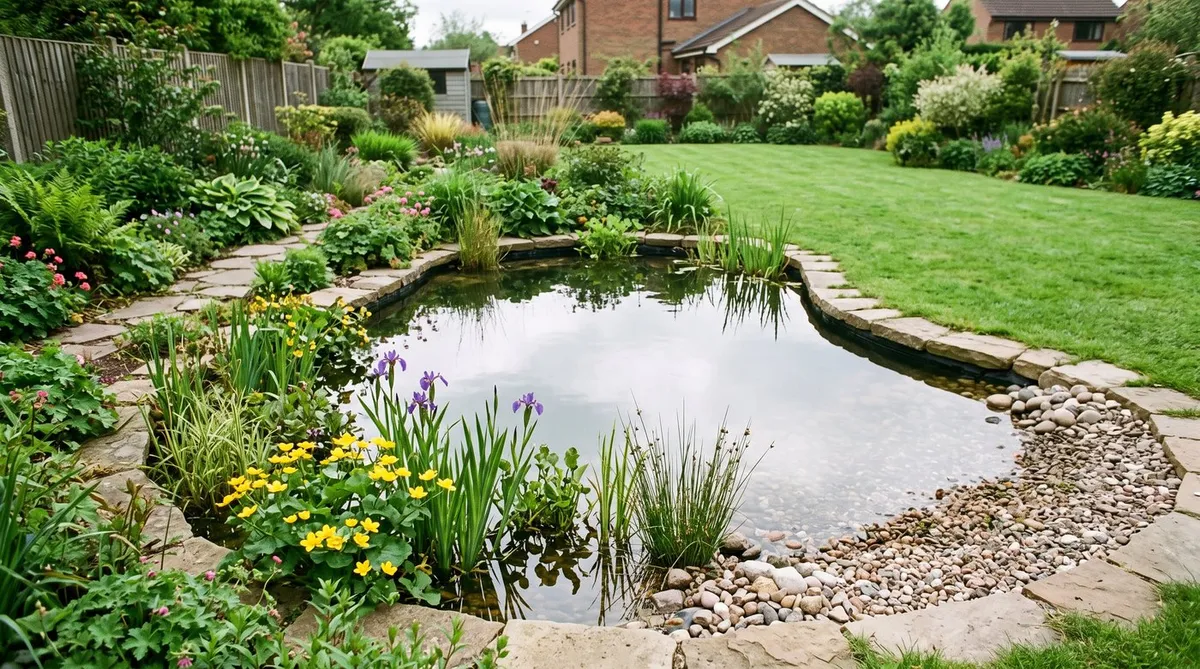
Give it a year and you’d never know there was a liner. Overhanging stones hide the edge completely.
Common pond liner mistakes
Skipping the underlay. A stone or root pressing up is the usual cause of a slow leak. Always cover every surface first.
Buying too small a liner. You can’t stretch rubber. Use the formula and round up.
An uneven rim. Even a small slope shows a strip of liner on the low side. Level it with a plank before the liner goes in.
Stretching the liner tight. A taut liner strains at the corners. Let the water weight settle it.
Trimming too soon. Wait until it’s full and has stopped moving, then cut.
No way out for wildlife. Steep-sided ponds trap hedgehogs. Add a beach or ramp.
Frequently asked questions
What size pond liner do I need?
Add twice the deepest depth plus 60cm to both length and width. So a pond 3m long, 2m wide and 60cm deep needs a liner 4.8m by 3.8m. Measure at the widest and longest points, and round up rather than down.
What is the best pond liner material?
EPDM rubber is the best choice for most garden ponds. It stays flexible in cold weather and moulds into curves easily. Butyl is just as good but usually costs more. PVC is the budget option and won’t last as long.
Do I need underlay under a pond liner?
Yes, always use underlay under a flexible liner. It stops stones and roots pushing through as the water presses down. Pond fleece is best. Synthetic carpet or a layer of soft sand on flat areas also work.
How deep should a garden pond be?
Most garden ponds need a deepest point of 45-60cm. Add a shelf around 20-25cm deep for marginal plants and a gentle slope on one side. Wildlife ponds can be shallower, as most life is in the shallow edges.
Can I put fish straight into a new pond?
No, wait a few weeks after filling. Treat tap water with a pond dechlorinator and let the plants settle in first. Add fish gradually once the water has cleared and settled.
How do I stop the liner showing above the water?
Get the rim level before you fit the liner. Then leave about 30cm spare all round and bury it under turf, soil, paving or stones. Overhanging edging stones hide the last bit of liner at the waterline.
When is the best time to install a pond liner?
A dry, mild day between April and September is best. The ground is easier to dig and the liner is softer and easier to fold. Avoid frosty days, when rubber liners are stiff.
With your liner in and the pond full, read our guide to planting a water lily that will flower for the finishing touch, or see more projects on the how-to hub.
Our team produces practical UK gardening guidance from source research, contributor records and established horticultural practice. Editorial standards are overseen by Matt W.


