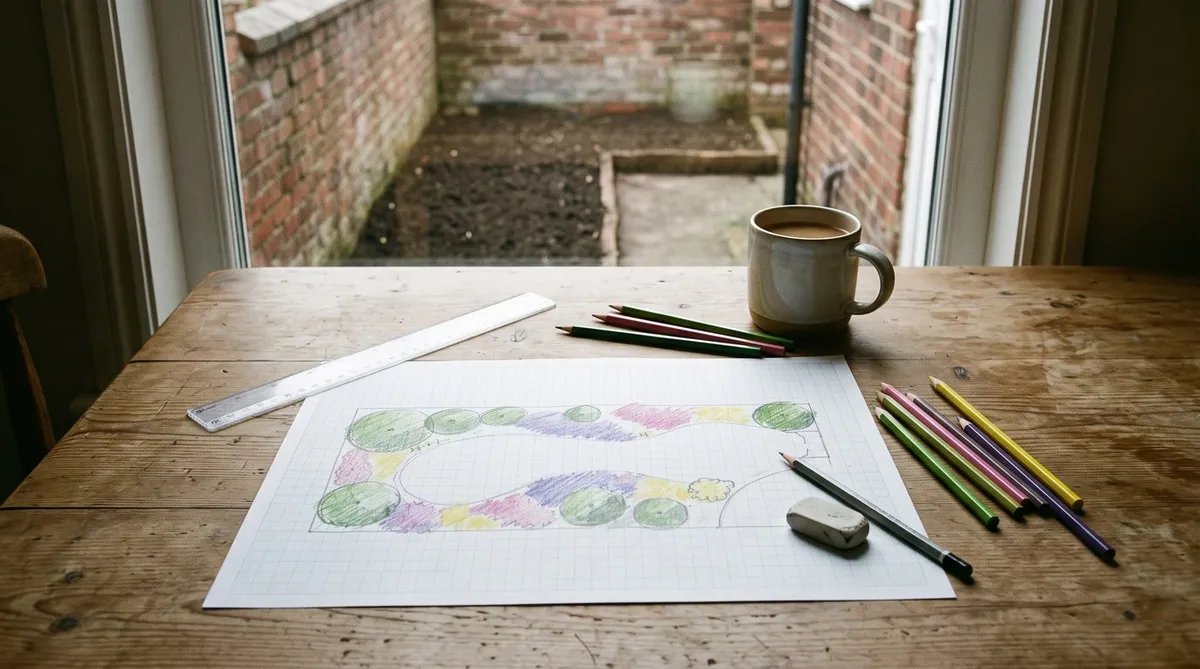
Key takeaways
- Write a short brief first, so you know what the border is for and who sees it
- Note how many hours of sun the bed gets and whether the soil is clay, sand or chalk
- Draw the bed to scale, usually 1:50, so 1cm on paper is 50cm on the ground
- Place structure plants first, then perennials in drifts, then low plants along the front edge
- Repeat a few key plants along the border so it looks planned, not collected
- Work out numbers from spacing, then order a couple of spares
A planting plan is a simple scale drawing of your border, showing which plants go where and how many you need. It takes an evening with graph paper. In return you get a border that looks planned, and a shopping list that stops expensive impulse buys.
Here’s how to write one in six steps, from a short brief to a list you can take to the nursery. If you’re still deciding which plants suit a border, start with the guide on how to plan a mixed border. This guide is about getting those ideas onto paper.
What goes on a planting plan?
A finished planting plan is usually one sheet of paper. It holds every decision you need to plant the border in a day.
It shows:
- The bed outline drawn to scale, with paths, walls and anything staying put
- A circle for each shrub showing its full spread, and shaded shapes for each drift of perennials
- Plant names or short codes, with a key down the side
- How many of each plant, and how far apart
- Notes on when each group flowers
Pencil and graph paper are the quickest way to start, because you’ll rub things out a lot. Garden design apps help once you’re happy with the layout, but they aren’t needed.
Write a short brief for the border
A brief is a few lines saying what the border is for. Write it before you draw anything. It’s what stops you buying a plant that doesn’t fit.
Answer these questions in a sentence or two each:
- What is the border for? Summer colour, year-round structure, scent, wildlife or cut flowers. Pick two or three, not all of them.
- Who sees it, and from where? The kitchen window, the patio or the street. A border seen from 10m away needs bigger, bolder groups.
- How much time will you give it? A low-care border uses shrubs and tough perennials. A high-care one can have plants that need staking and deadheading.
- What can’t change? Trees, walls, paths, drains and anything you want to keep.
Keep the brief next to your drawing. When you’re tempted by something at the garden centre, check it against the brief.
Survey the site: sun, soil and what stays
Plants only thrive if they suit the spot, so note the conditions before choosing anything.

Clay holds a sticky ball like this. Knowing your soil narrows down which plants will thrive before you draw a thing.
Sun. Watch the bed through a summer day and count the hours of direct sun. Six hours or more is full sun. Three to six is part shade. Under three is shade. Mark sunny and shady patches on your drawing, as they often change along one border.
Soil. Squeeze a handful of damp soil. Clay holds a sticky ball, sand falls apart and loam crumbles. Pale, stony soil that fizzes is usually chalk. A cheap kit tells you if the soil is acid or alkaline, which matters for plants such as rhododendrons and camellias. The guide to soil testing and pH explains how.
Moisture. Dig a small hole a day after rain. Note whether it’s wet, damp or dry. Dry shade under trees is the hardest spot to fill, so mark it clearly.
What stays. Mark existing trees, shrubs and features, and allow for how big they’ll get. If you’re cutting a brand-new bed, the guide on how to cut a flower bed into a lawn covers marking out and lifting the turf.
Once you’ve mapped the different areas, look at how they meet along paths and bed edges. Our Church Gill design lessons show ways to link contrasting spots with leaf texture and shape.
Measure the bed and draw it to scale
Measure the bed and draw it on graph paper at 1:50, so 1cm on paper equals 50cm on the ground. A 5m by 2m border becomes a 10cm by 4cm rectangle. For a small bed, 1:20 gives you more room for labels.
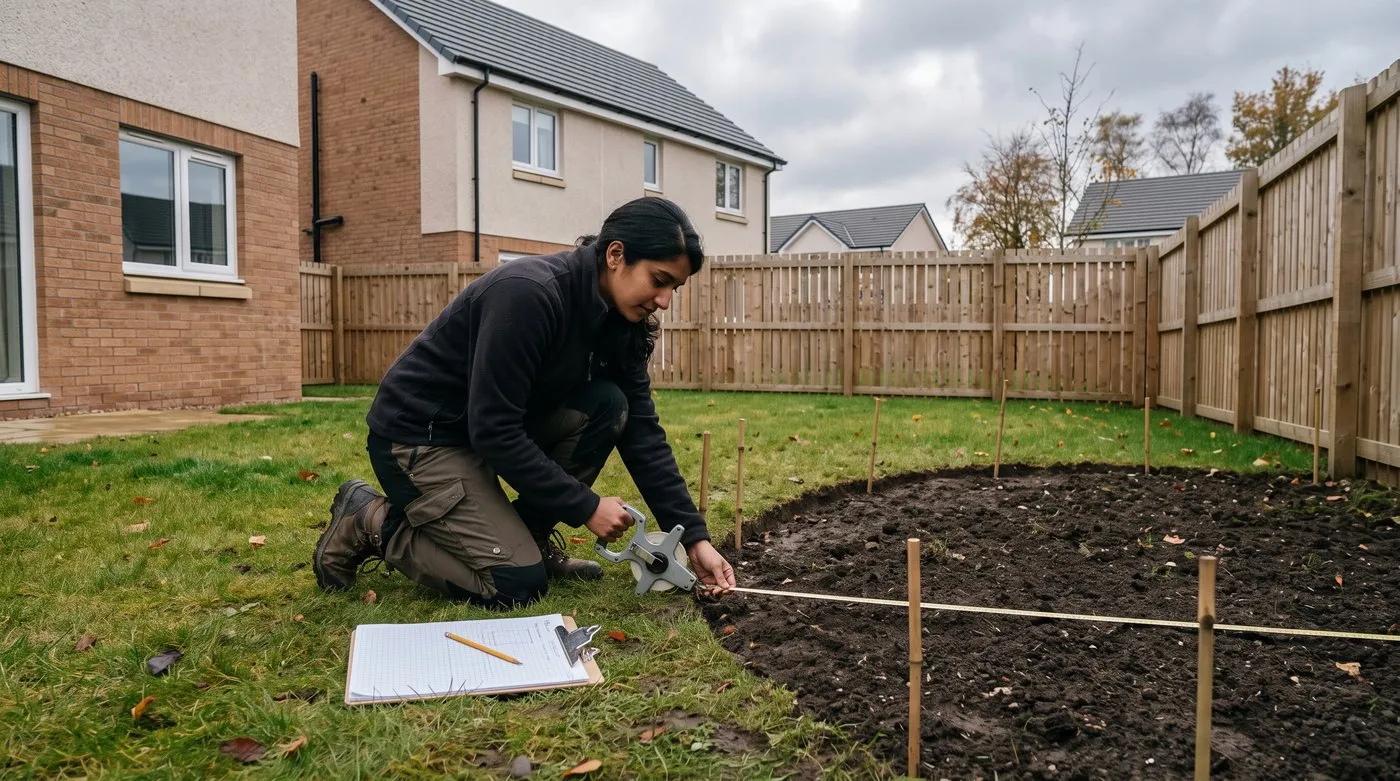
Measure the depth every metre or so, because few borders are as straight as they look.
Measure the length, then measure the depth every metre or so, as few beds are truly straight. Mark north with an arrow, and add walls, paths and fences.
You’ll need:
- A3 graph paper and a few sheets of tracing paper
- A soft pencil, a rubber and a ruler (a scale ruler helps)
- Coloured pencils, to shade each type of plant
- A plant book or catalogue for spreads and heights
Draw the outline in pen, then work in pencil on top. Tracing paper laid over the outline lets you try a few layouts without redrawing the bed.
Place the structure plants first
Structure plants are the bones of the border, the things you still see in January. Draw them before anything else.
Good structure plants include:
- Small trees such as multi-stem birch, amelanchier or a Japanese maple
- Evergreen shrubs such as yew, holly, osmanthus or pittosporum, clipped or left loose
- Bold perennials and grasses that stand all winter, such as Calamagrostis ‘Karl Foerster’
Draw each one as a circle at its full spread after five years or so. Don’t centre the main feature: about a third of the way along usually looks better. Repeat one shape two or three times along the border to give it a rhythm. Avoid a neat line running from tall to short. A few taller plants coming forward give a more natural, layered look.
Exactly how much should be structure is up to you. The 70-30 planting rule is a handy starting point if you want one.

Yew columns, evergreen balls and a white birch still look good in late autumn. Draw plants like these on your plan first.
Add perennials in drifts and repeats
Next, fill most of the bed with perennials in groups, not single plants. Odd numbers such as 3, 5 or 7 look relaxed and natural.
Shade each drift as a long, loose shape rather than a neat circle. Let neighbouring drifts overlap a little, so the border knits together.
A few simple rules keep it looking planned:
- Repeat key plants. Use the same plant in two or three places along the border, in different-sized groups.
- Pick a few “thread” plants. Low, long-flowering plants such as Geranium ‘Rozanne’ or Stipa tenuissima, dotted all along the front, tie the bed together.
- Spread the flowers. Note each drift’s flowering months and check something is going on from spring to autumn.
- Finish the front edge. Low plants such as heuchera, ajuga or Alchemilla mollis cover the soil and hide bare stems behind.
- Add bulbs last. Tulips, alliums and narcissi can go between perennials, as they fade before the perennials fill out.
Fewer kinds of plant in bigger groups looks calmer than one of everything. For a looser look, prairie planting weaves perennials through a grass base. The guide to plant combinations for UK borders has pairings that work well together.

Big drifts of catmint and geraniums along the front, with taller spires repeated further back. That repetition is what makes a border look planned.

Grasses threaded between drifts of echinacea and rudbeckia give a looser, prairie-style feel. Plan it the same way, just with more grass.
How to work out how many plants you need
Work out each drift’s area, then multiply by the number of plants per square metre for that spacing. Shrubs and trees you count one by one.
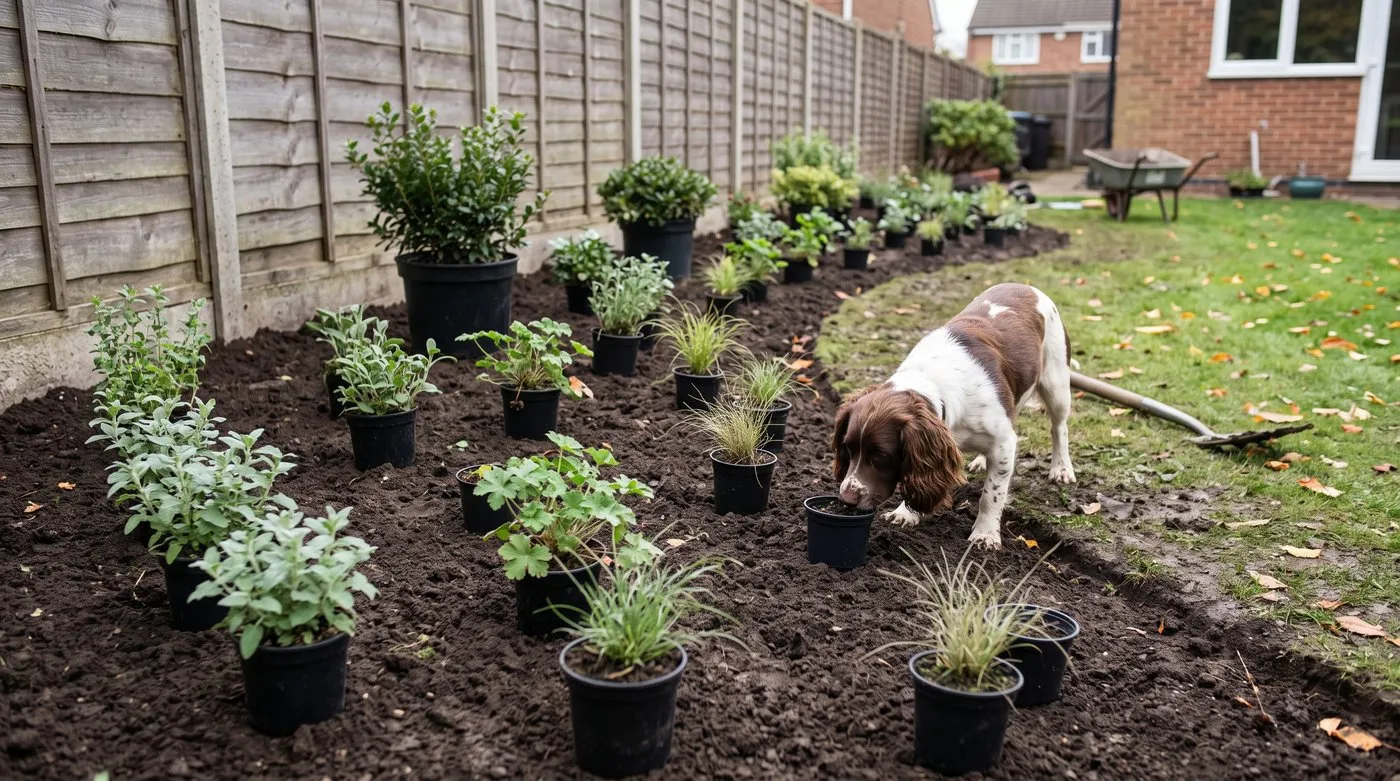
Set the pots out on the bed using your plan before you dig a single hole. It’s easy to shuffle them now.
To pick a spacing, check the label for the plant’s spread. Then space a little closer than that, so plants meet in their second summer. A perennial that spreads 60cm goes in about 45cm apart.
| Spacing between plants | Plants per square metre |
|---|---|
| 30cm | About 11 |
| 40cm | About 6 |
| 45cm | About 5 |
| 60cm | About 3 |
| 90cm | 1 |
A quick example. A drift of catmint covering 1 square metre at 45cm apart needs about 5 plants. Repeat that drift three times along the border and you need about 15.
Add up each plant, then order one or two spares of anything planted in large numbers. Expect the border to look a bit gappy in its first summer. That’s normal, and it fills out by the second year.
Turn the plan into a shopping list
List every plant with its full name, how many you need and the pot size. Full botanical names matter, as common names vary between nurseries.
Group the list by plant type: trees and shrubs, perennials, grasses, then bulbs. It’s easy to see where most of the money is going, and to swap a pricey plant for something similar if needed.
A few tips for buying:
- Buy small for perennials. 9cm pots or 1-litre plants catch up quickly and cost far less than big ones.
- Look out for bare-root plants from late autumn to early spring. They’re usually cheaper than pot-grown plants.
- Buy shrubs and trees bigger if you want the structure to show straight away.
- Order bulbs in summer for autumn planting.
When to plan, buy and plant a border
Plan in summer or autumn, and plant in autumn or spring. Autumn planting lets roots settle in while the soil is still warm and moist.
| Month | What to do |
|---|---|
| June to August | Watch where the sun falls, note what you like in other gardens, write the brief |
| September | Draw the plan, order bulbs, prepare the bed |
| October to November | Plant shrubs, trees and most perennials. Plant spring bulbs |
| December to February | Plant bare-root shrubs and trees when the ground isn’t frozen or waterlogged |
| March to April | Plant perennials and grasses as the soil warms. Fill any gaps |
| May to July | Water new plants in dry spells. Note gaps for next autumn |
The guide to year-round interest planting helps you check the plan has something for every season.

A border like this takes a couple of summers to fill out. Planning the drifts and repeats on paper is what makes it look this relaxed.
Common planting plan mistakes
Buying plants before you plan. You end up with odd heights and gaps. Write the brief and draw the plan first, then shop.
Too little winter structure. The border looks empty from November to March. Add evergreens and plants with strong winter shapes.
One of everything. Thirty different plants with no repeats looks like a collection, not a border. Use fewer kinds in bigger groups.
Forgetting full size. Plants spaced by their pot size get crowded by year three. Space them by their spread instead.
Designing for close up only. If you mainly see the border from the house, make the groups bigger and bolder.
Frequently asked questions
What is a planting plan and why do I need one?
It’s a scale drawing showing which plants go where, and how many. Planning on paper first stops impulse buys that don’t work together. It also helps you spread flowers through the seasons and repeat plants so the border looks planned. And it gives you an exact shopping list.
How do I start a planting plan for my UK garden?
Start by deciding what the border is for. That might be year-round structure, summer colour, scent or wildlife. Then note the sun, soil and moisture, and measure the bed. Draw it to scale on graph paper, place a few structure plants first, then add perennials in groups.
What scale should a planting plan be drawn at?
Use 1:50 for most garden borders. At that scale, 1cm on paper equals 50cm on the ground, so a 5m border is 10cm long. For a very small bed, 1:20 gives you more room to write plant names. Graph paper makes it much easier to keep things to scale.
What layers should a planting plan include?
Most plans use structure plants, main perennials, fillers and low edging plants. Structure plants, such as evergreen shrubs, hold the shape all year. Perennials give the main seasonal show. Fillers and bulbs thread through the gaps, and low plants along the front edge cover the soil and smother weeds.
Why are drift numbers usually odd?
Groups of three, five or seven look more natural. The eye tends to pair up even numbers, which looks formal. Odd groups read as relaxed drifts instead. It’s a guideline, not a rule, and pairs work well in formal designs, such as matching shrubs either side of a path.
How do I calculate how many plants I need?
Divide each drift’s area by the space each plant needs. Check the label for the plant’s spread and space a little closer, so a perennial spreading 60cm goes in about 45cm apart. At that spacing you need about five plants per square metre. Count shrubs one by one and order a couple of spares.
With your plan drawn, browse more garden design guides or pick low plants for the front edge with the guide to the best ground cover plants.
Our team produces practical UK gardening guidance from source research, contributor records and established horticultural practice. Editorial standards are overseen by Matt W.


