Key takeaways
- Screen the view from where you sit, not the whole boundary
- Slatted screens let wind through, so they stay put and need lighter posts than solid panels
- Treated timber is the best value; composite and metal cost more but need little upkeep
- Set posts about 600mm deep in concrete and no more than 1.8m apart
- Boundary screens and fences up to 2m usually need no planning permission in England, 1m beside a road
- Put solid panels on the north or east side so you keep the afternoon sun
A patio privacy screen does its best work close to where you sit. One or two well-placed panels block a neighbour’s window far better than a tall wall around the whole garden. They cost less, keep more light and are quicker to put up.
This guide is about the screens themselves: which material to pick, how to fix it so it survives a winter, and how tall you can go. If your whole garden feels overlooked and you want to plan the layout, start with our guide to privacy design for an overlooked garden.
Where to put a patio privacy screen
Put the screen between your seat and the view you want to block. Sit where you normally sit, look for the window or deck that bothers you, and place the screen on that line.
A panel 1-2m from your chair hides far more than the same panel on the far fence. That’s because it fills more of your view. Often one angled panel is all you need.
Move a tall parasol or a stepladder around the patio first. It shows you where a screen needs to go before you buy anything.
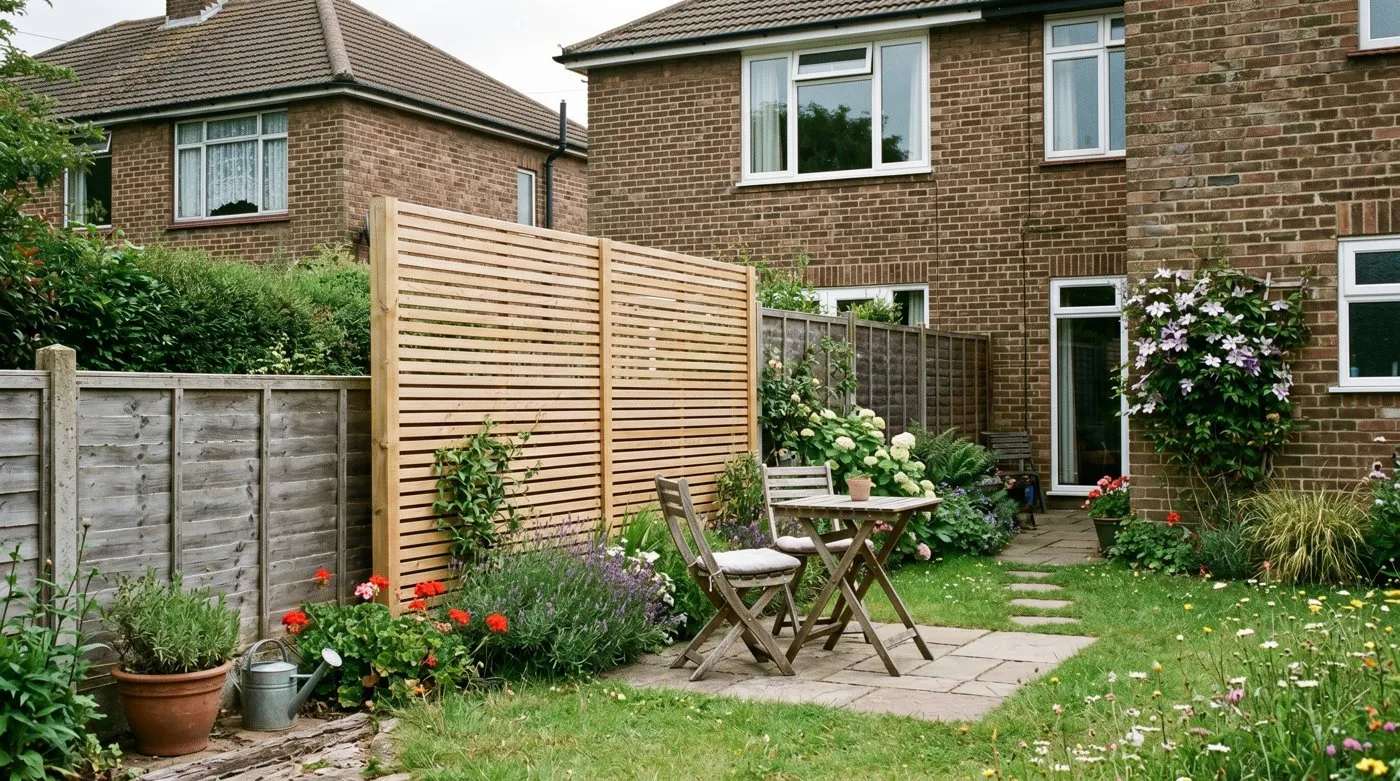
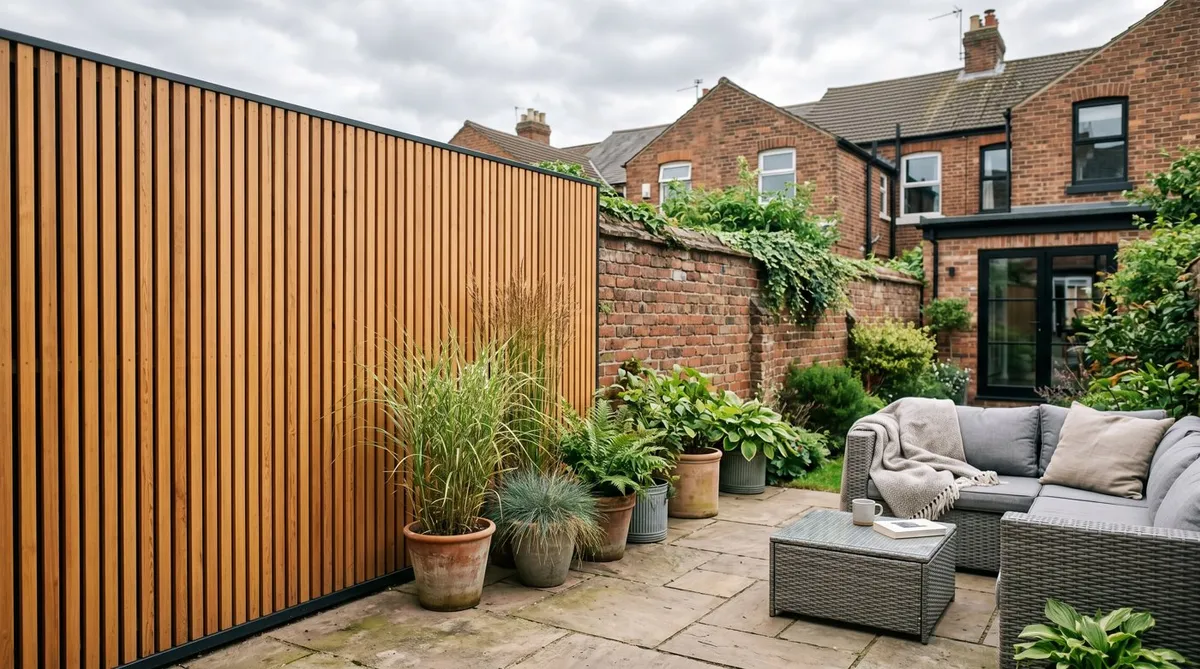
One slatted panel beside the table blocks the window next door and leaves the rest of the garden open.
Which patio screen material should you choose?
Slatted treated timber is the best all-rounder. Composite and metal cost more but need less looking after. Reed and willow are cheap stopgaps.
| Material | Cost | Looks after itself? | Lets light through | Best for |
|---|---|---|---|---|
| Slatted treated softwood | Low to medium | Needs a stain or treatment every few years | Some, through the gaps | Most patios, best value |
| Composite slats | Medium to high | Yes, no painting | Some | Low upkeep, modern look |
| Powder-coated aluminium | High | Yes, won’t rot | Some to plenty | Modern patios, windy spots |
| Corten or laser-cut steel | High | Yes, rusts to a stable finish | Plenty, through the pattern | A feature panel |
| Frosted glass or polycarbonate | Medium to high | Clean it now and then | Lots of light, no view | Keeping light on a small patio |
| Reed, willow or bamboo roll | Low | No, lasts a few years | A little | Renters, balconies, covering a fence |
Timber is easy to cut and fix, and it looks at home in most gardens. Treat the cut ends and re-stain every few years.
Composite is made from wood fibre and plastic. It won’t rot or splinter and it never needs paint.
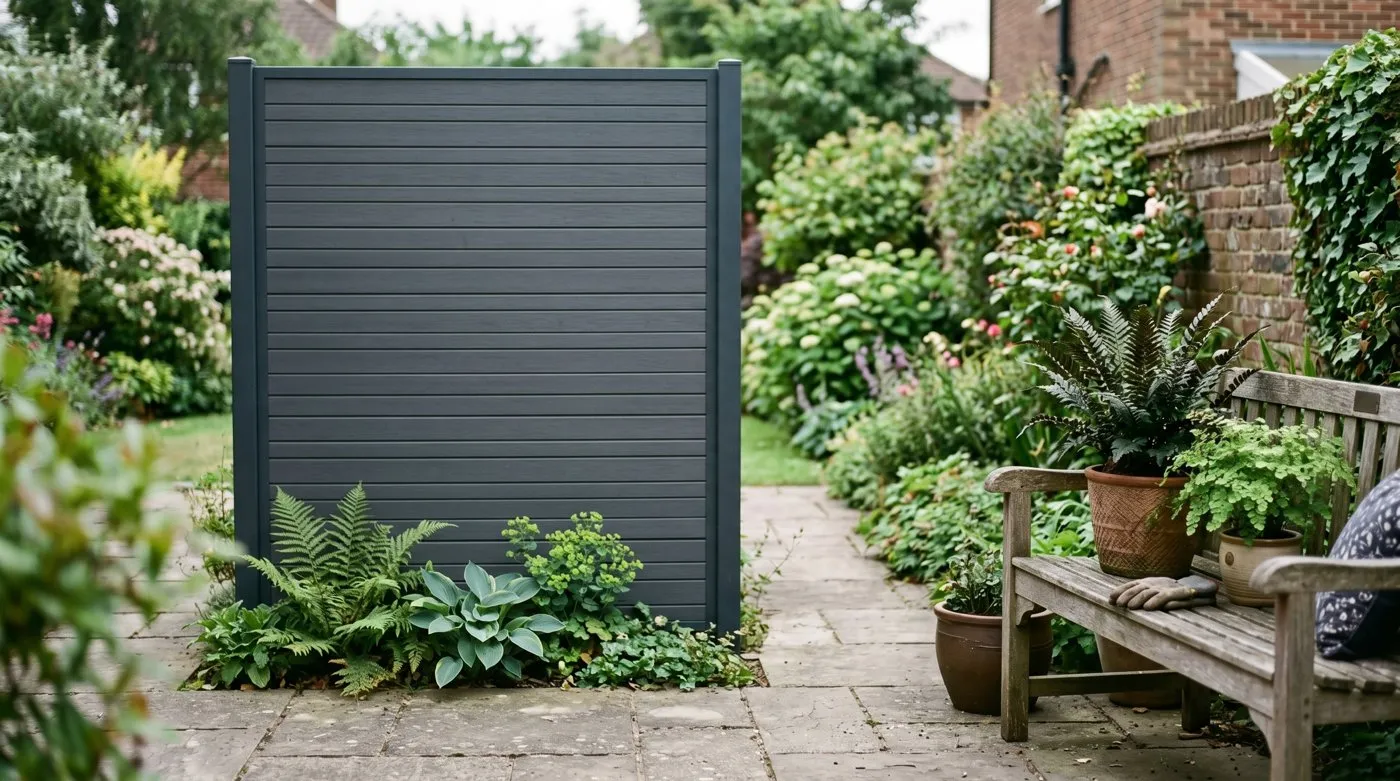
Composite slats never need painting and keep their colour, which suits a low-upkeep patio.
Metal panels suit a modern look. Corten steel rusts on the surface to a warm orange, then stops. Laser-cut patterns break up the view rather than hiding it completely.
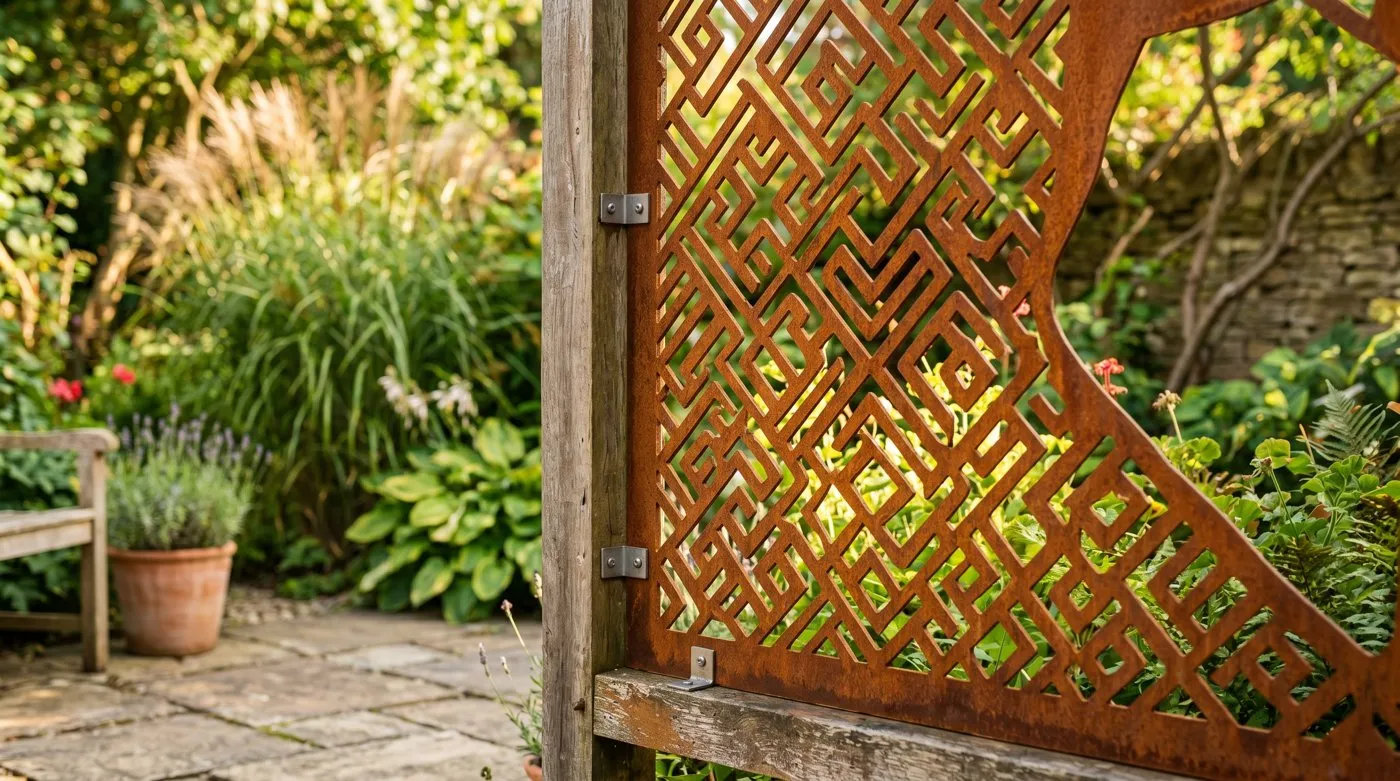
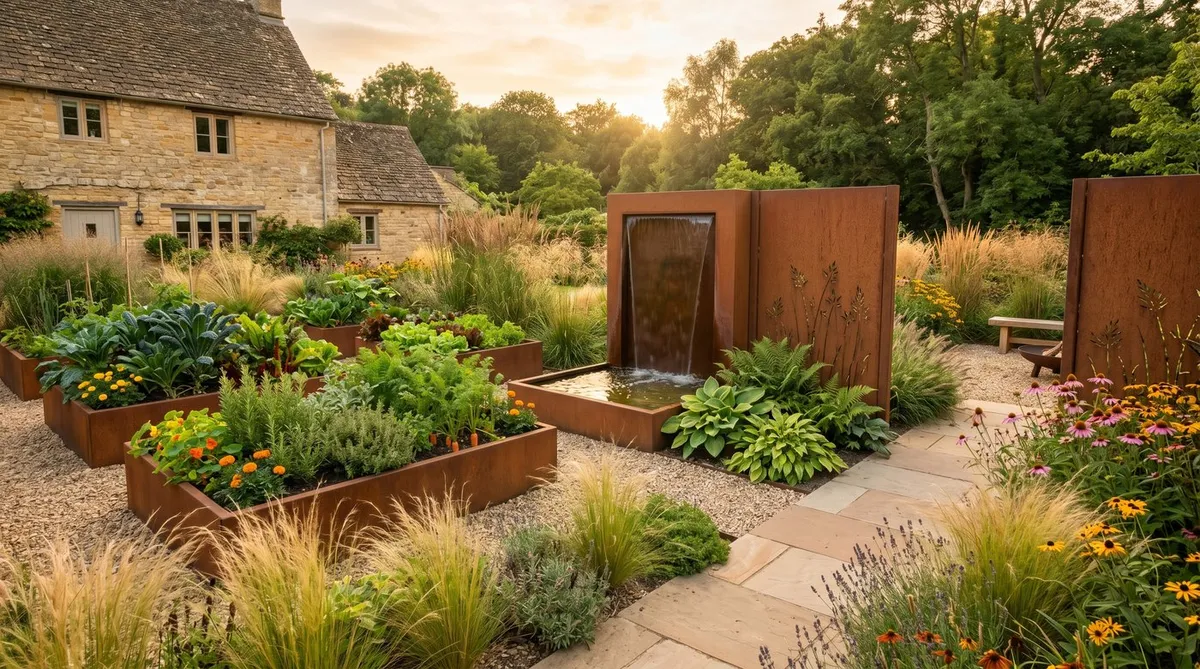
A laser-cut corten panel is a feature in its own right, while still breaking up the view.
Why slatted screens stand up to wind
Gaps let the wind through, so the screen doesn’t act like a sail. A solid panel takes the full force of every gust, and that force goes straight into the posts.
That’s why solid screens lean or blow over far more often. If you want a solid panel, use sturdier posts and put them closer together.
Slats can be angled or overlapped so you still can’t see through from normal viewing spots. Horizontal slats with gaps of a centimetre or two look smart and block most views.
Warning: Don’t bolt a tall screen onto an old boundary fence to gain height. The fence posts were only sized for the fence. Give the screen its own posts.
How to fix a privacy screen so it stays up
Concrete the posts in, about 600mm deep and no more than 1.8m apart. That’s the job that decides whether a screen lasts.
- Mark out the post positions with string and pegs.
- Dig each hole about 600mm deep and around three times the post’s width.
- Stand the post on a little gravel for drainage, check it’s upright with a spirit level, and brace it.
- Fill with postcrete or concrete and slope the top so rain runs off.
- Fix the panels once the concrete has set, using galvanised or stainless screws.
On windy or coastal sites, bring posts closer, to around 1.2-1.5m. Use 100mm posts for screens taller than about 1.8m. Metal spike supports are only for light screens in sheltered spots.
Fixing a light reed or trellis screen to a sound fence is fine. For fence styles, toppers and colours, see our garden fence ideas.
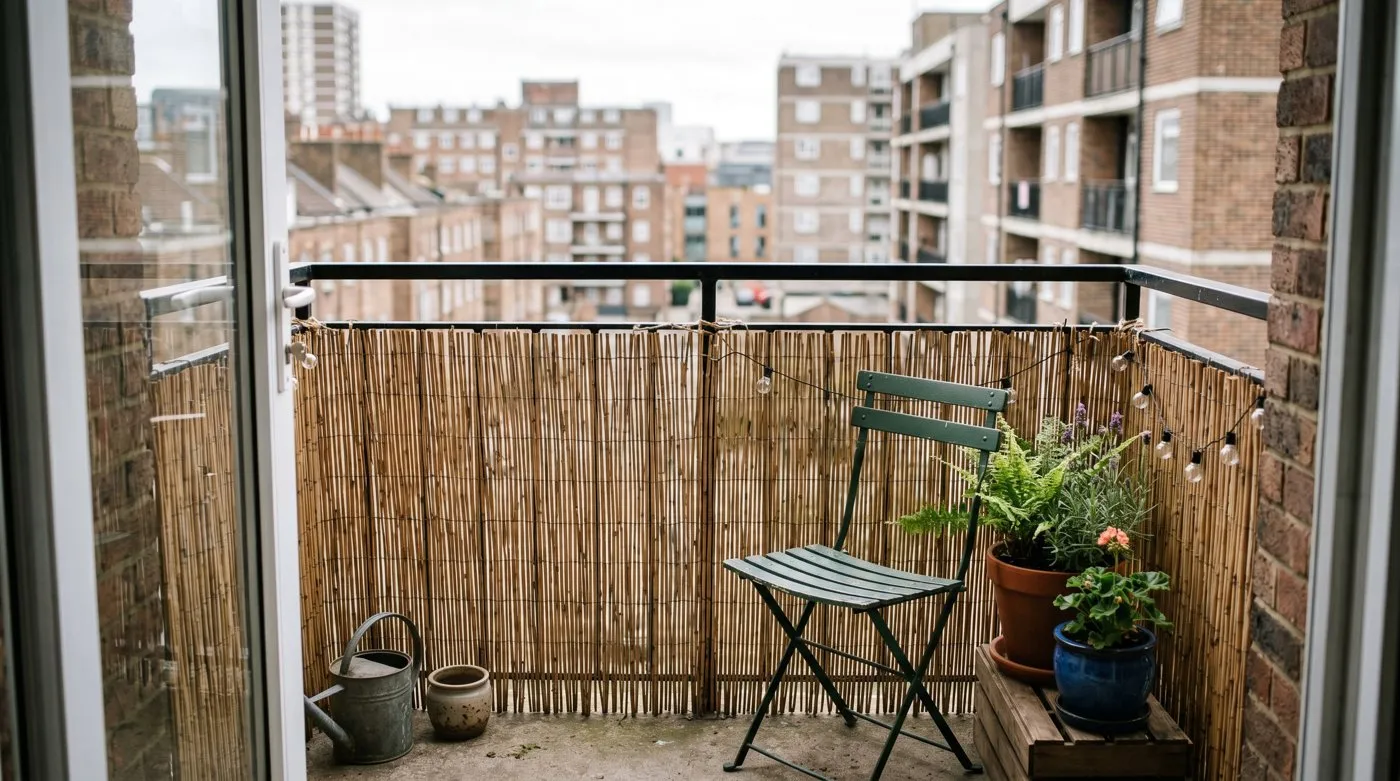
Reed screening wired to a balcony railing is a quick, cheap fix for renters and small spaces.
How tall can a privacy screen be?
In England, a fence, wall or boundary screen can usually be up to 2m without planning permission. Next to a road used by vehicles, or its footpath, the limit is 1m.
Trellis or slats added on top of a fence count towards the total. So a 1.8m fence leaves you only 20cm more before you need permission.
Listed buildings need consent, and some estates have covenants or planning conditions that limit what you can put up. Wales, Scotland and Northern Ireland have their own rules. The Planning Portal page on fences, gates and garden walls covers England and Wales. If a screen might upset a neighbour, our guide to garden neighbour disputes is worth a read first.
Using a pergola or corner screen for privacy
A pergola with one slatted side blocks views from upstairs windows and the side at once. A vertical screen alone can’t stop someone looking down from above.
Our pergola ideas cover sizes and styles. Add a parasol or shade sail for quick overhead cover on sunny days.
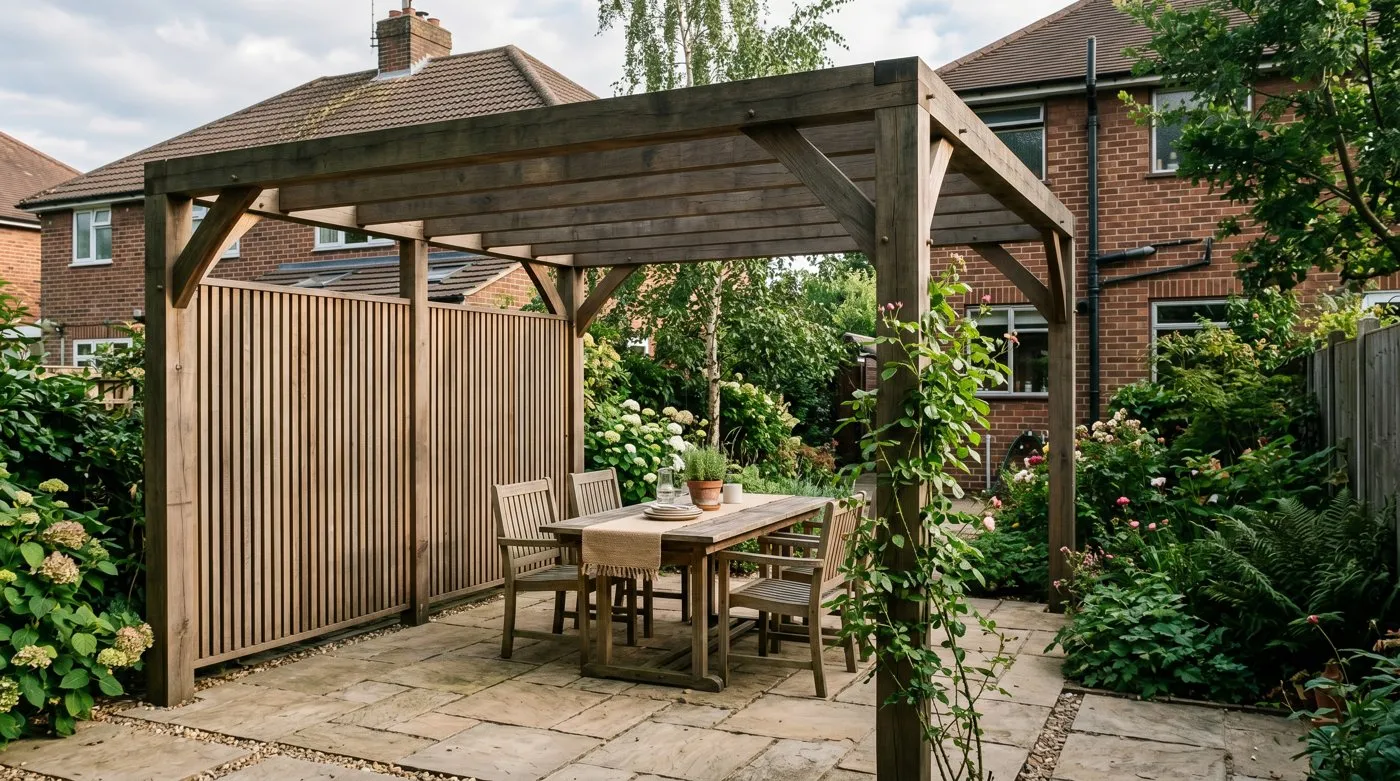
A pergola with one slatted side gives cover from above and from the side without boxing in the patio.
In a small courtyard, two panels set in an L-shape make a private corner for a table and chairs. It feels tucked away but leaves the rest of the space open.
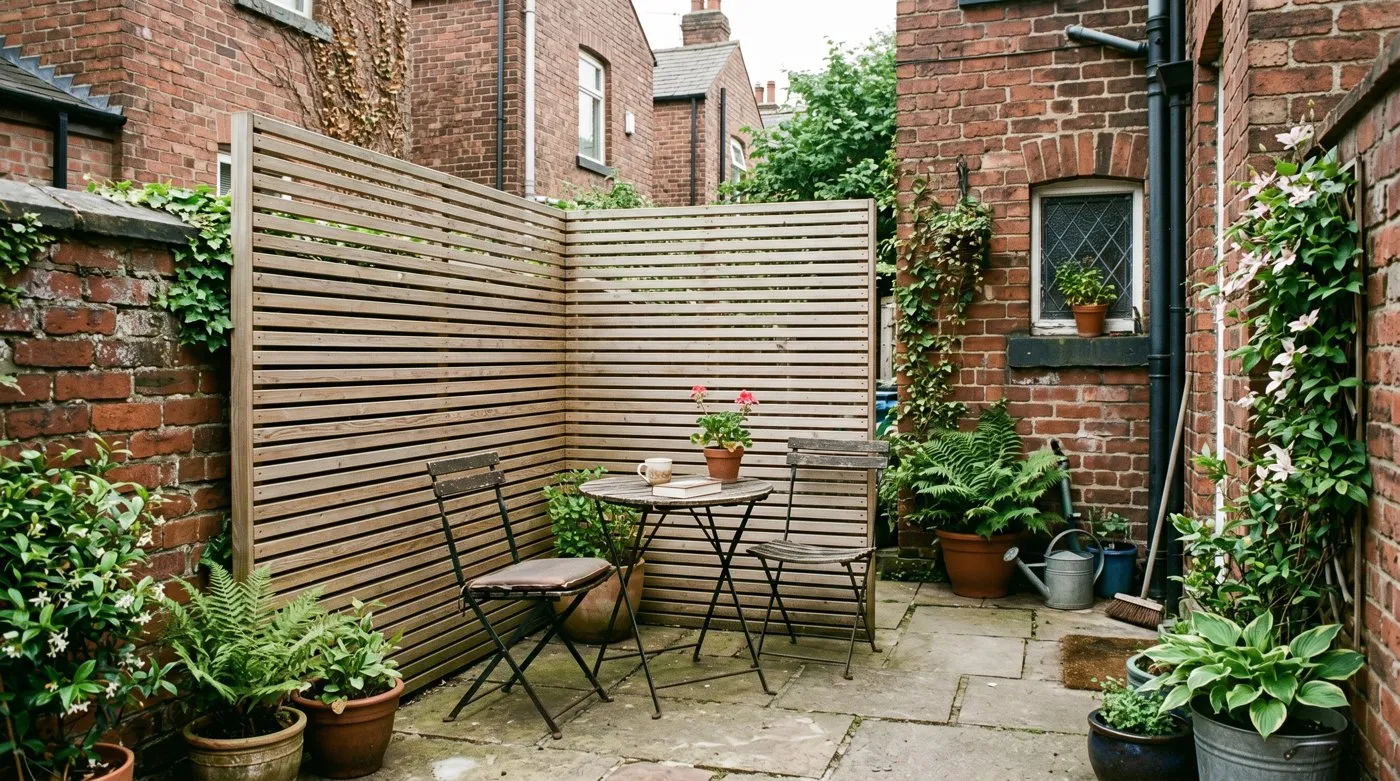
An L-shaped corner screen turns a tight city patio into a cosy, private spot for two.
Softening a screen with climbers and pots
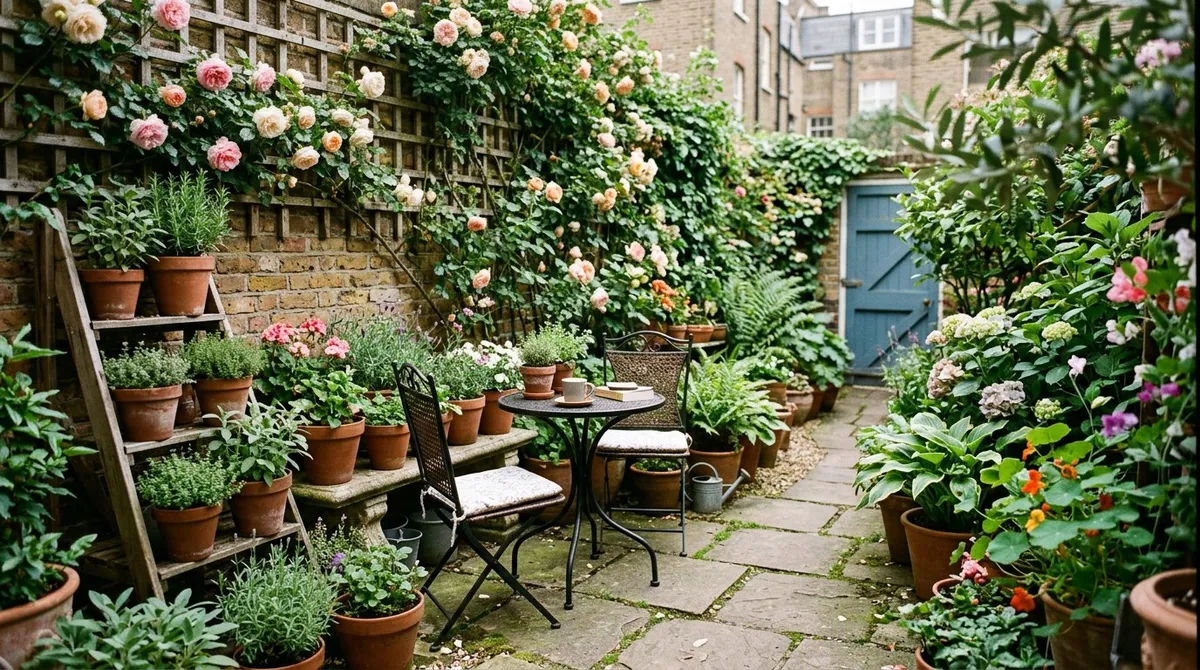
Plant climbers and group pots along the screen to make it look part of the garden. The panel gives instant cover while the plants fill in.
Fix wires or trellis to the screen for climbers to grab. Evergreen ones such as star jasmine keep the screen green in winter. Our guide to climbers that cover an ugly fence fast lists quick options that work just as well on a screen. Tall pots of grasses or bamboo-like plants soften hard edges.
For a planted screen with no panels at all, browse more ideas in our garden design hub or compare options in our guide to the best trees for privacy.
Lighting a privacy screen for evenings
Low, warm lighting at the base of a screen makes it a feature after dark. Uplighting slats throws soft stripes of shadow across the patio.
Choose warm-white bulbs, around 2700-3000K, for a cosy glow rather than a security-light feel. Keep it gentle, as a brightly lit screen draws the eye. Solar spikes are easy to put in, but mains lights on a timer give steadier light in winter. Our garden lighting ideas have more on fittings.
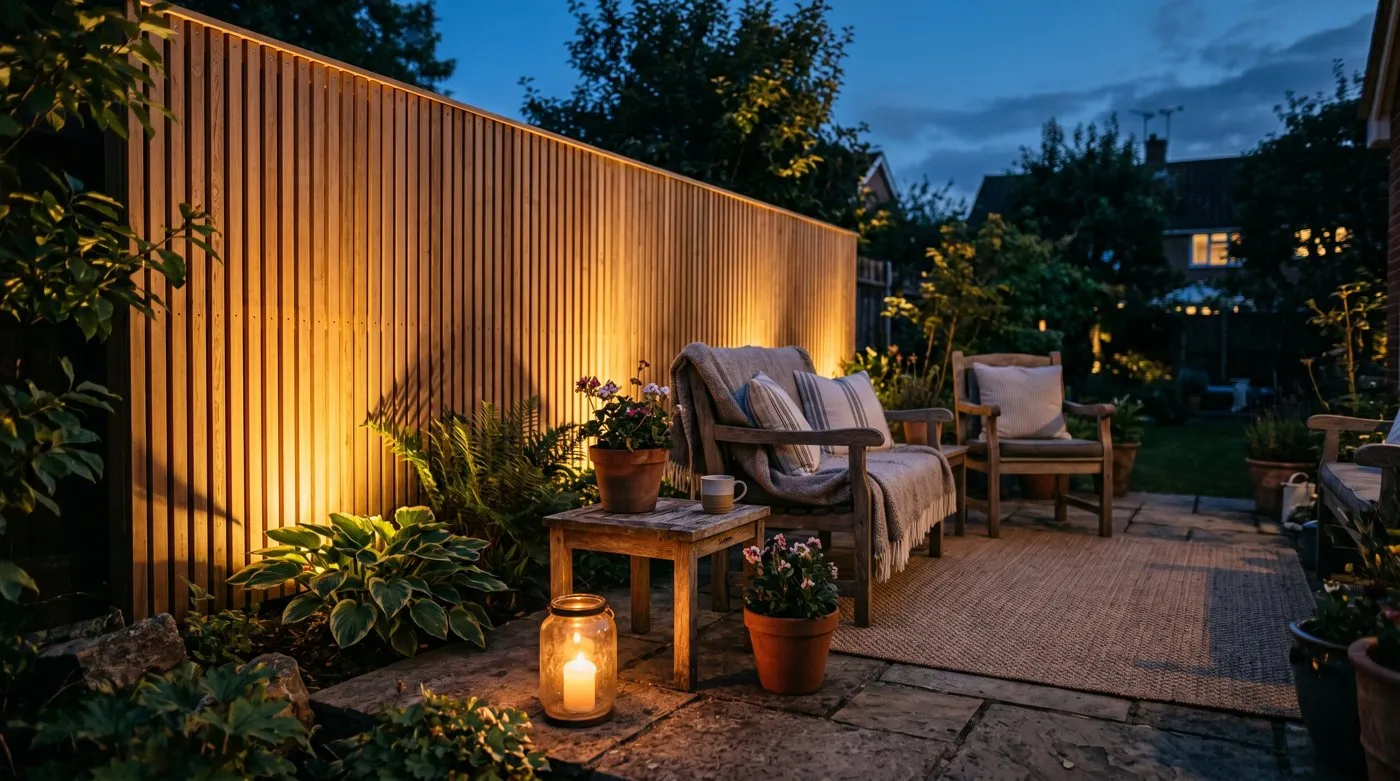
Soft uplighting turns a plain slatted screen into an evening feature.
Common patio screening mistakes
- Walling in the whole patio. It costs more, blocks light and rarely fixes the one view that bothers you. Screen that view and leave the rest open.
- Skimping on posts. Shallow posts or wide spacing lead to a leaning screen after the first gale. Concrete them in properly.
- A solid panel on the sunny side. A solid screen to the south or west steals your afternoon sun. Use slats or glass there, and solid panels to the north or east.
- Screening the wrong spot. A boundary fence won’t help if the window looks down from further back. Check the view from your actual seat first.
- Reed as a permanent fix. Rolls fray in wind and need replacing every few years. Use them for quick cover, not as the main structure.
Frequently asked questions
How tall can a patio privacy screen be without planning permission in the UK?
In England, up to 2m, or 1m next to a road used by vehicles. Fences, walls and boundary screens follow the same rule. Listed buildings, and homes where permitted development rights have been removed, need permission. Trellis on top of a fence counts towards the total height.
What is the best material for a patio privacy screen?
Slatted treated timber gives the best value for most patios. Composite costs more but never needs painting. Powder-coated aluminium and corten steel suit modern spaces and won’t rot. Reed and willow rolls are the cheapest but only last a few years outside.
Do I need a gap between the slats on a privacy screen?
Yes, a small gap helps the screen stand up to wind. Air passes through instead of pushing the panel like a sail. From most angles a slatted screen still blocks the view, and it lets some light through too.
How do I create privacy on a patio without blocking light?
Use a short slatted screen near your seat rather than a tall solid wall. Slats, louvres and laser-cut panels let light filter through. Put any solid panels on the north or east side, where they cast less shade when you sit out.
How far apart should privacy screen posts be?
No more than 1.8m apart, set about 600mm deep in concrete. On windy or coastal sites, bring them closer together. Use 100mm posts for taller screens and check them for movement after the first winter.
Are freestanding garden screens better than fixing to a fence?
Freestanding screens are more flexible but need their own solid posts. You can angle them to block one view exactly. Fixing to a fence is quicker, but only if the fence is sound. An old fence can’t take the extra wind on a tall screen.
Will a privacy screen stop noise from neighbours?
Not really, especially a slatted one. Sound passes through the gaps. Only a solid, heavy, unbroken barrier makes much difference. Gentle sounds like a small water feature can help mask noise instead.
Once your screen is up, our patio garden ideas for small spaces will help you make the most of your new private corner.
Our team produces practical UK gardening guidance from source research, contributor records and established horticultural practice. Editorial standards are overseen by Matt W.