Key takeaways
- Jar sprouting needs no soil and no light until the last day
- Rinse and drain twice daily, three times if the kitchen tops 22C
- Alfalfa 3 to 5 days, mung 4 to 6, lentils 2 to 4 days
- Use food-grade sprouting seed, never garden or bird seed
- Healthy white root hairs are normal; grey fuzz and a sour smell are mould
- One tablespoon of alfalfa seed yields roughly 250g of sprouts
This guide covers the jar method only. Sprouts are eaten whole, seed and all, unlike microgreens which you grow in soil for the shoot. They need no light until the final day, and food safety is the one part you cannot cut corners on.
How the Jar Method Works Without Soil or Light
Jar sprouting grows the seed on stored energy, not on light or nutrients from soil. Every seed holds enough starch and protein to push out a root and a shoot. Add water and warmth and the seed germinates. You harvest before it ever needs feeding, so there is no compost, no fertiliser and no light involved until the very end.
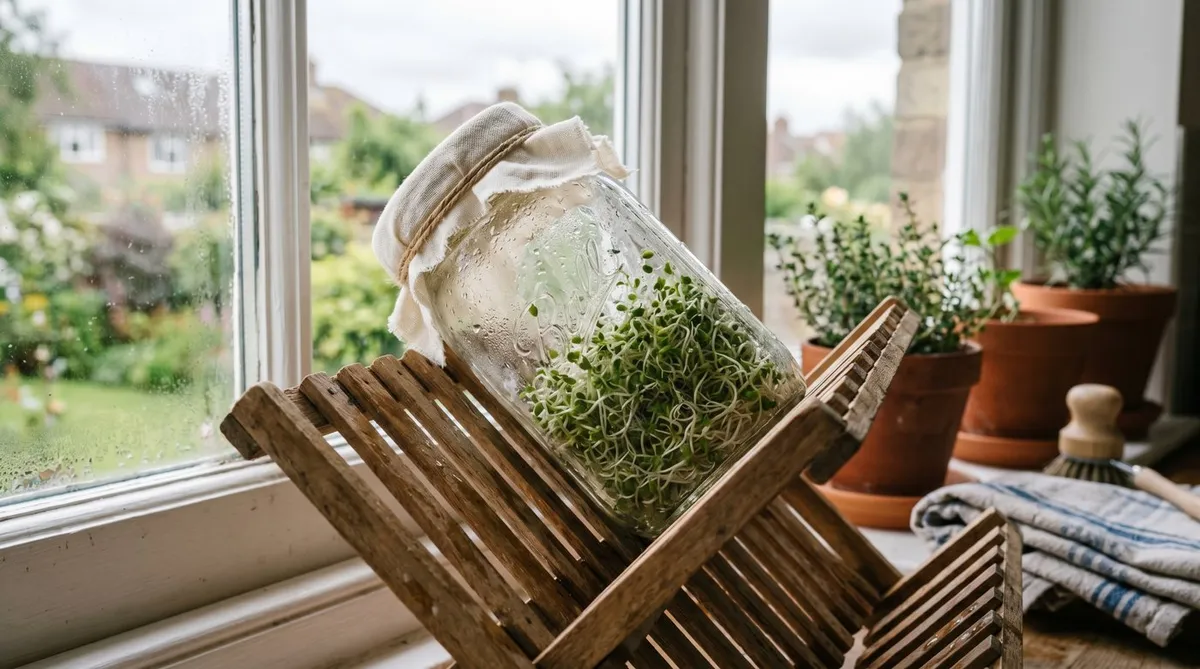
The kit is a clean glass jar, a breathable lid and cold water. A 1-litre Kilner or mason jar suits one to two tablespoons of seed. The lid can be a square of muslin held with an elastic band, a plastic sprouting lid, or fine stainless mesh. The mesh lets you rinse and drain through the top without losing a single seed.
The whole cycle is soak, rinse, drain, repeat. You soak the dry seed once to wake it, then rinse and drain twice a day so the seed stays damp but never sits in water. Standing water is the enemy. It drowns the seed and breeds the bacteria you are trying to avoid.
Which Seeds to Sprout and How They Compare
Whole lentils from the food aisle sprout brilliantly and cost pennies. Split lentils will not, since the embryo is cut. Mung beans give the fat beansprouts you know from a takeaway, but only if you grow them in the dark under a light weight. Alfalfa and radish are tiny seeds that swell into a fine tangle of greenery. Broccoli sprouts carry the most sulforaphane, the compound behind their health reputation.
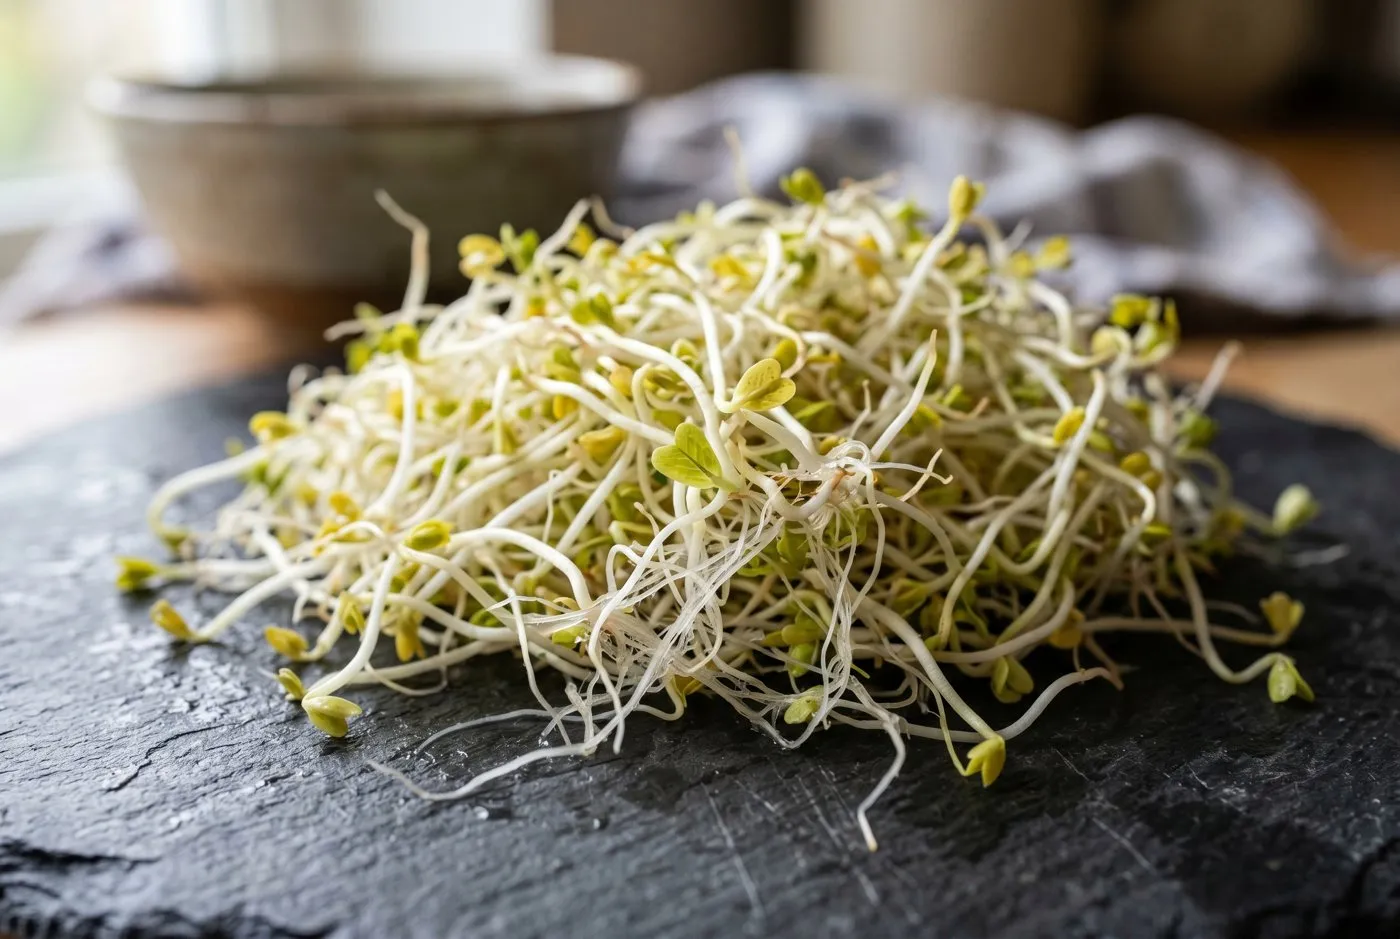 Alfalfa sprouts at day four. The fine white threads around each root are healthy root hairs, not mould. They vanish the moment you rinse the jar.
Are Sprouts Safe to Grow at Home
Sprouts are safe to grow at home with clean seed and a proper rinse routine, but the warm, damp jar that suits the seed also suits bacteria. This is the one genuine risk with sprouting, and it is worth taking seriously. The Food Standards Agency advises that raw sprouts carry a higher risk than most salad, and recommends thorough cooking for vulnerable groups. You can read the official line on the Food Standards Agency guidance on sprouted seeds.
Three habits keep a home batch safe. First, start with food-grade sprouting seed bought for the purpose, tested to a standard garden seed never meets. Second, rinse twice a day with cold water, three times in warm weather, so waste and bacteria flush out. Third, keep the jar cool and draining, never warm and pooled. A kitchen at 18 to 21C is ideal. Above 25C the risk climbs fast.
Refrigerate the harvest the moment it is ready and eat within three to five days. Smell every batch before you eat it. Fresh sprouts smell green and clean. A sour, yeasty or off smell means bin the lot, jar and all, then wash the jar in hot soapy water before you start again.
Warning: Pregnant women, young children, older adults and anyone with a weakened immune system should cook sprouts before eating. Raw sprouts have been linked to food-poisoning outbreaks. Cooking kills the bacteria while keeping most of the crunch.
Telling Healthy Root Hairs From Mould
This is the question that stops most beginners, and it is easy once you have seen both. Around day three, fine white fuzz often appears around the roots. Nine times out of ten this is root hairs, a normal part of germination, and completely harmless. The tell is simple. Root hairs are pure white, grow evenly all around each root, feel soft, and disappear when you rinse the jar.
Mould is different. It shows up grey, blue-grey or green, sits in distinct patches rather than spreading evenly, often clings to the seed coats, and carries a musty or sour smell. The clincher is that mould stays put after a rinse while root hairs wash flat. If you are unsure, rinse the jar and look again in an hour. Gone means root hairs. Still there and smelly means mould.
Sliminess is the other warning sign. Healthy sprouts feel firm and a little squeaky. A slimy, soft texture with cloudy rinse water means bacteria have taken hold. There is no saving a slimy batch. Throw it out, scald the jar, and check your routine, because slime almost always traces back to standing water or skipped rinses.
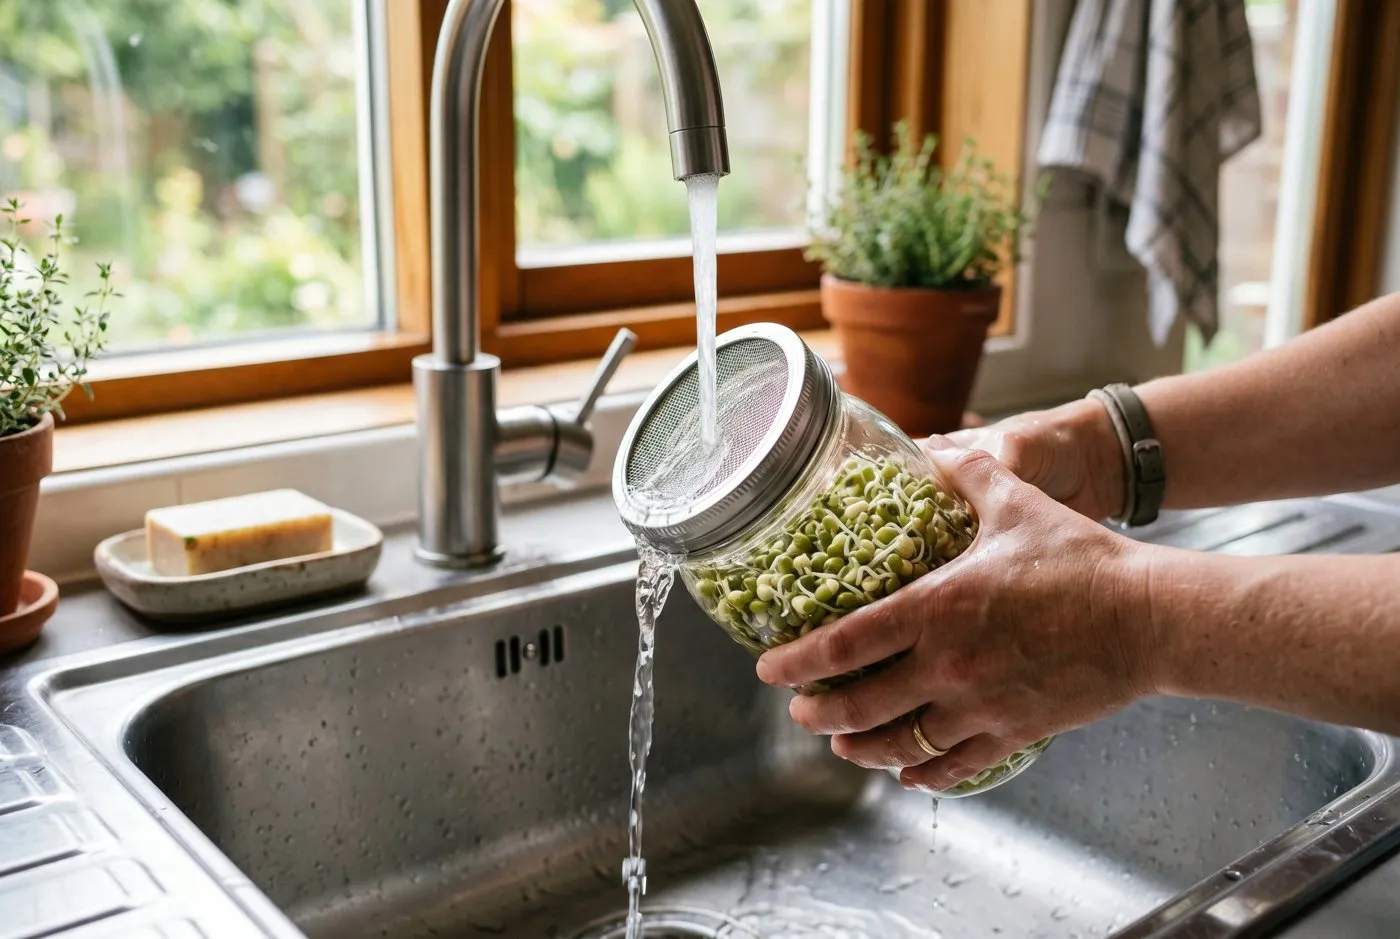 Rinsing at the sink. Cold water in through the mesh, swirl, then drain it all out. A full drain after every rinse is what keeps mould and slime away.
The Day by Day Sprouting Routine
The routine never changes much between seeds, only the timings. Here is the full cycle for a standard jar of alfalfa, the easiest place to start. Scale the soak and finish day to whichever seed you are growing using the table above.
| Day | What to do | What you see |
|---|---|---|
| Day 0 evening | Rinse 1 tbsp seed, cover with cold water, soak overnight | Dry seed swells, doubles in size |
| Day 1 | Drain the soak water, rinse, drain fully, tilt the jar | Seed coats split, first roots show |
| Day 2 | Rinse and drain morning and evening | Short white roots, 2 to 5mm |
| Day 3 | Rinse and drain morning and evening | Stems lengthen, root hairs may appear |
| Day 4 | Rinse and drain, move to indirect light | Yellow leaves start to open |
| Day 5 | Final rinse, drain very well, refrigerate | Green leaves, sprouts 25 to 40mm |
The 45-degree drainage angle is the part people skip. After every rinse, sit the jar mouth-down at an angle so the last drops run out. A dish rack, a bowl or a purpose-made stand all work. Standing the jar upright leaves a puddle in the base and that puddle is where batches fail.
On the final day, move leafy sprouts like alfalfa, radish and broccoli into indirect light for a few hours. The leaves green up and the flavour sharpens. Bean and lentil sprouts skip this step, since you want pale, crisp stems, not green tops.
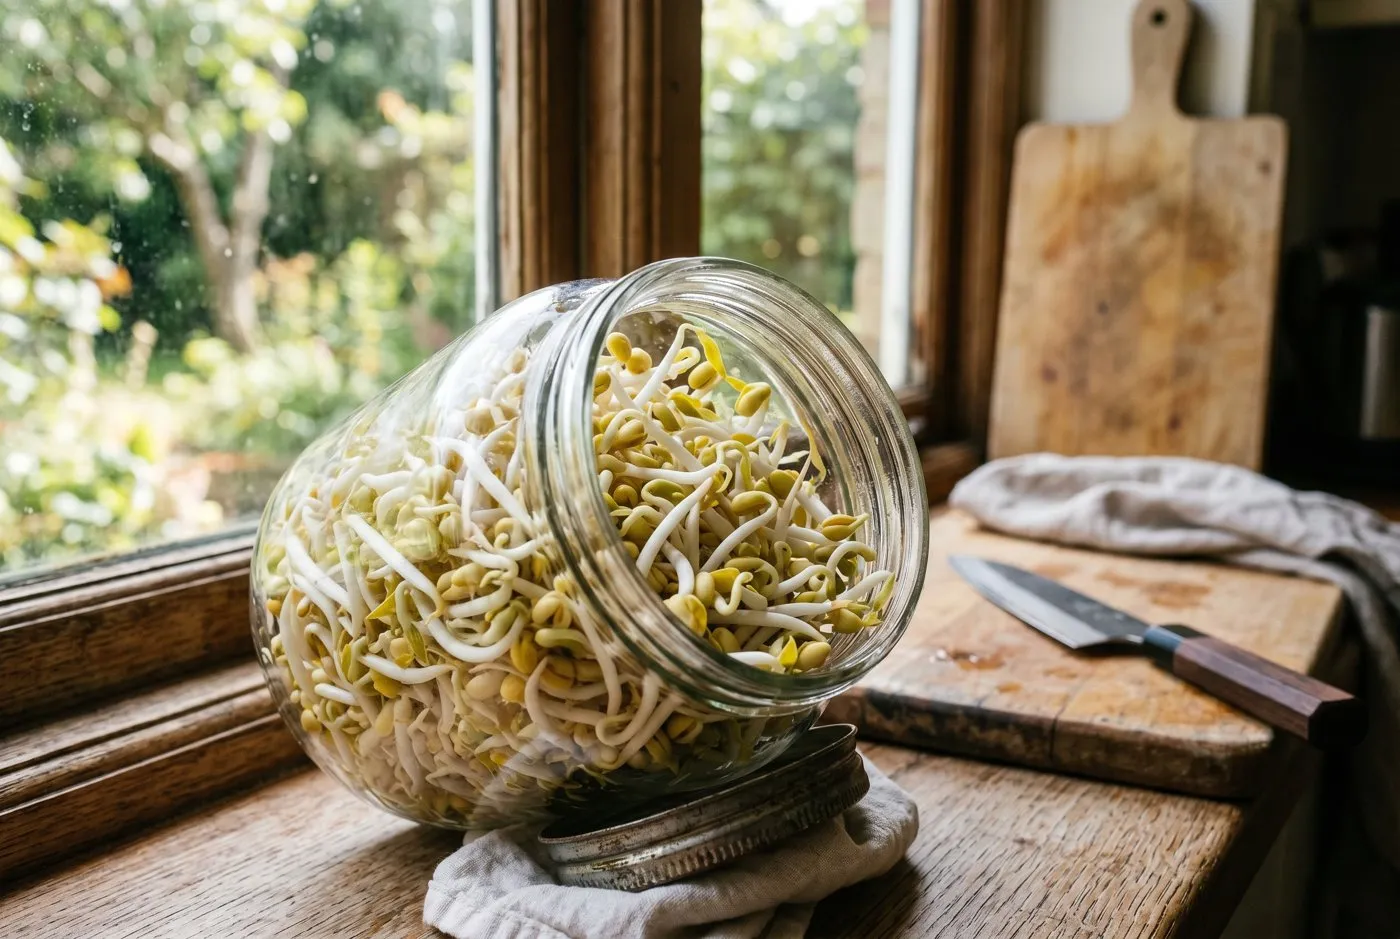 Mung beans at day five, grown in the dark for fat pale stems. Keep them away from light and they stay sweet and crisp for the wok.
How Long Each Seed Takes and What to Expect
Lentils are the sprint. From an 8-hour soak they show a curled root tail by day two and are ready at day three or four. They need eating young, before the root gets fibrous. Mung beans are the marathon of the common seeds, needing a 12-hour soak and four to six days, longer if you want the thick beansprouts. Grow them under a small weight, a clean plate or a second jar, and the stems thicken as they push against it.
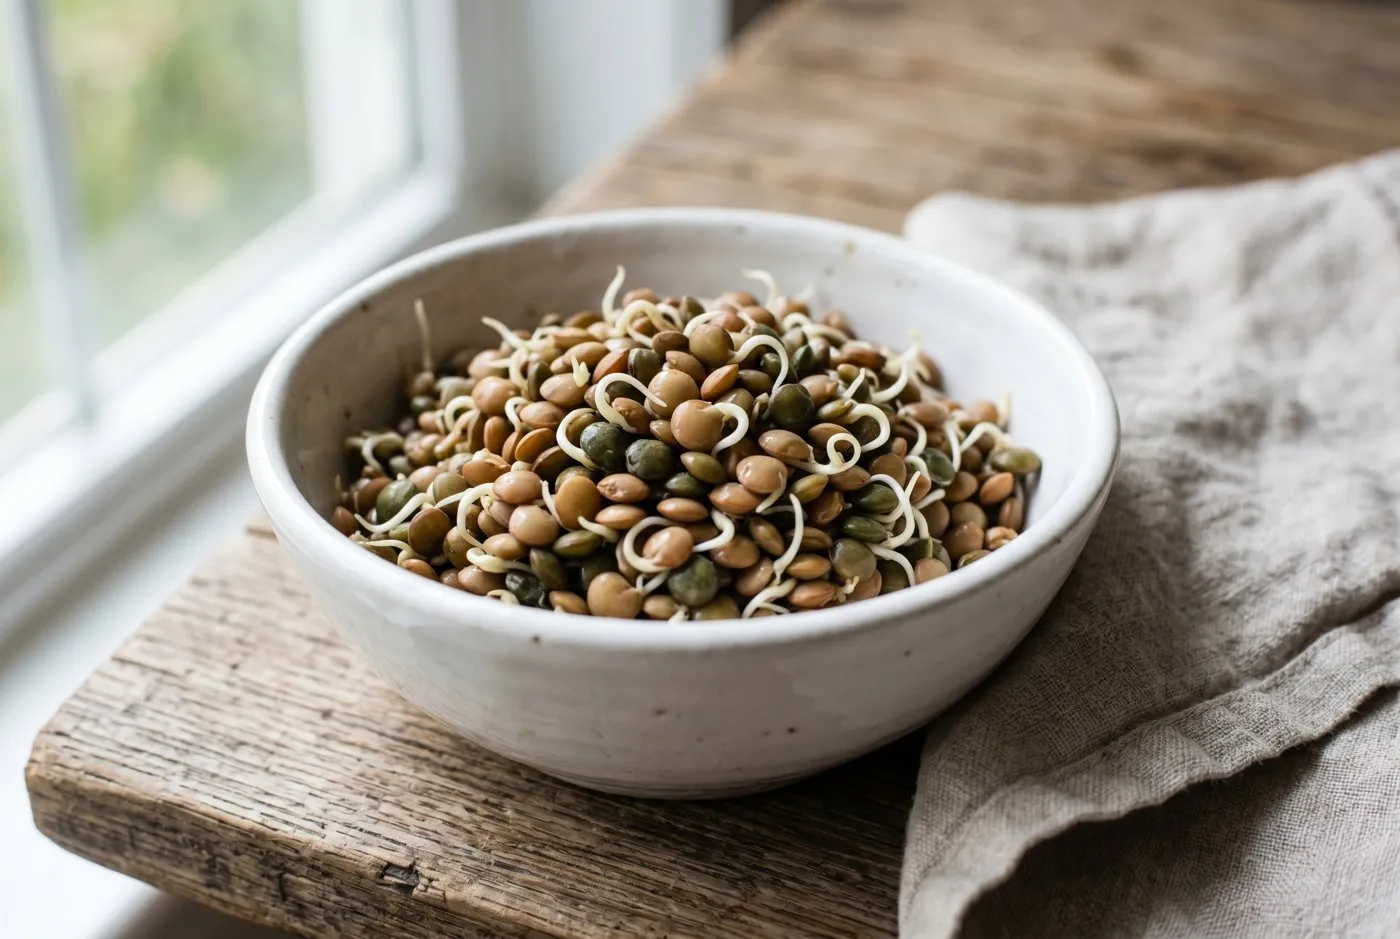 Lentils at day three, the fastest crop in the kitchen. The short curled tail is all you want; leave them longer and the roots turn fibrous.
Common Mistakes That Ruin a Batch
Gardener’s tip: If your kitchen runs hot in summer, move the jar to the bathroom or a north-facing windowsill and add a third rinse. Heat is the single biggest cause of spoiled summer batches. Cool and well-drained beats warm and fast every time.
Storing, Eating and Getting the Best From Sprouts
A well-grown jar gives more sprouts than one meal needs, so storage matters. Give the finished batch a final thorough rinse, then drain it as dry as you can. Wet sprouts rot in the fridge; dry ones keep. Spin them in a salad spinner or roll them in a clean tea towel, then store in a tub lined with kitchen paper in the fridge. They hold for three to five days.
Eat leafy sprouts raw in sandwiches, salads and wraps, where alfalfa and radish shine. Stir bean and lentil sprouts through a salad, or add mung beansprouts to a stir-fry in the last minute so they keep their snap. Chickpea and larger bean sprouts are best cooked, in a curry or roasted with oil and spices.
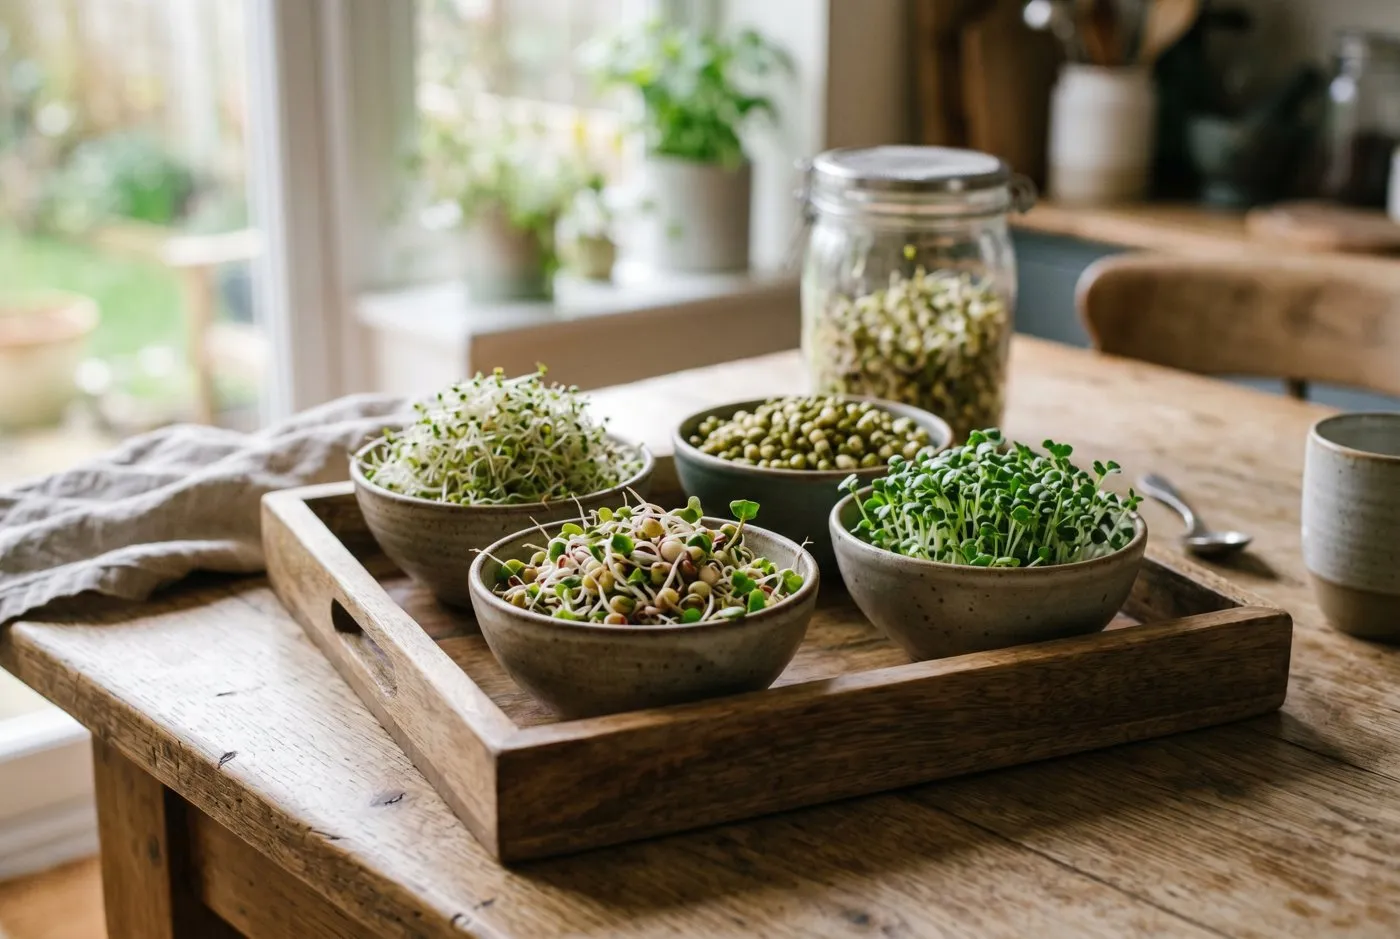 A staggered harvest: alfalfa, mung, radish and broccoli all ready together from jars started two days apart. Three jars on rotation keep the kitchen in fresh sprouts all week.
For the soil-grown cousin of this crop, where you grow the shoot rather than eat the seed, see our microgreens growing guide. The two crops share a windowsill but work in completely different ways. The Garden Organic seed-saving and growing resources are a good further read on safe home food-growing.
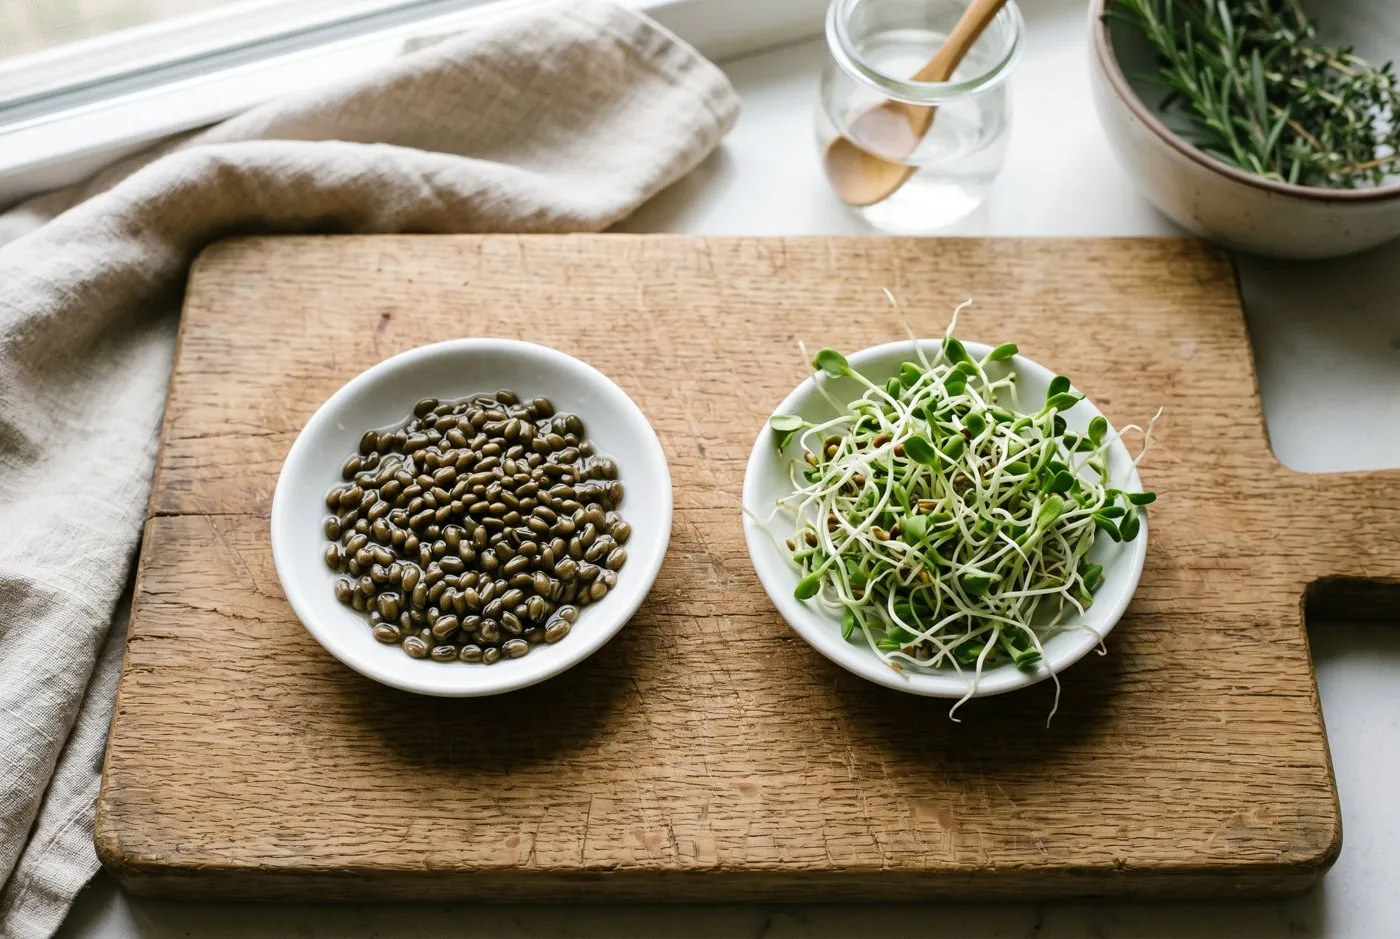 Left, seed after an overnight soak, glossy and swollen. Right, the same seed four days on. The soak wakes the seed; the rinses do the rest.
Frequently asked questions
Are home-grown sprouts safe to eat?
Yes, if you use clean food-grade seed and rinse twice daily. Sprouts grow in warm, damp conditions that also suit bacteria. Buy seed sold for sprouting, rinse with cold water two or three times a day, keep the jar draining, and refrigerate the harvest. Young children, pregnant women and anyone with low immunity should cook sprouts before eating.
How long do mung bean sprouts take to grow?
Four to six days from an overnight soak. Mung beans need a 12-hour soak, then rinsing twice daily. Short stubby sprouts are ready at day four; longer beansprout-style ones take five or six days. Keeping the jar dark gives the thicker, paler stems used in stir-fries.
Do sprouts need sunlight to grow?
No. Sprouts grow in the dark and need no light at all. The seed feeds the sprout, so a cupboard or a shaded windowsill both work. Give leafy types like alfalfa a few hours of indirect light on the final day to green the leaves. Direct sun heats the jar and dries the seed, so avoid it.
What is the white fuzz on my sprouts?
Usually harmless root hairs, not mould. Healthy root hairs are fine, white and grow evenly around each root, and they vanish when you rinse. Mould is grey or greenish, sits in patches, smells musty and stays after rinsing. If it smells sour or looks slimy, throw the whole batch out.
Can I sprout seeds from a garden centre packet?
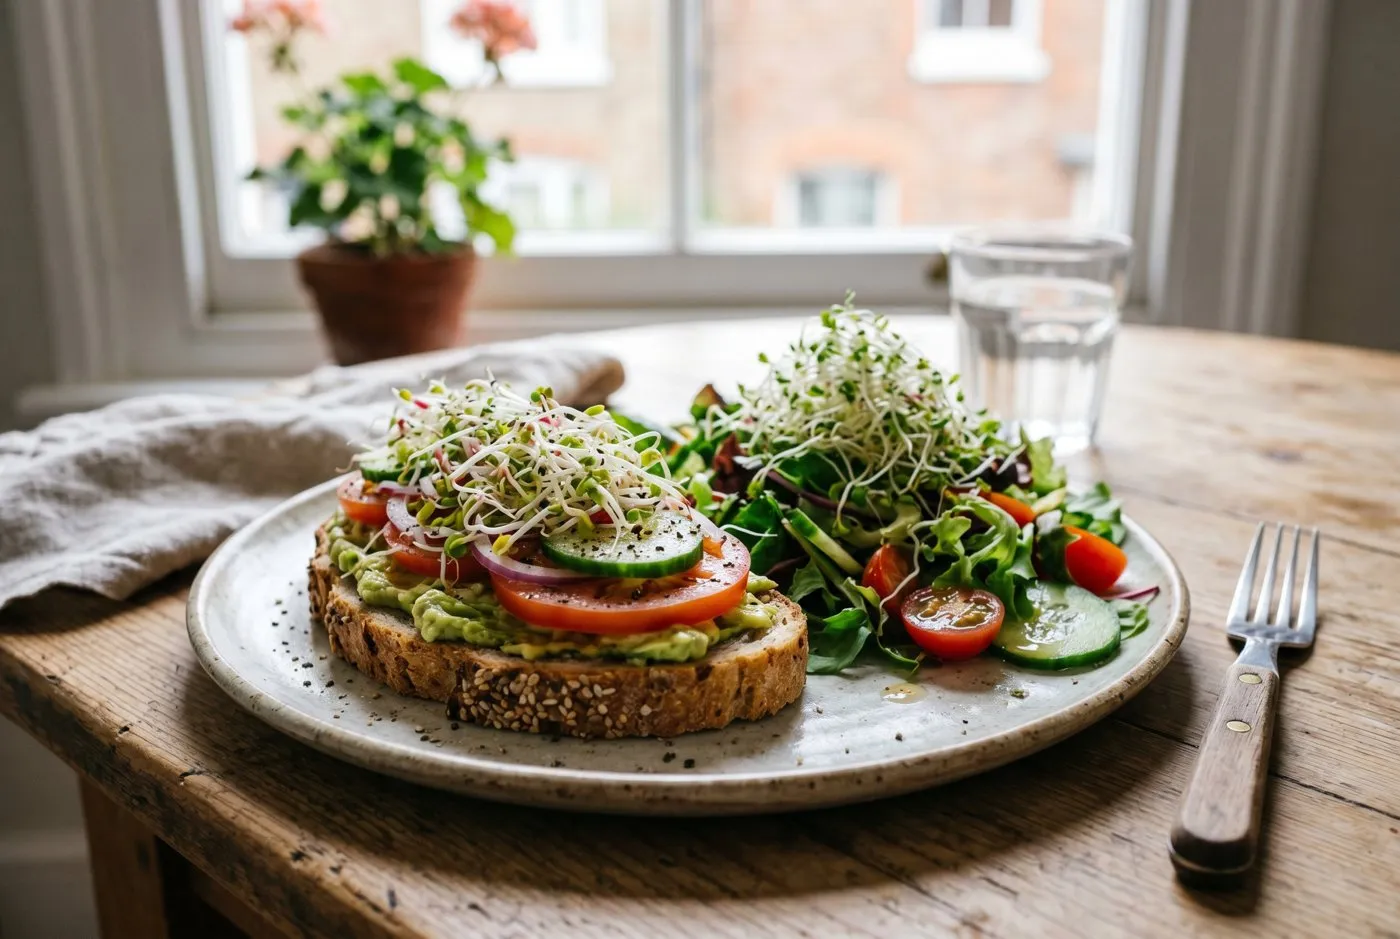 The payoff: alfalfa and radish sprouts on a salad and sandwich. A jar started on Monday is feeding the kitchen by the weekend.
Take Your Indoor Growing Further
Now you have the jar method down, the next step is the soil-grown windowsill crops that follow the same indoor logic. Read our guide to growing vegetables on a windowsill for the year-round indoor harvest, and our cress and watercress growing guide for another fast, soil-free favourite. For the wider picture of seeds you can sprout and shoot indoors, see our sprouts and shoots overview, browse the full growing guides hub, and for outdoor crops that start the same way try growing peas for pea shoots or regrowing food from kitchen scraps.
Our team produces practical UK gardening guidance from source research, contributor records and established horticultural practice. Editorial standards are overseen by Matt W.