
Key takeaways
- Collect pencil-thick scion wood from last year's growth in December or January
- Keep scion wood dormant in a sealed bag in the fridge until you graft
- Whip-and-tongue grafting suits beginners, in March and early April
- The green layer under the bark must touch on both pieces, on at least one side
- Seal every cut with tape or wax so the join cannot dry out
- Chip budding in July and August uses just one bud per new tree
Grafting is how you copy a favourite fruit tree. You join a short stick of the variety you want onto a young root system, and the two grow together into one tree. It is the only reliable way to raise a named apple or pear, because pips don’t come true.
It sounds fiddly, but it is a skill most people pick up in an afternoon. You need a sharp knife, some tape and a little patience. This guide covers the winter grafts beginners start with, summer budding, and how to look after a new graft so it takes.
What is fruit tree grafting and why do it?
Grafting joins two plants so they grow as one. The scion is a cutting of the variety you want, such as ‘Bramley’s Seedling’. The rootstock is the root system it sits on, and it decides how big the tree grows and how soon it fruits.
People graft for a few good reasons:
- To copy a variety. A pip from a Cox apple grows into a new, usually disappointing tree. A graft gives you the real thing.
- To rescue an old tree. You can save a much-loved variety from a tree that is dying.
- To control size. The right rootstock gives a patio-sized tree or a big orchard standard.
- To make a family tree. Several apple varieties on one tree can pollinate each other.
Apples are the easiest fruit to start with. Pears come next. Plums and cherries are trickier, as the cuts can ooze gum and take less reliably.
Choosing a rootstock for your graft
Pick the rootstock for the size of tree you want. Specialist fruit nurseries sell bare-root rootstocks in winter, so order them in autumn. The table gives the common choices.
| Fruit | Rootstock | Rough tree size | Good for |
|---|---|---|---|
| Apple | M27 | Very small | Large pots, step-overs |
| Apple | M9 or M26 | Small | Cordons, small gardens |
| Apple | MM106 | Medium | Bush trees, espaliers |
| Pear | Quince C or Quince A | Small to medium | Most gardens |
| Plum | Pixy or St Julien A | Small to medium | Most gardens |
| Cherry | Gisela 5 | Small | Gardens where you need to net |
Dwarfing rootstocks such as M27 and M9 need a stake for life. For a fuller comparison of sizes and staking, see our guide to fruit tree rootstocks explained.
Gardener’s tip: Some pears, including ‘Williams’ Bon Chrétien’ and ‘Dr Jules Guyot’, don’t join well with quince. Nurseries graft a short piece of a compatible pear such as ‘Beurré Hardy’ in between. As a beginner, pick a pear known to suit quince.
Collecting and storing scion wood
Cut scion wood in December or January, while the tree is fully dormant. Choose last summer’s shoots, about pencil thickness, with plump, healthy buds. Skip thin, whippy tips and older, thicker wood.
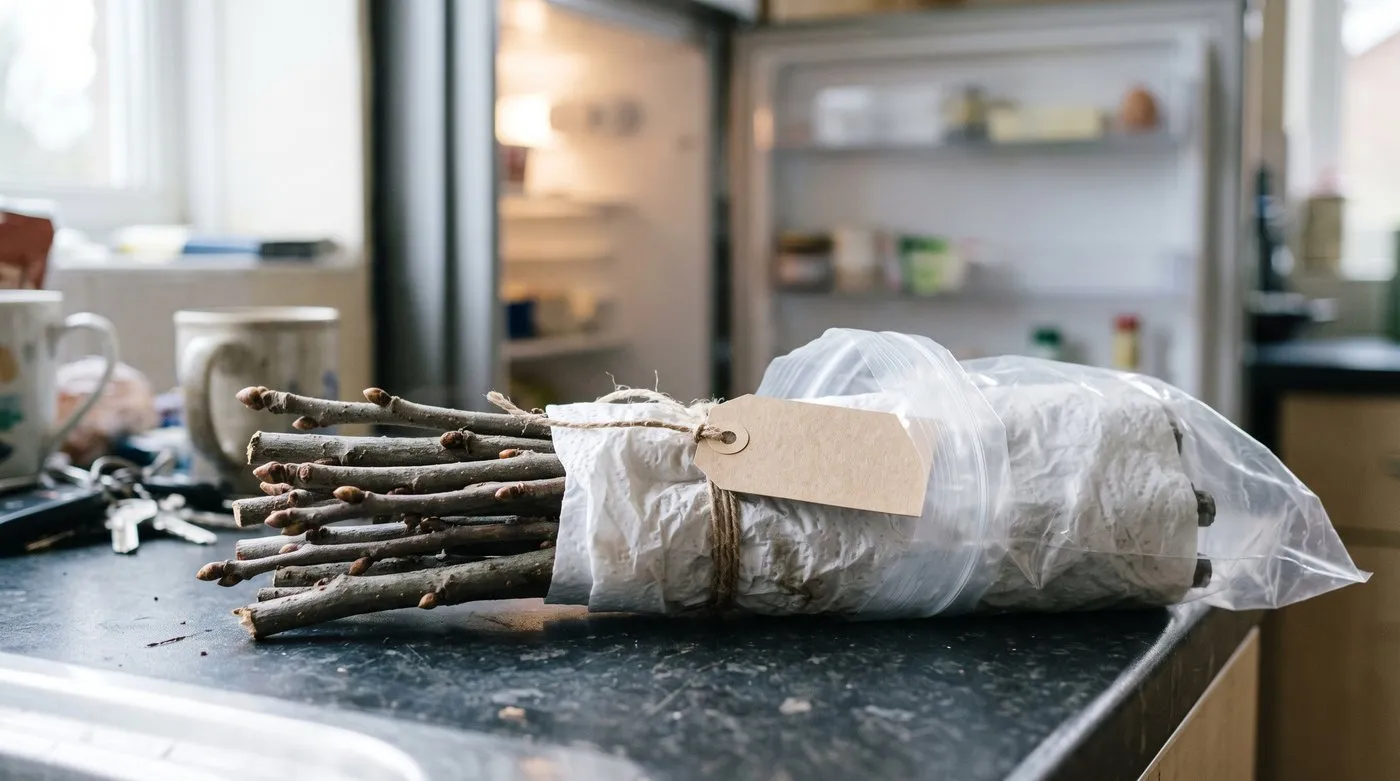
Damp paper and a sealed bag keep scion wood asleep in the fridge until grafting day. Label each bundle as you cut it.
Cut lengths of about 20-30cm. Label each bundle with the variety straight away, because dormant sticks all look the same. Avoid any wood with canker, scab or other signs of disease.
To store it:
- Wrap the sticks in slightly damp kitchen paper, not soaking wet.
- Seal them in a plastic bag.
- Keep the bag in the fridge, away from fruit, which gives off gases that can wake the buds.
- Check every couple of weeks and refresh the paper if it dries or turns mouldy.
Stored this way, scions stay dormant for a couple of months. That matters, because the scion must still be asleep when you graft.
If you’d like a variety from someone else’s tree, ask the owner first. Local orchard groups often hold scion swaps in winter.
Tools you need to graft fruit trees
You need very little kit, but the knife matters most. A grafting knife has a stiff blade, flat on one side, for long, clean cuts. Keep it razor sharp on a fine whetstone. A blunt blade crushes the wood, and crushed surfaces don’t knit.
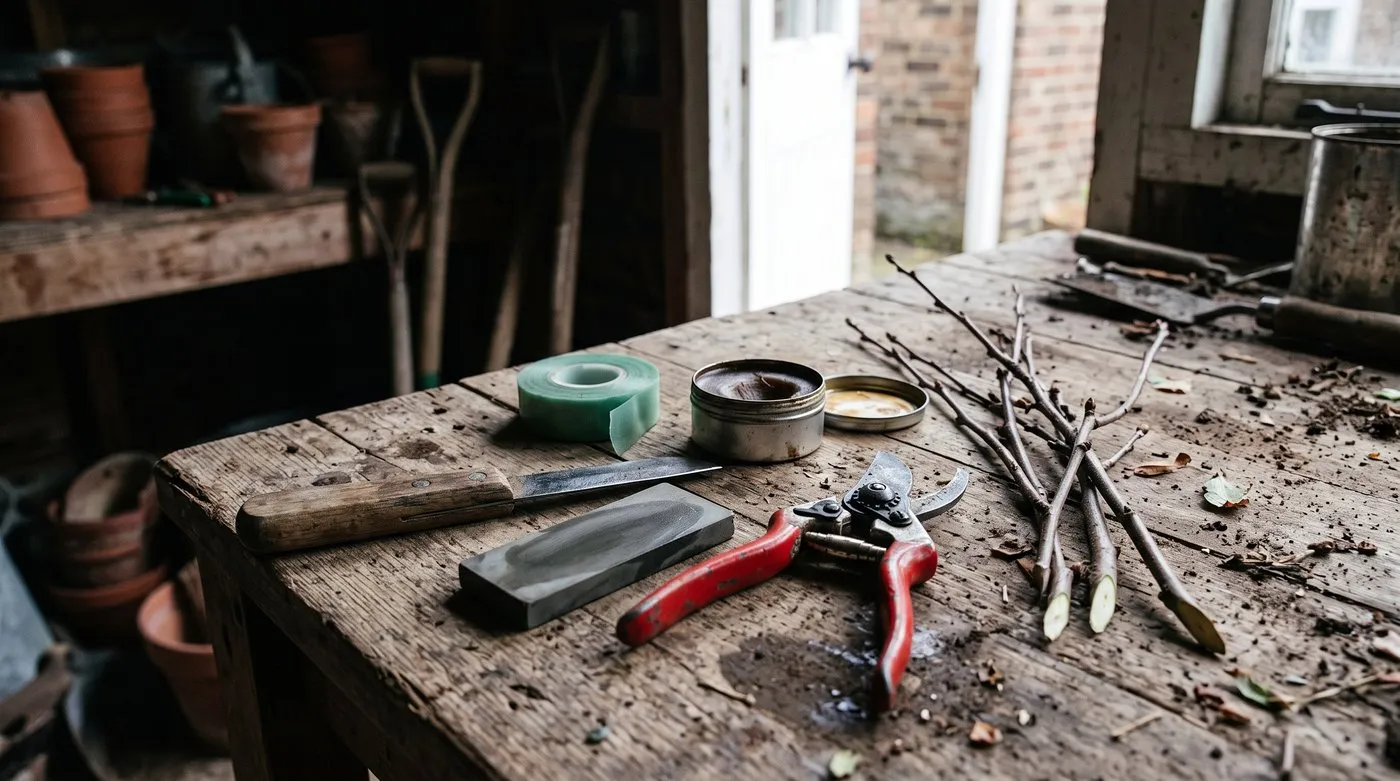
A sharp knife does most of the work. Tape, wax and a few prunings to practise on complete the kit.
You also need:
- Grafting tape or rubber grafting strips to bind the join
- Grafting wax or sealant for exposed cuts
- Secateurs for trimming rootstocks and scions
- Labels and a pencil
- Some old prunings to practise on
Practise your cuts on prunings first. Aim for a flat slope in one smooth pull, not a sawing motion.
How to do a whip-and-tongue graft step by step
The whip-and-tongue graft joins a scion and rootstock of about the same thickness. Do it in March or early April, when the rootstock’s buds are just starting to swell. You can graft potted or bare-root rootstocks on a bench, or rootstocks already planted out.
- Cut the rootstock. Trim it about 20-30cm above the roots. Make a smooth sloping cut about 3-4cm long across the top.
- Add the tongue. About a third of the way down from the tip of the slope, cut down into the wood about 1cm. Don’t split it.
- Prepare the scion. Take a piece with three or four buds. Make a matching slope at its base and a matching tongue.
- Join them. Slide the tongues together so they lock. The cambium, the thin green layer just under the bark, must line up. If the stems differ in size, line up one side perfectly.
- Bind it. Wrap grafting tape firmly round the whole join, from below to above it.
- Seal it. Trim the scion just above its top bud and seal that cut with wax.
- Label it. Note the variety, rootstock and date.
Keep newly grafted pots somewhere sheltered and cool, out of strong sun and wind. Water the rootstock normally, but don’t waterlog it. If the graft has taken, the scion’s buds should break and grow within a few weeks.

New shoots growing strongly from the scion are the sign you’ve been waiting for. The join has knitted and the tree is on its way.
Cleft grafting onto an older tree
Cleft grafting puts a new variety onto a thicker stem or branch. It is the usual way to change the variety on an established tree, called top-working. Do it in spring, just as the old tree’s buds begin to open, using scion wood kept dormant in the fridge.
- Saw the branch off cleanly, square across.
- Split the stump down the middle about 5cm with a heavy knife or grafting tool.
- Cut the base of two scions into long, smooth wedges.
- Hold the split open and push one scion into each side, lining up the green layers with the edge of the stump.
- Remove the tool so the split grips the scions.
- Seal the whole top, the split and the scion tips with grafting wax.
Leave at least one ordinary branch on the tree as a nurse limb to keep it feeding while the grafts settle. If both scions take, keep the stronger one later and remove the other.

Seal the top and the split completely. Even a small gap can let the join dry out before it heals.
Chip budding in summer
Chip budding joins a single bud, rather than a whole stick, onto a rootstock. Do it in July or August, using buds from this year’s shoots. It is handy when you have only a little wood of a precious variety.
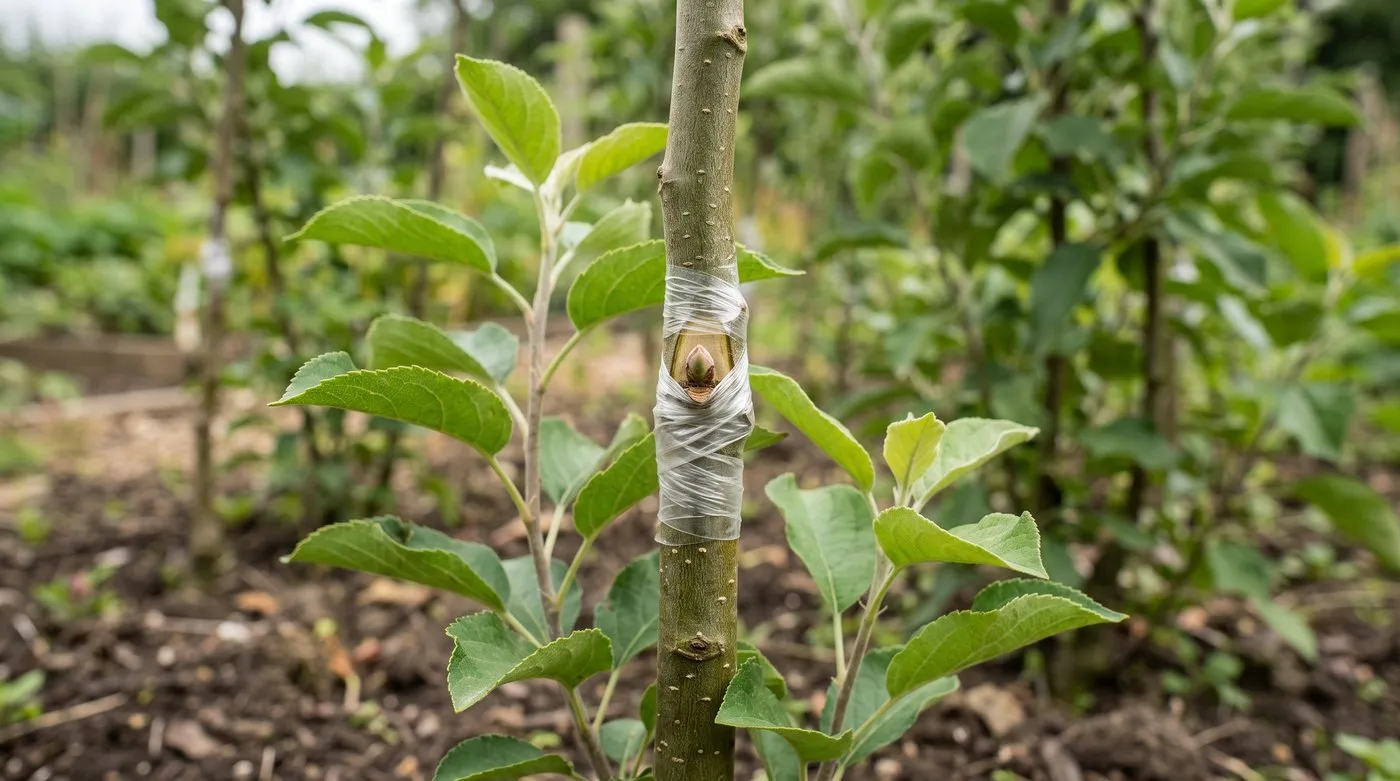
A single bud is all chip budding needs. Bind it firmly so the cut edges stay in close contact.
- Cut a healthy shoot of the variety and remove its leaves, leaving a short stalk by each bud.
- From the rootstock, about 20-30cm above the ground, cut out a shallow chip of bark and wood.
- Cut a matching chip containing one bud from your shoot.
- Fit the bud chip into the gap so the green layers meet, at least along one side.
- Bind it firmly with grafting tape, covering the bud too.
Remove the tape after about six weeks. The bud should stay plump and green. Leave it dormant over winter, then cut the rootstock off just above it in late winter. The bud then grows into the new tree.
Looking after a new graft in its first year
New grafts need protecting from knocks and from their own rootstock. Check them every week or two through spring and summer.
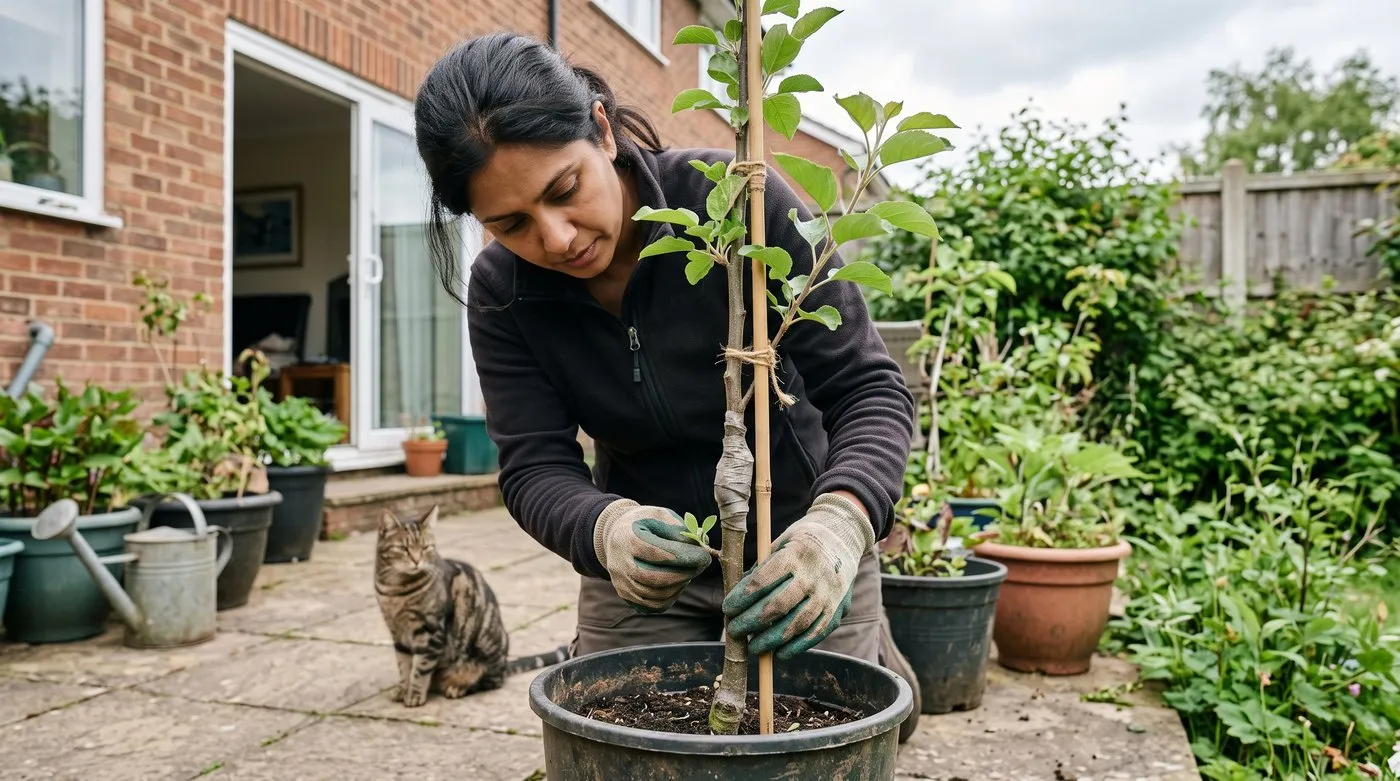
Rub off shoots below the join while they’re soft. Left alone, the rootstock will try to take over.
- Rub off rootstock shoots. Shoots from below the join will crowd out your variety. Rub them off while they’re soft.
- Support new growth. Young shoots snap easily. Tie the strongest one loosely to a cane once it is 15-20cm long.
- Loosen the tape in summer. Once the scion is growing well, slit or remove the tape before it cuts into the swelling stem. Some tapes break down on their own.
- Go easy on feeding. A rootstock in decent soil or compost has what it needs in the first year.
- Water in dry spells. Pots need regular watering through summer.
In the first winter, plant or pot on your young tree. From then on, prune it like any other young tree. Our guide to pruning fruit trees shows how to shape it.
Why grafts fail and how to fix it
Most failed grafts come down to one of five problems. Each one is easy to fix next time.
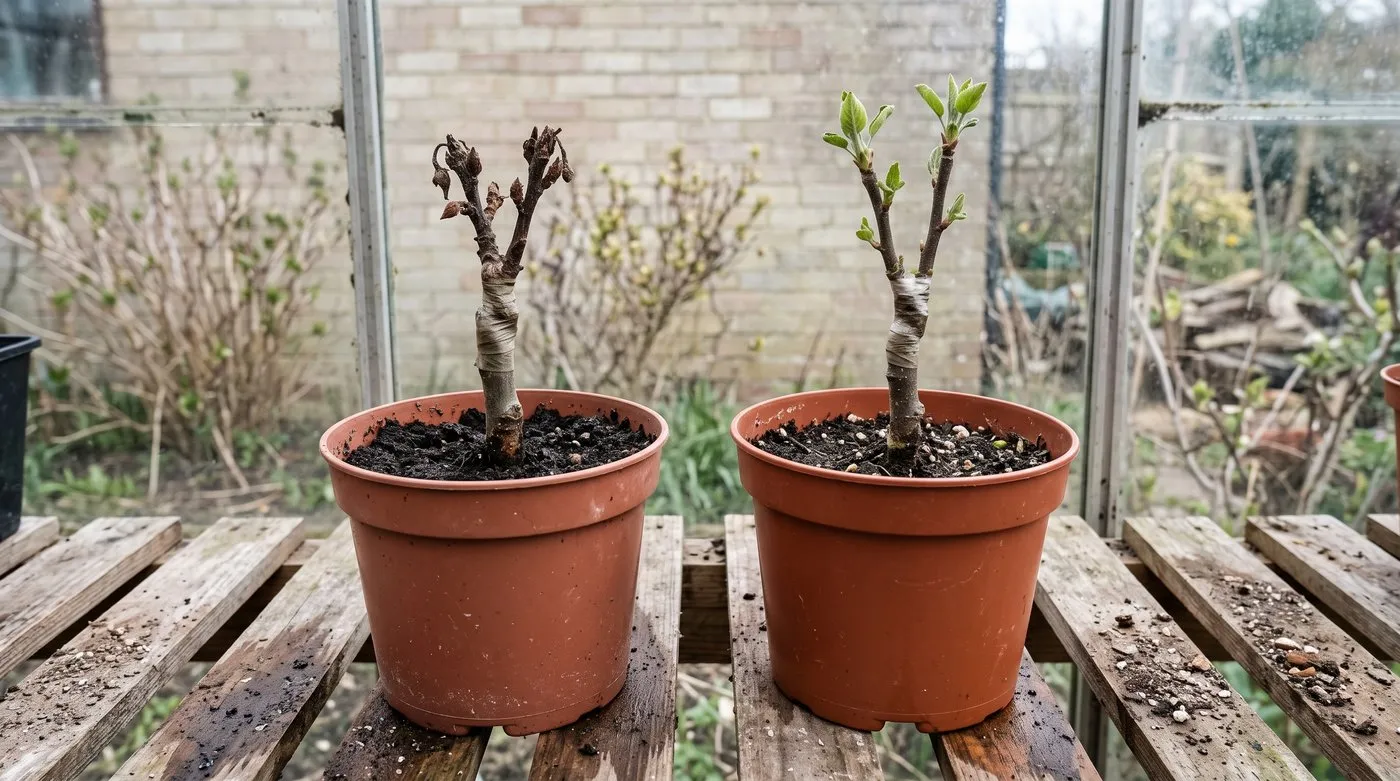
A shrivelled scion usually means the join dried out. Seal every cut and the next one should take.
- The join dried out. This is the big one. Seal every cut surface and bind the join tightly. Avoid grafting on warm, windy days.
- The green layers didn’t meet. Nothing heals without contact. If the stems differ in size, line up one side exactly.
- The join moved. Wind, pets or a knock can break the new tissue. Stake grafts and leave the pots where they are.
- The scion had woken up. Scions whose buds have opened rarely take. Keep them in the fridge until the day you graft.
- The pair didn’t match. Some varieties sulk on certain rootstocks and can fail years later. Check before you buy.
Disease can also creep in through grafting cuts. A sharp, clean knife helps. Our guide to canker in fruit trees explains what to look out for.
Month-by-month grafting calendar
| Month | What to do |
|---|---|
| October-November | Order bare-root rootstocks from a fruit nursery |
| December-January | Cut scion wood and store it in the fridge |
| February | Practise cuts on prunings. Pot or plant rootstocks |
| March | Main whip-and-tongue season as rootstock buds swell |
| April | Last winter grafts and cleft grafts. Rub off rootstock shoots |
| May-June | Tie in new shoots. Keep rubbing off rootstock shoots |
| July-August | Chip budding. Loosen tape on spring grafts |
| September | Remove tape from chip buds if not already done |
| Late winter | Cut rootstocks back above last summer’s chip buds |
Common grafting mistakes to avoid
- Grafting with a blunt knife. Rough cuts don’t knit. Sharpen before every session.
- Touching the cut surfaces. Dirty fingers slow healing. Cut, join and bind straight away.
- Grafting too early. In a cold February, the rootstock isn’t ready to heal. Wait for its buds to swell.
- Leaving tape too long. Tape left on in late summer can strangle the stem.
- Letting rootstock shoots grow. They will take over if you let them.
Growing on your grafted tree
Once your graft has taken, it is just a young fruit tree. Plant it out in its first winter, in a sunny, sheltered spot with a stake. Our guide on how to grow fruit trees covers planting and care in more detail.
Apples are the best fruit to practise on, and there are hundreds of varieties to choose from. Browse our list of the best apple varieties for UK gardens for ideas. If you’re grafting pears, see how to grow pear trees for pollination partners. More fruit guides live in our fruit growing hub.
Now you know how to graft, read our guide on how to grow apple trees to bring your new tree into fruit.
Frequently asked questions
When is the best time to graft fruit trees in the UK?
March and early April suit most winter grafts. The rootstock should be just waking up while the scion wood is still dormant, which is why you cut scions earlier and keep them in the fridge. In colder northern gardens the window runs a little later.
What is the easiest grafting method for beginners?
Whip-and-tongue is the best method to learn first. The two interlocking cuts hold the join steady while it heals. Practise the cuts on prunings until you can make a flat slope in one smooth stroke.
Can I graft different fruit types onto one tree?
Only varieties of the same kind of fruit, as a rule. A family apple tree can carry several apple varieties on one rootstock. You cannot put an apple onto a plum. Pears are the odd one out, as they grow on quince roots.
How long before a grafted fruit tree produces fruit?
Usually two to five years, depending on the rootstock. Dwarfing rootstocks fruit soonest. Vigorous ones take longer but make bigger, longer-lived trees.
Why did my graft fail?
Usually it dried out, moved, or the green layers didn’t meet. Seal every cut, bind the join firmly and keep it still. Grafting after the scion’s buds have opened also lowers your chances.
Do I need a grafting knife or will a craft knife work?
A proper grafting knife works much better. Its stiff, flat-ground blade makes the long, flat cuts a graft needs. Thin snap-off blades flex and leave wavy surfaces that don’t meet well. Keep whichever knife you use razor sharp.
Our team produces practical UK gardening guidance from source research, contributor records and established horticultural practice. Editorial standards are overseen by Matt W.


