Key takeaways
- Let colour move across the border in two or three steps, not a bit of everything
- Repeat plants in groups of three, five or seven so the border hangs together
- Plan three height layers, then let a few tall plants break the rules
- Give spring bulbs, summer perennials and autumn seedheads their own job
- Pick plants for your soil and light first, colour second
- A 2m x 4m border holds about 24 perennials and 50 bulbs
Gertrude Jekyll made borders feel full and generous without ever looking messy. Her planting was carefully planned but never stiff. Colour flowed along the border, shapes repeated, and different plants took their turn through the year.
The good news is that it works just as well in an ordinary UK garden. You don’t need a grand estate or a long double border. You need a simple plan, plants that suit your spot and enough repetition to tie it all together.
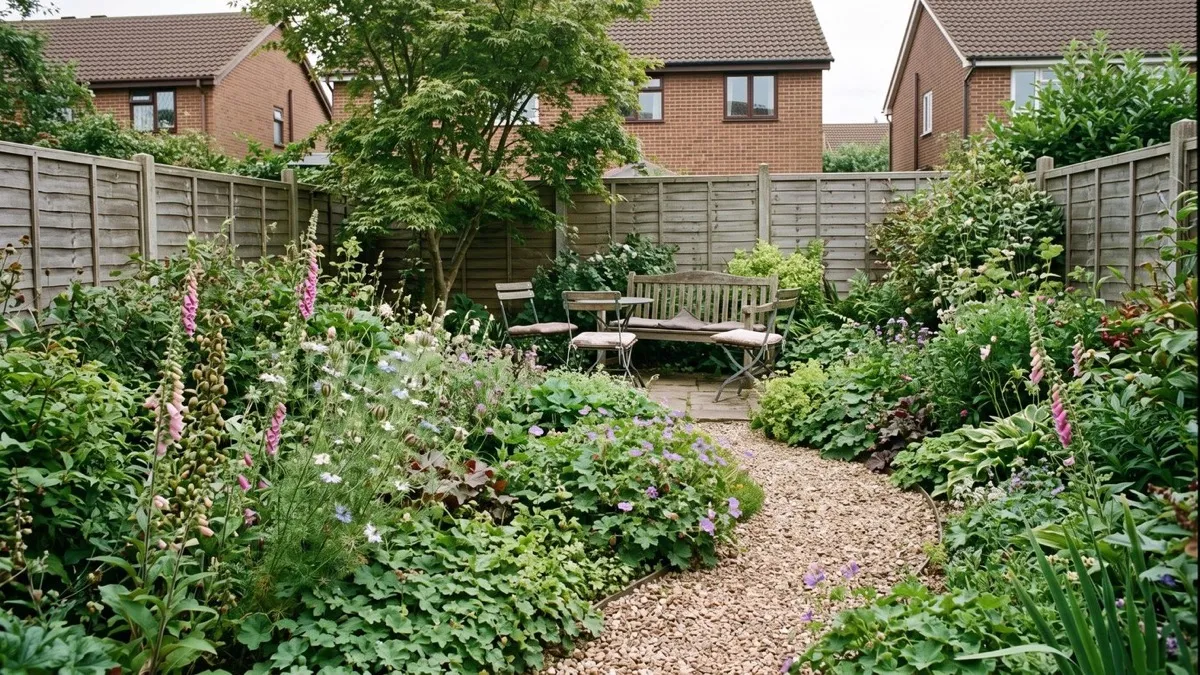
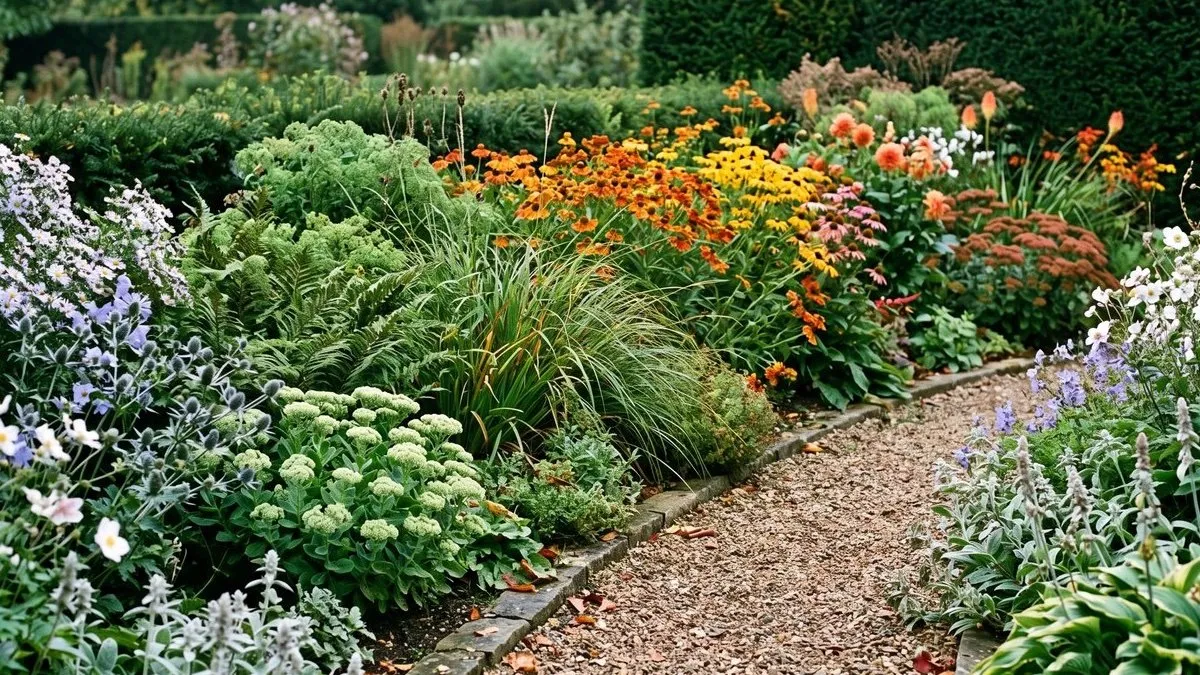
The seven lessons below turn her ideas into a practical 2m x 4m border. The pictures are modern illustrations of the ideas, not photos of Munstead Wood or any other historic garden.
Who was Gertrude Jekyll?
Gertrude Jekyll was an artist, writer, plantswoman and garden designer. She was born in 1843 and trained as an artist first, which shaped how she used colour in the garden.
Her own garden at Munstead Wood in Surrey was where she tried out ideas and grew plants. She often worked with the architect Edwin Lutyens, whose paths, walls and buildings gave her loose planting a strong frame.
The National Trust’s page on the garden at Munstead Wood explains what survives today, what has been restored and what has been replanted.
Her own books are a joy to read too. In her colour book she writes about how plants look next to each other through the garden year.
This article borrows her way of thinking, not an exact historic plant list. Modern gardens come in different sizes and soils, and most of us have less time.
For another way to borrow historic ideas, explore practical garden lessons from Warley Place.
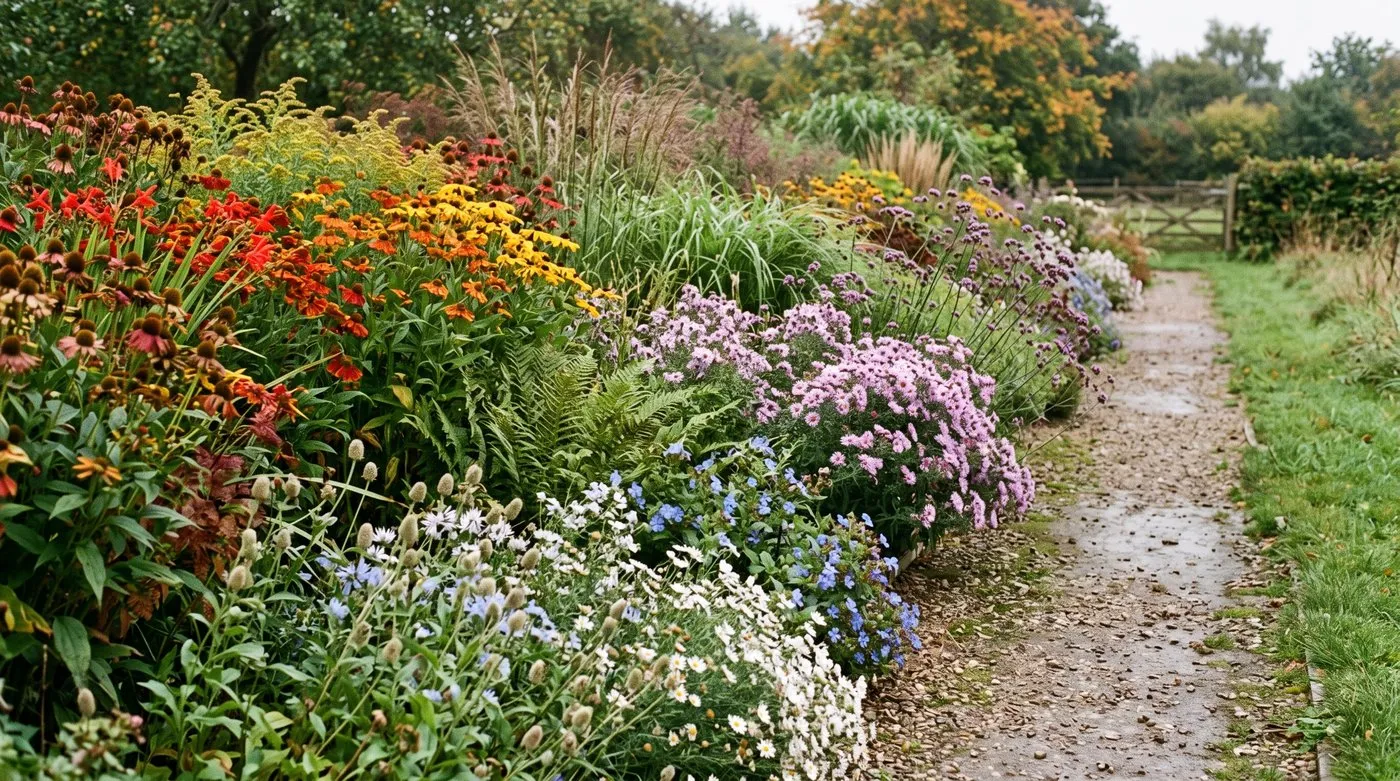 Warm flowers drift towards cooler mauves, blues and whites along a modern border.
Lesson 1: plan colour as a journey
Jekyll used colour to create movement as you walk past. At Munstead Wood, the main border moved from cool whites and blues towards strong reds, oranges and yellows.
The exact colours don’t matter. The journey does. A small border might go from white to blue to mauve. Another might have cool colours at each end and a warm group in the middle.
Sketch three colour zones on paper. For a 4m border, give each end zone about 1.2m and keep the middle 1.6m for the boldest colour. Let one or two plants stray across the lines so the zones don’t look like separate blocks.
Leaves help too. Silver leaves soften a move from white to blue. Deep green calms orange and red. Purple leaves can link pink flowers to a darker middle.
Our guide to using colour in garden design explains matching and contrasting colours and how light changes them. Pick one idea and stick with it. Six colour schemes in one 4m border is too many.
Gardener’s tip: Take a black-and-white photo of the border. If the shapes still look good without flower colour, you’re on the right track.
Lesson 2: repeat plants in drifts
Repeating plants makes a mixed border look planned. Jekyll planted in bold drifts, like a painter repeating a colour across a canvas. A single plant on its own can’t do that.
In a small border, groups of three, five or seven look good. The right number depends on how wide each plant grows. One that spreads to 60cm needs fewer plants than one that spreads to 25cm.
Put the first group near one end. Repeat it about two-thirds of the way along. Add a smaller echo near the far end. Don’t space them evenly, as it should feel natural, not measured with a ruler.
Stick to about eight main perennials in a 2m x 4m bed: three for structure, three flowering drifts and two for the front edge. Bulbs can weave between them, as their leaves die down later.
That’s the difference between lush and cluttered. Lush means lots of a few plants. Cluttered means lots of single plants all fighting for attention.
The same rule helps with a cottage garden planting plan. Repeat the plants you love before adding something new.
| Border length | Main plant types | Group size | Colour zones |
|---|---|---|---|
| 2m | 4 to 5 | 3 | 2 |
| 4m | 6 to 8 | 3 to 5 | 3 |
| 6m | 8 to 10 | 5 to 7 | 3 to 4 |
| 10m | 10 to 14 | 5 to 9 | 4 to 5 |
Lesson 3: choose shape before flowers
A border needs shapes that look good between the flowers. Jekyll chose plants for their leaves, form and habit, and at Munstead Wood yuccas added upright spikes among the softer planting.
Think in simple shapes. Spires draw the eye up. Mounds feel calm. Fine grasses catch the light and move in the breeze. Big leaves stop things looking too wispy.
Start with three height layers:
- Back: plants about 90cm to 150cm tall.
- Middle: plants about 45cm to 90cm tall.
- Front: plants about 20cm to 45cm tall.
Don’t make them neat steps. Bring one tall plant forward and let a low one wander into the middle. Overlapping layers make the border look deeper.
Add a little evergreen or long-lasting foliage too, such as a compact shrub, a grass or a silver-leaved plant. Check how big it will get first. One oversized evergreen can swallow a 2m-wide bed.
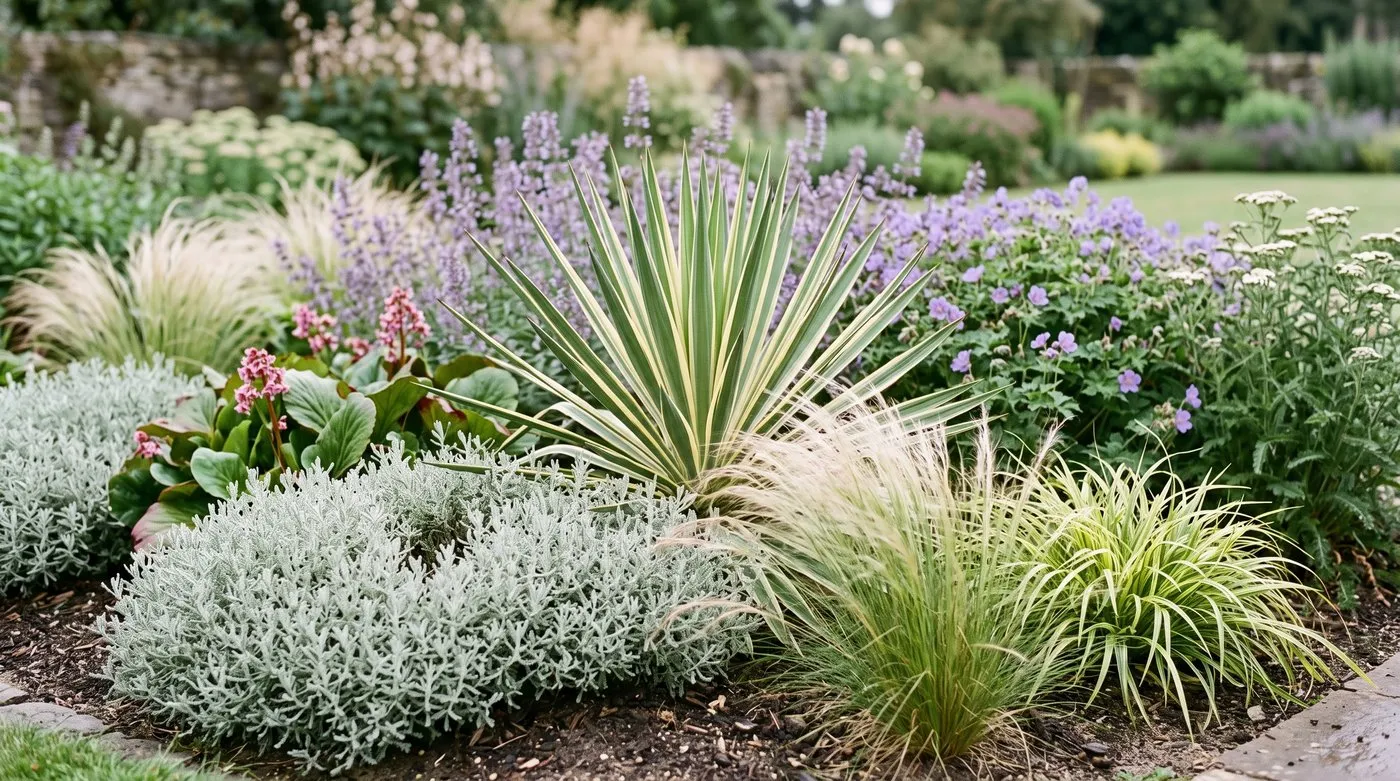 One upright spike among rounded silver leaves, fine grasses and broad foliage.
Lesson 4: give every season a job
A Jekyll-style border shouldn’t peak for just two weeks. Munstead Wood was planned as a relay. Hellebores, daffodils and primroses started the year. Peonies, poppies and lupins came next. Roses and clematis led summer, and Michaelmas daisies carried autumn.
Do the same at home. Tuck bulbs under later perennials rather than having separate spring and summer areas. Leave some seedheads standing for winter shape. A small evergreen gives you something solid all year.
Plan at least two plants for each main season. A spring bulb can vanish under a geranium that opens in June, then an aster can rise through the same spot in September.
Our year-round interest planting guide helps fill quiet spells. Start with your emptiest month, not whatever looks best at the garden centre.
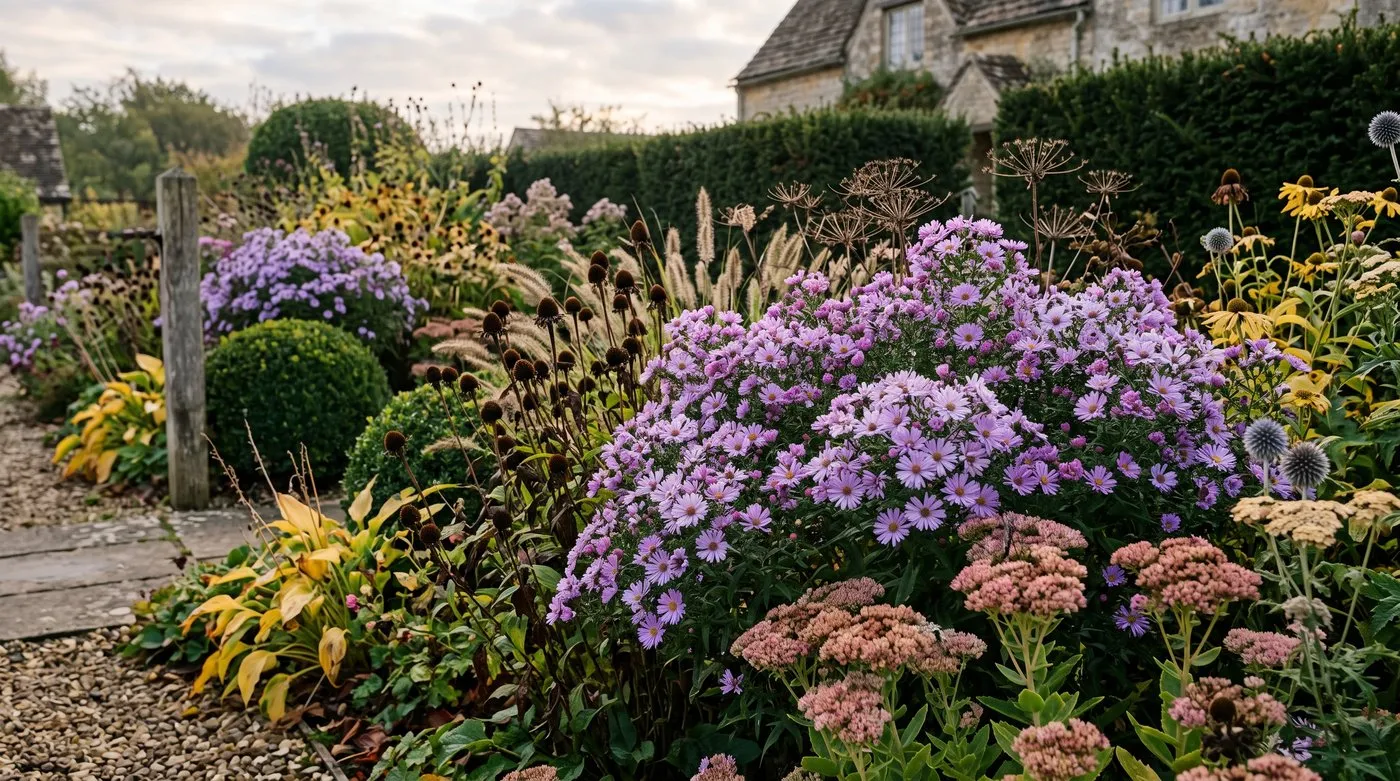 Late asters, seedheads and clipped evergreens keep an early-autumn border looking good.
| Season | Main job | Example plants | Jobs to do |
|---|---|---|---|
| Spring | Early colour | Daffodils, tulips, hellebores | Tidy damaged leaves and note gaps for bulbs |
| Early summer | Build height | Geraniums, salvia, alliums | Support tall stems before they flop |
| Late summer | Keep the colour going | Helenium, phlox, achillea | Water new plants in dry spells |
| Autumn | A good finish | Asters, grasses, sedum | Divide crowded clumps |
| Winter | Show the bones | Seedheads, evergreen mounds | Only cut back collapsed or diseased growth |
Lesson 5: frame loose planting with structure
Loose planting looks best with clear paths and edges. Jekyll and Lutyens paired relaxed planting with pergolas, walls, steps and paths that led you through the garden.
You can do the same at home. Run a straight path beside a soft border. Grow a climbing rose over a simple timber arch. Use a clipped hedge behind billowing perennials.
One strong frame is enough. Don’t cram an arch, raised bed, sculpture and three kinds of paving into one small view. Structure should make the planting easier to enjoy.
Leave room to work, too. Paths need space for you and your tools. Keep thorny plants away from narrow paths, and put soft-stemmed plants where brushing past won’t snap them.
Our garden design guides help link the border with seating, paths and views.
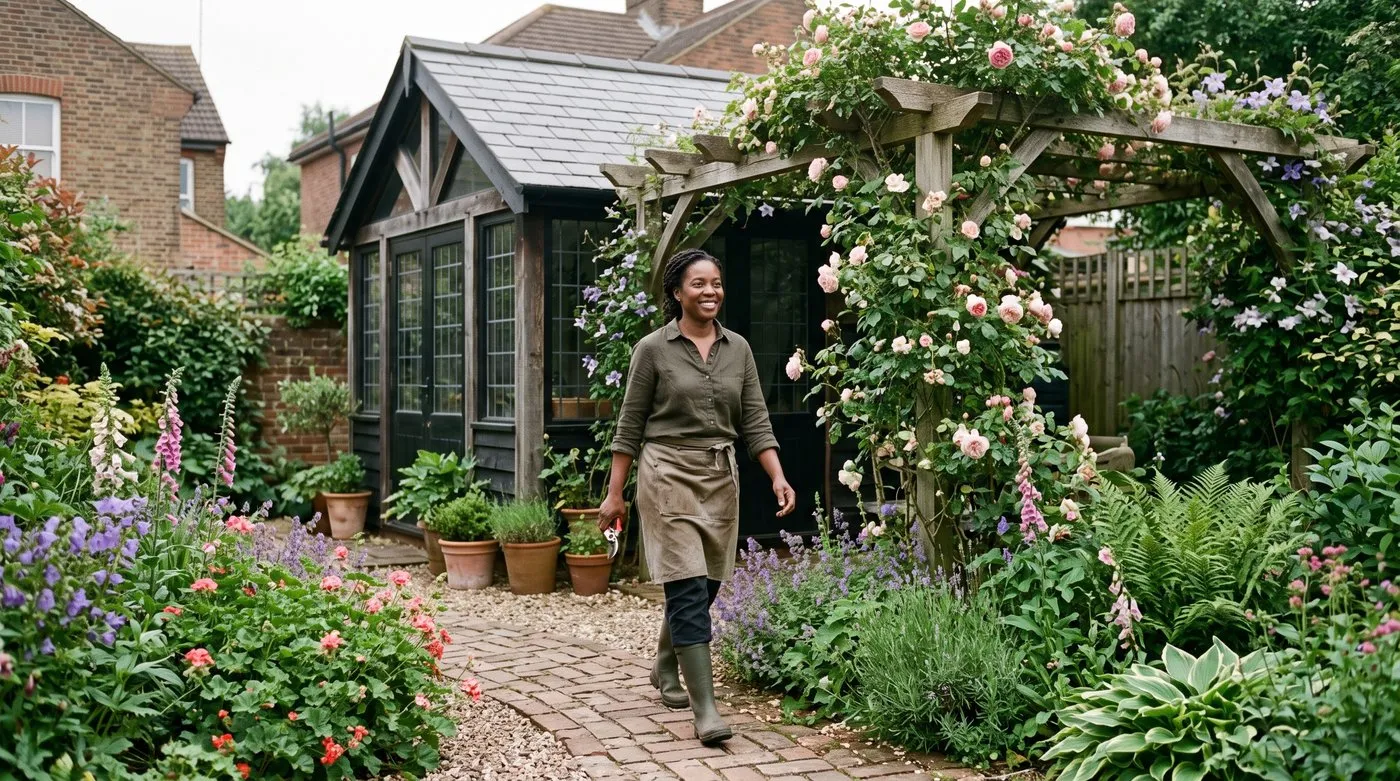 A simple pergola and brick path frame loose planting in a modern garden.
Lesson 6: match plants to the place
Jekyll looked at what grew well before thinking about looks. At Munstead Wood she used local heathland and cottage-garden plants, plus rosemary, santolina, iris, euphorbias and yuccas that suited the poor, sandy soil.
That’s not a recipe for every garden. Rosemary may sulk in wet clay, and a moisture-lover will need endless watering in a dry raised bed.
Jot down four things before choosing colours:
- How many hours of summer sun the border gets.
- What the soil is like after rain and in a dry week.
- Whether the spot is windy or sheltered.
- How much space each plant will need when fully grown.
Then pick plants that suit those conditions, and choose colours after that. You’ll replace fewer plants and water less.
On free-draining soil, silver leaves and Mediterranean herbs make good structure. Damp soil suits astilbe, primulas and grasses that like moisture. In shade, lean on contrasting leaves rather than a forced blaze of flowers.
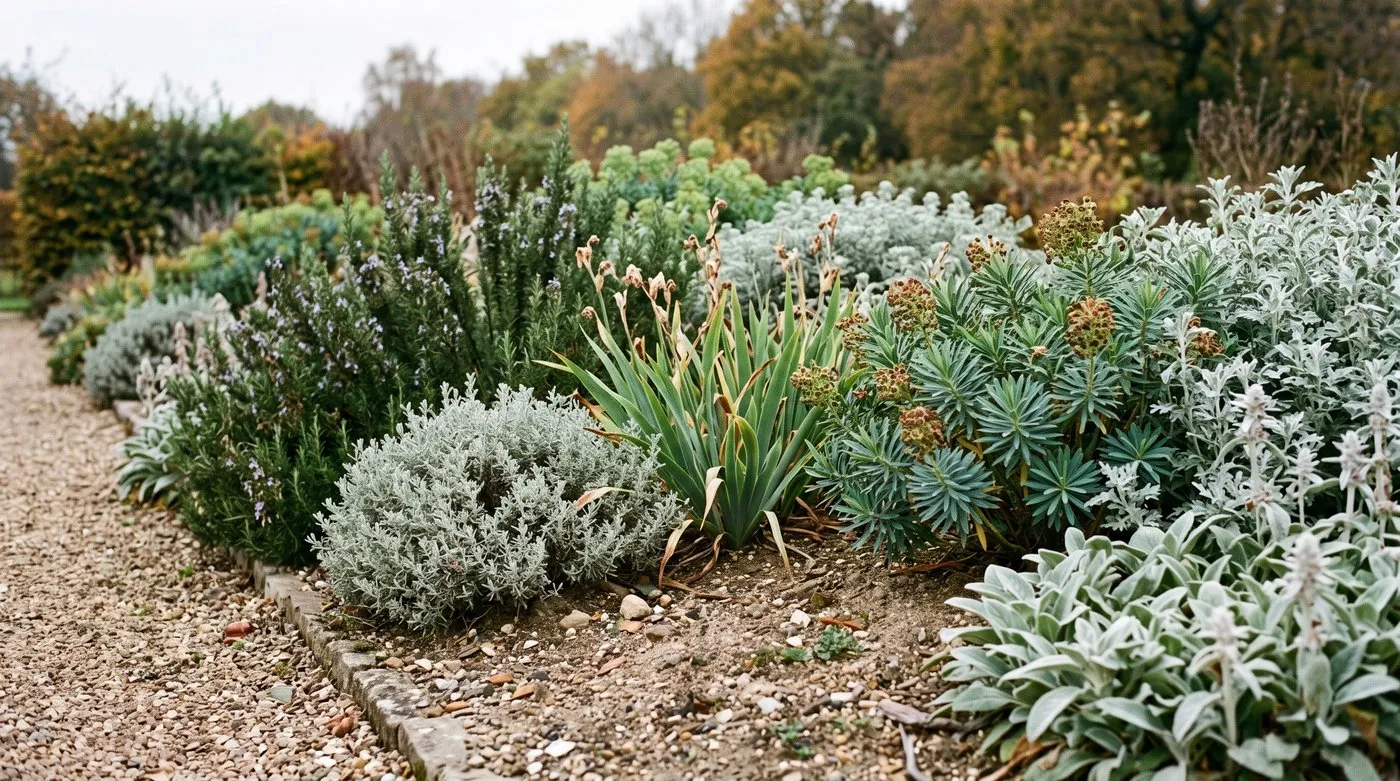 Rosemary, santolina, iris and euphorbia are happy in this free-draining border.
Lesson 7: edit the border each year
Think of a border as a draft, not a finished piece. Jekyll watched her plants closely and kept the best. You can do the same, and not every choice has to work first time.
Take four photos a year from the same spot, in March, June, September and December. Note gaps, weak groups and plants hiding their neighbours.
Fix one problem at a time. Divide a clump that’s doing well and repeat it where the border looks thin. Before you remove a struggling plant, check whether shade, drought or crowding is the real cause.
Keep a short note with your plan: when each plant flowered, how tall it grew and whether it needed support. A few years of notes will tell you more than any label.
Don’t cut everything down in October. Remove diseased or collapsed stems, and leave sound seedheads for shape and wildlife. Our guide to plants with winter seedheads has some good picks.
 A light autumn tidy keeps good seedheads and removes stems that have finished badly.
A practical 2m x 4m Jekyll-inspired border
This small plan has cool ends, a warm middle and repeated shapes. It’s a modern take on her ideas, not a copy of one of her borders. It suits a sunny, reasonably well-drained UK bed.
Start with 24 perennials and add 50 bulbs between them. Keep the plant list short so you can repeat groups.
| Layer | How many | Job | Example plants |
|---|---|---|---|
| Back | 3 | Upright structure | Calamagrostis or another clump-forming grass |
| Back and middle | 5 | Warm middle drift | Helenium or achillea in orange and rust |
| Middle | 6 | Cool repeated drift | Blue salvia, catmint or hardy geranium |
| Front | 6 | Soft edge and leaves | Stachys, low geranium or heuchera |
| Accents | 4 | Contrasting shape | Iris, allium or another upright plant |
| Between perennials | 50 bulbs | Spring and early-summer colour | 25 daffodils and 25 alliums in small groups |
Set the three grasses in a loose triangle, not a straight line. Keep the warm plants near the middle. Split the cool plants between both ends, with a smaller echo in the middle.
Plant the front layer in several linked groups rather than one long strip. Leave small gaps where bulbs can come up.
Check how wide each plant grows before planting. The numbers above assume most plants spread about 35cm to 60cm. A 90cm-wide plant changes the plan.
Water well after planting, and keep an eye on new plants in dry weather during their first year. Once the soil is moist, add a 5cm layer of mulch, keeping it away from the base of the stems.
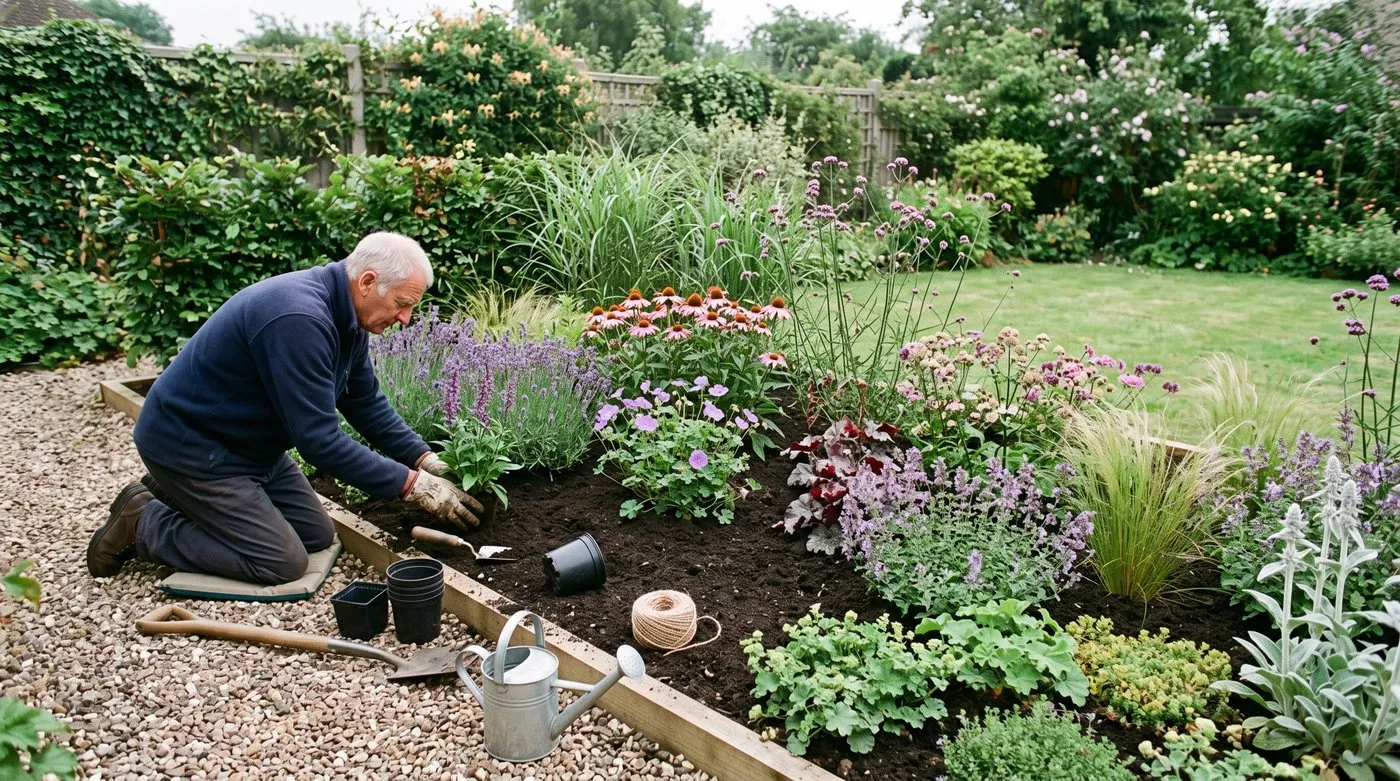 A small border planted in repeated groups and overlapping layers, with room to grow.
For more pairing ideas, see our guide to plant combinations for UK borders, and match them to your soil and light.
Common mistakes with a Jekyll-inspired border
Most mistakes come from copying the look without the planning behind it. Her borders looked relaxed because the colour, repetition and structure were already sorted.
Buying one of everything
Single plants end up as lonely dots. Buy fewer kinds and repeat them. Three of one plant usually looks better than three different ones.
Choosing colour before conditions
The perfect colour scheme fails if the plants hate the spot. Check sun, drainage and final size first.
Expecting every month to look full
Every border has quieter moments. Give each season one good feature rather than chasing non-stop flowers.
Making height bands too rigid
Three neat steps look flat. Let some tall plants come forward and let low ones drift between bigger clumps.
Copying Munstead Wood plant for plant
Her planting suited her soil, setting and gardeners. Borrow her thinking and build a plant list for your own garden.
Start with a measured sketch, then use our low-maintenance planting guide to keep the finished border easy to look after.
Frequently asked questions
What was Gertrude Jekyll’s garden style?
Loose, generous planting held together by firm structure. She used flowing colour, repeated drifts, contrasting leaves and plants that take turns through the year. Her borders looked natural without ever being random.
How did Gertrude Jekyll use colour?
She used plants like paint on a palette. At Munstead Wood, cool whites and blues moved towards hotter reds, oranges and yellows in the middle of the border.
Can Gertrude Jekyll’s ideas work in a small garden?
Yes, her ideas shrink down nicely. Use fewer kinds of plant, repeat each one, and let one clear colour change run along the border.
Which plants suit a Gertrude Jekyll-style border?
Start with plants that suit your site. Perennials, bulbs, grasses, small shrubs and one or two tall, upright plants all fit the style.
How many plants fit in a 2m x 4m border?
About 20 to 28 perennials usually fit. It depends how wide each plant grows, so check the labels before you buy.
Our team produces practical UK gardening guidance from source research, contributor records and established horticultural practice. Editorial standards are overseen by Matt W.