Key takeaways
- Kelsae is the classic show onion for the large classes; Ailsa Craig suits the 250g class
- Sow seed under heat from late December to January for the longest season
- Plant out in April with the bulb sitting on the soil surface, not buried
- Feed for leaf in late spring, then switch to a high-potash feed as bulbs swell
- Lift a few weeks before the show and dry under cover with plenty of air
- Read the show schedule first, as weight limits and staging rules vary
Exhibition onions are the crop many show growers start with. You sow in midwinter, grow the seedlings under cover, plant out in spring and lift golden, firm bulbs in late summer. It’s a long project, but each step is simple, and there’s plenty to do when the rest of the plot is asleep.
This guide follows one show onion through its whole year, from choosing a class to staging the bulbs on the plate. If you’re new to showing in general, start with the guide to winning at your village veg show, which covers entering, matching and presentation for every crop.
Which show class are you growing for?
Decide your class before you buy seed. Onion classes ask for very different things, and the schedule sets the rules.
| Class | What it asks for | Variety to try |
|---|---|---|
| Large onions | A matched set, judged on quality and size | Kelsae, Robinson’s Mammoth Improved |
| Onions 250g or under | A matched set, each bulb within the weight limit | Ailsa Craig |
| Heaviest onion | One bulb, judged on weight alone | Large exhibition strains |
| Onions from sets | A matched set grown from sets | Check the schedule |
The 250g class is the friendliest place to start. It rewards matching and finish rather than sheer size. Chasing the heaviest onion is a different hobby altogether, covered in the guide to how growers raise giant vegetables.
Choosing exhibition onion varieties
Kelsae is the classic large show onion. It makes big, round, straw-coloured bulbs and is the usual pick for the large onion class.
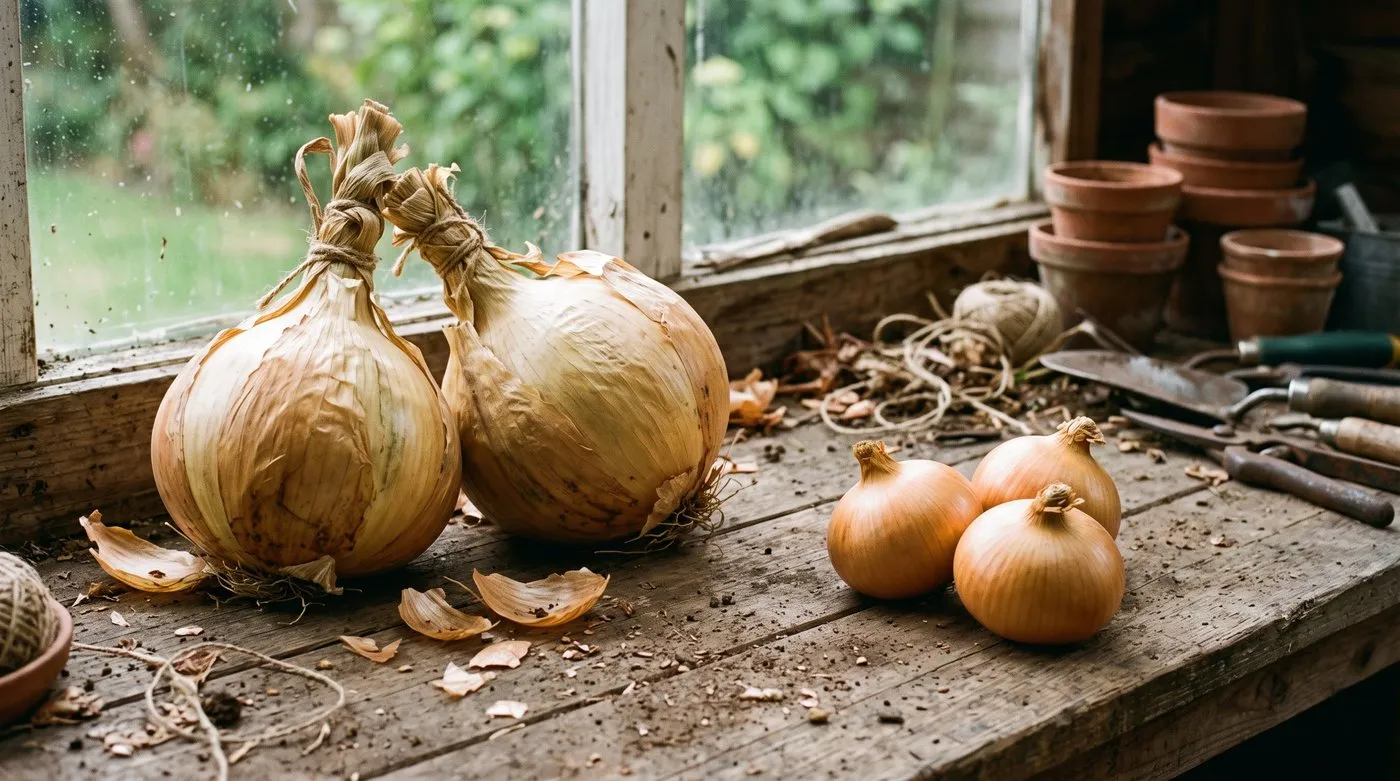
Big bulbs for the large class, neat smaller ones for the 250g class. Pick your class before you pick your seed.
Robinson’s Mammoth Improved is another long-standing variety for the heavier classes. Some growers buy young plants from specialist suppliers instead of raising their own, which saves the winter fuss.
Ailsa Craig is a traditional variety with neat, round bulbs. It suits the 250g class and is easy to find in seed catalogues.
Buy fresh seed each year, as onion seed doesn’t keep well. For everyday onions to grow alongside, see the comparison of onion sets and seed varieties.
Sowing show onions in winter
Sow from late December to January under heat, at about 15-20°C. A heated propagator is ideal.
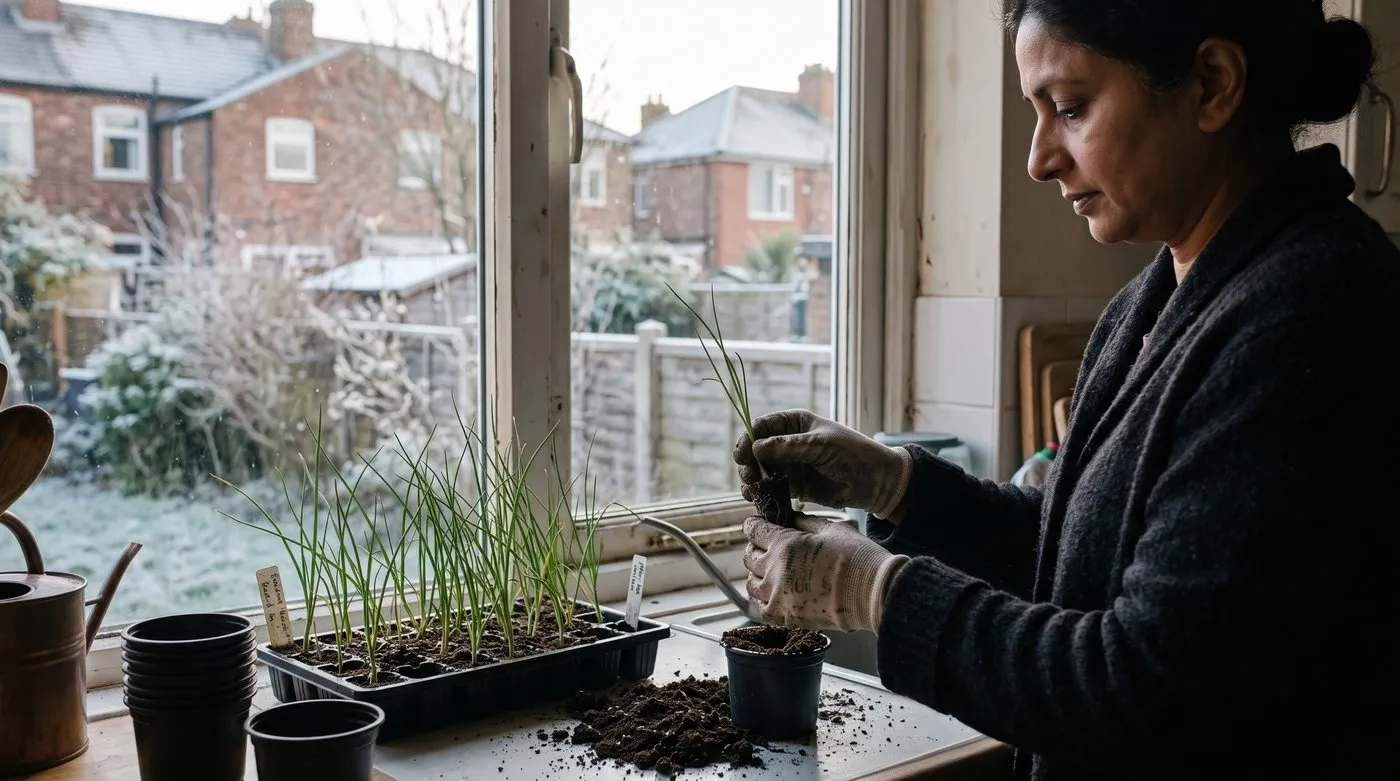
Seedlings need the brightest spot you have in midwinter. Pot them on once roots fill the little modules.
- Fill small modules with peat-free seed compost
- Sow one or two seeds per cell and cover lightly
- Water gently and keep the propagator lid on
- Once the seedlings appear, move them off the heat to a bright, cool spot
- Thin to the strongest seedling in each cell
Light is the hard part in midwinter. Give seedlings the brightest windowsill you have, or a simple grow light. Pot them on into 9cm pots once roots fill the modules. Water little and often, as soggy compost rots onion seedlings.
Hardening off and planting out
Harden plants off in March, then plant out in April. Move them to a cold frame or unheated greenhouse, opening it on mild days and closing it at night. After two or three weeks they can stay out full time.
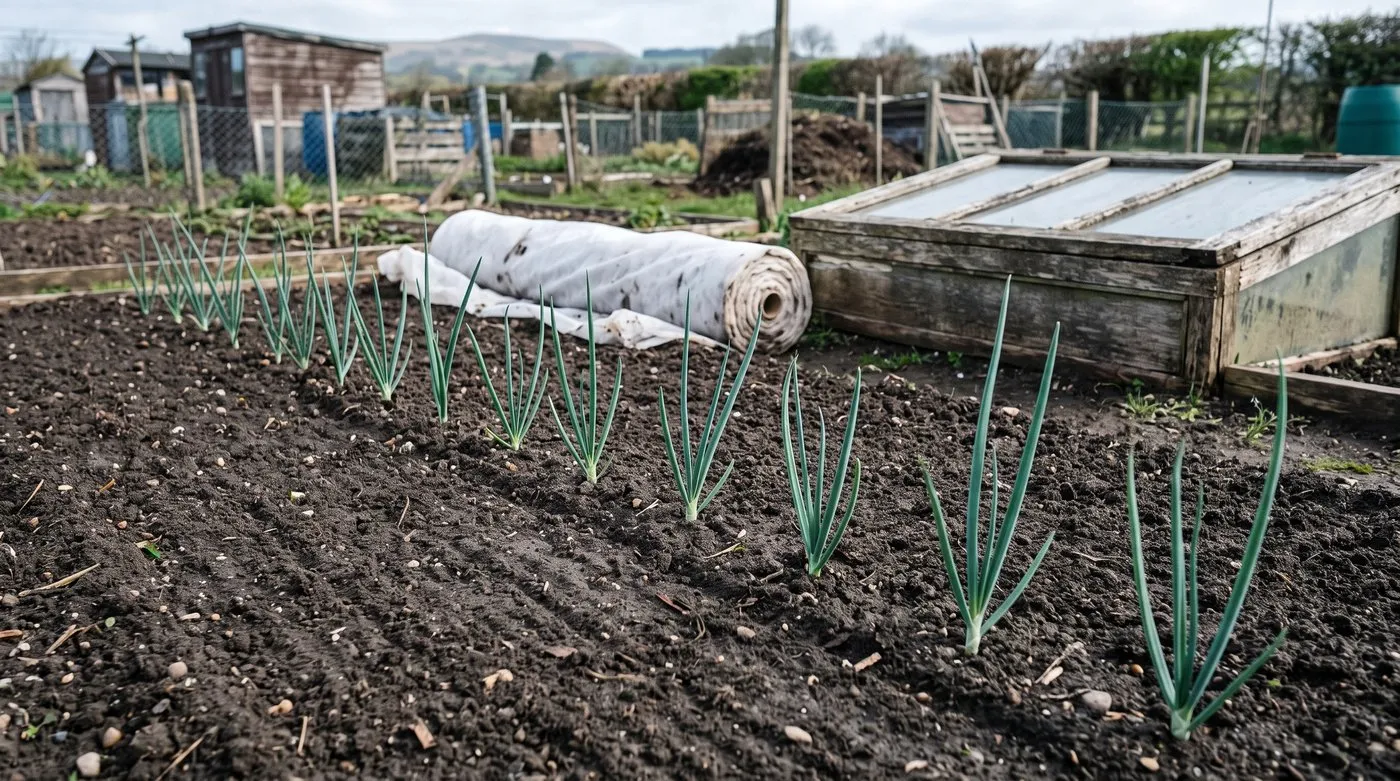
Plenty of room and the base right at the surface. Show onions swell on top of the ground, not under it.
Plant on a calm day into firmed, raked soil. Give each plant plenty of room, about 30cm or more each way, as crowded onions stay small. Set the plant so the base sits just at the surface, with only the roots in the soil. A show onion swells on top of the ground, not under it.
Cover with fleece if a hard frost is forecast after planting. A sharp check to growth at this stage can make onions bolt.
Preparing a deep, rich onion bed
Prepare the bed in autumn so it settles over winter. Dig deeply, breaking up any compacted layer, and work in plenty of well-rotted manure or compost. Never use fresh manure, as it gives soft growth and thick necks.
In spring, fork the top lightly, rake it fine and firm it by treading. Onions like firm ground and a sunny, open spot. They don’t like acid soil, so add lime only if a simple test shows you need it.
Move the onion bed to fresh ground each year if you can. That helps keep soil diseases at bay.

Deep digging and rotted manure in autumn give the bed all winter to settle. The bulbs pay you back next summer.
Feeding and watering through summer
Feed for leaf first, then switch to potash. Leaves power the bulb, so a big plant in June means a big onion in August.
- Late spring: a balanced or nitrogen-rich liquid feed every week or so builds strong leaves
- From midsummer: switch to a high-potash feed, such as a tomato feed, as the bulbs start to swell
- Late summer: stop feeding once the bulbs are near full size, so the skins ripen
Water steadily in dry spells. Uneven watering, a drought then a soaking, can split bulbs and spoil the shape. Hand-weed around the plants rather than hoeing, as a hoe can nick the bulbs.
Lifting and drying for the show bench
Lift a few weeks before the show. In late summer the leaves yellow and flop over by themselves. That’s the sign the bulb has nearly finished. Let them fall naturally rather than bending them over.
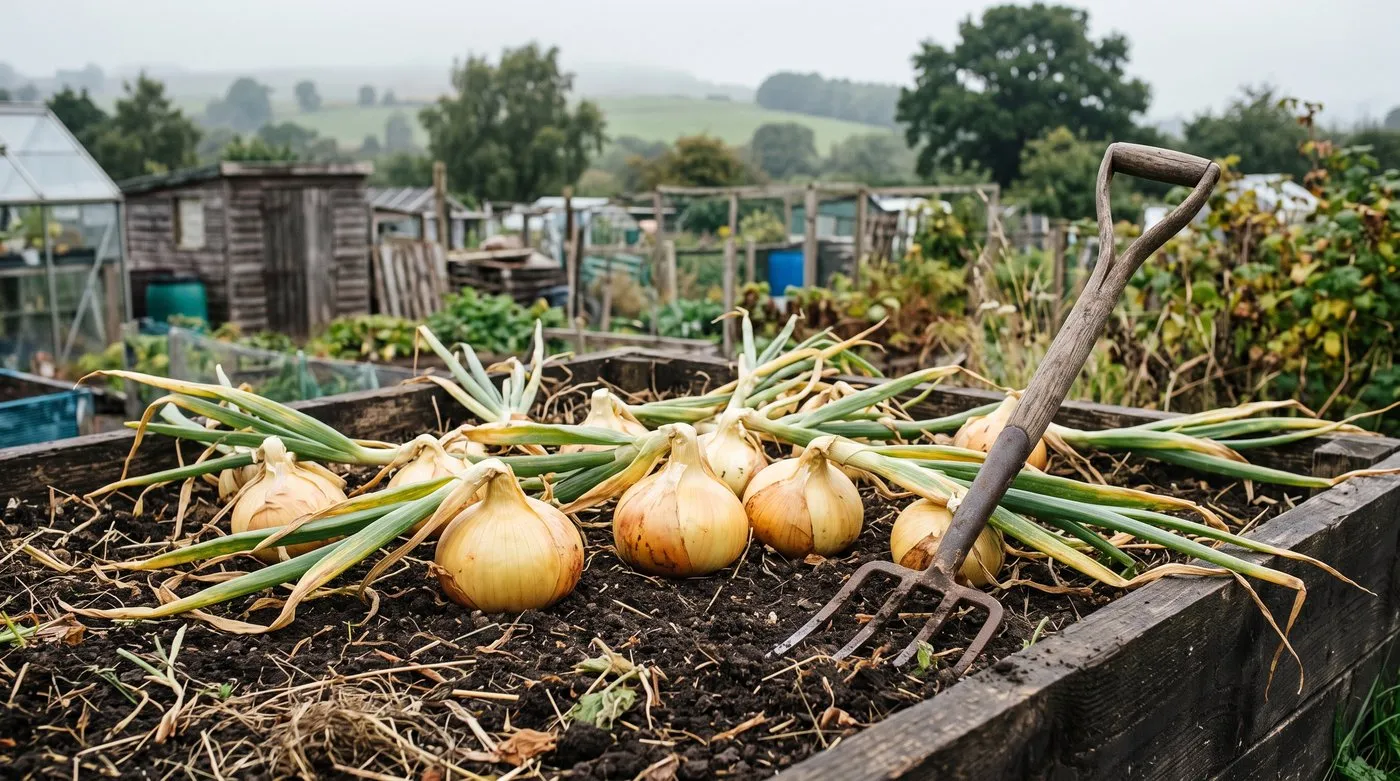
When the leaves yellow and flop over by themselves, the bulbs are nearly done. Time to plan the lift.
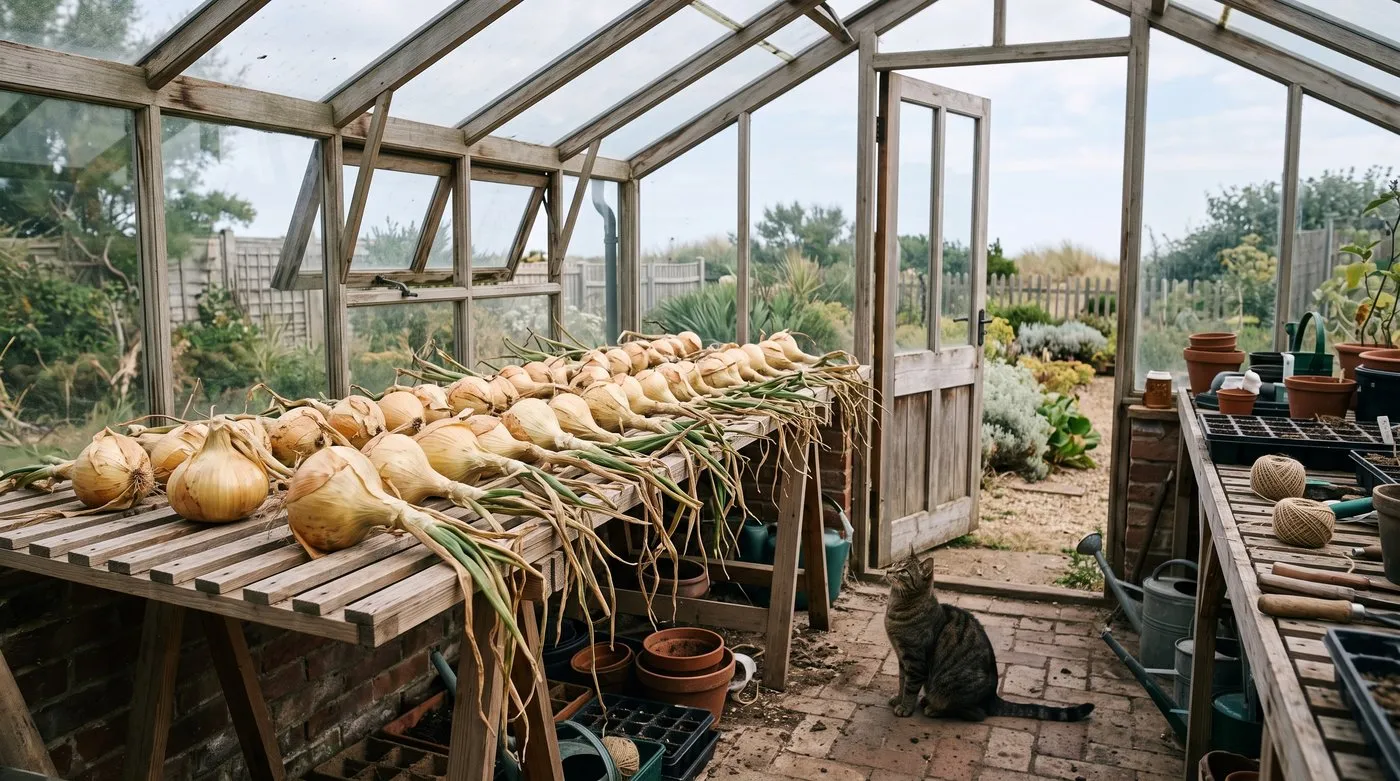
Spread the bulbs out under cover with plenty of air. A couple of weeks gives a papery skin and a tight neck.
Ease each bulb up with a fork from underneath. Never pull by the neck, as that bruises it and spoils the finish. Lay the bulbs on a slatted rack under cover, in a shed or greenhouse with plenty of air. Most need a couple of weeks to dry until the skin is papery and the neck shrinks tight. The guide to curing and drying onions covers the same steps for kitchen crops.
Dressing and staging show onions
Pick your set first, then dress them carefully. Choose bulbs that match in size, shape and colour. Weigh them if you are in a weight-limited class.
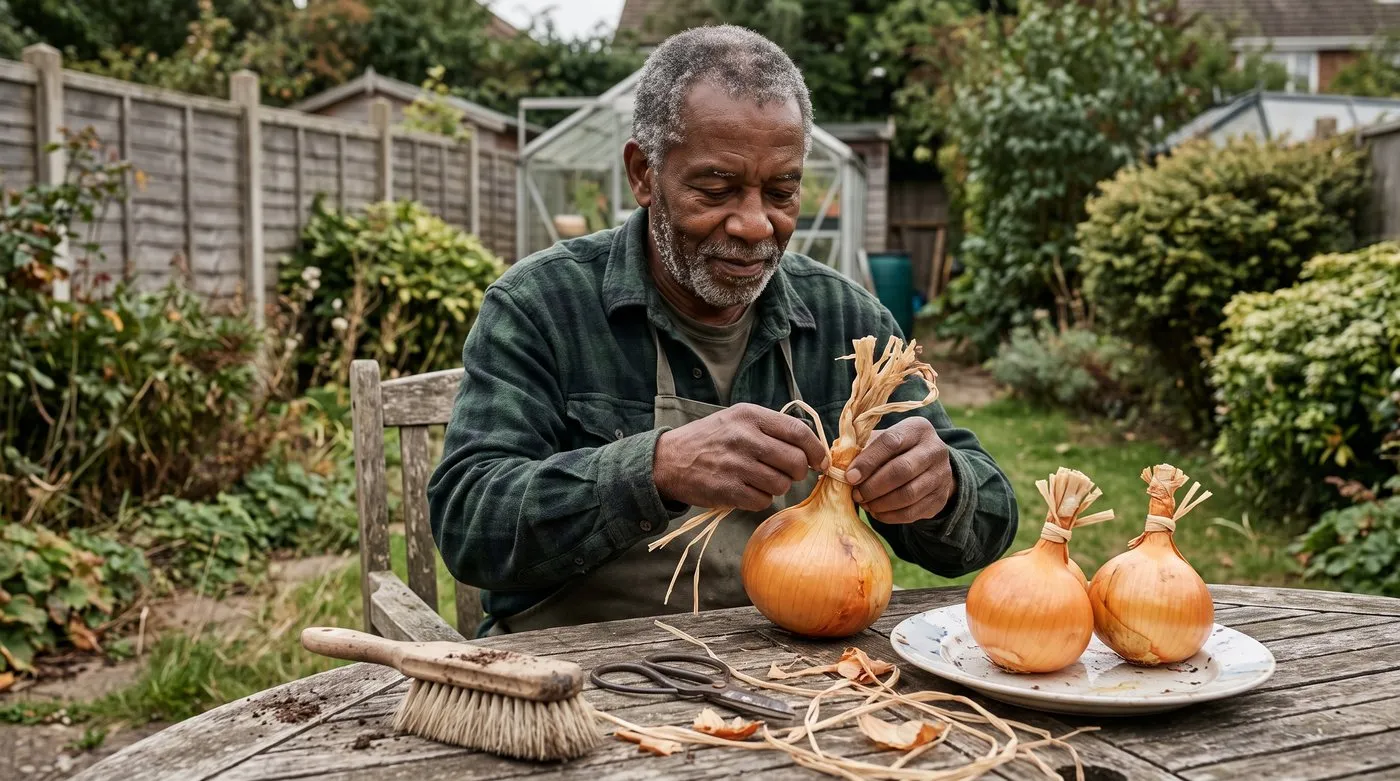
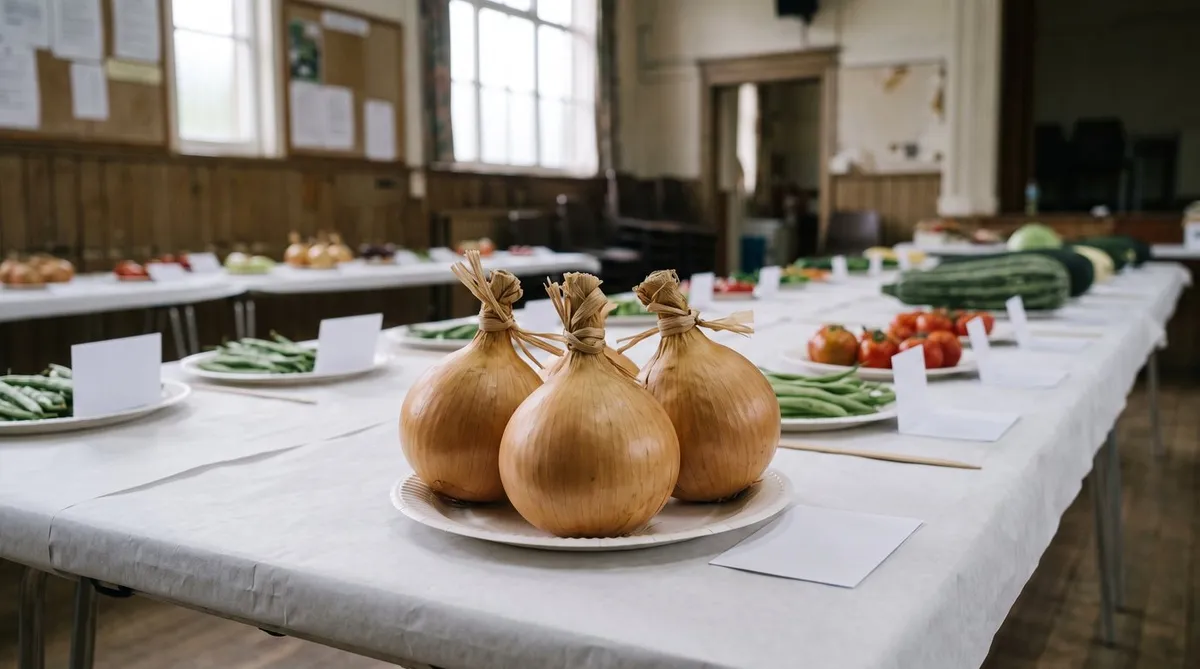
Neat raffia necks and cleanly trimmed roots finish the set. Brush the skins, but never wash them.
- Skins: brush off loose soil. Remove only loose or damaged outer skin, keeping a complete, ripe skin underneath. Don’t wash them
- Necks: trim the dry tops and tie the neck neatly with natural raffia
- Roots: trim the roots back cleanly without cutting into the base
- Staging: onions are usually staged on rings or dry sand, as the schedule allows
Wrap each bulb in soft cloth or paper for the journey. A scuffed skin can’t be fixed on the day. The guide to how UK show veg is judged explains what the judge checks once your onions are on the table.
Common show onion problems
Bolting: a cold snap or dry spell after planting out can make onions send up a flower stalk. Harden off well and use fleece on frosty nights.
Thick necks: usually too much nitrogen late in the season, or fresh manure in the bed. Switch to potash in midsummer.
Onion fly: maggots tunnel into the base and the plant collapses. Cover plants with fine insect mesh from planting out. The guide to onion root fly has more.
White rot: a fluffy white mould at the base and yellowing leaves. It lives in the soil for many years, so don’t grow onions, leeks or garlic there again. The guide to allium white rot explains how to spot it.
Show onion calendar
| Month | What to do |
|---|---|
| October to November | Read last year’s schedule. Dig the bed and add rotted manure |
| December to January | Sow seed under heat. Grow seedlings on in good light |
| February | Pot on into 9cm pots. Keep cool and bright |
| March | Harden off in a cold frame. Fork and firm the bed |
| April | Plant out. Fleece on frosty nights. Cover with mesh |
| May to June | Feed for leaf. Water in dry spells. Hand-weed |
| July | Switch to a high-potash feed as bulbs swell |
| August | Stop feeding. Leaves start to fall over naturally |
| August to September | Lift, dry under cover, then dress and stage |
Common mistakes with exhibition onions
- Sowing too late for a large class. Big bulbs need the whole season, so sow in winter
- Planting too deep. A buried bulb grows pear-shaped. Keep the base at the surface
- Feeding nitrogen into late summer. It gives thick necks that won’t ripen
- Peeling too far. Taking off sound skin to make a bulb shine leaves it looking raw
- Growing only as many as you need. Grow spares so you can pick a matched set
The National Vegetable Society is a good place to find local shows and judging standards. Explore more crop guides on the growing veg hub.
Once your onions are growing well, try a second show crop with the guide to growing pot leeks for show.
Frequently asked questions
What is the best exhibition onion variety in the UK?
Kelsae is the classic choice for large show onions. Robinson’s Mammoth Improved is another long-standing variety for the heavy classes. Ailsa Craig is a traditional variety that suits the 250g class and beginners. Check your show schedule first, as large classes and weight-limited classes need different approaches.
When should I sow show onions in the UK?
Sow under heat, at about 15-20°C, from late December to January. An early sowing gives the longest season and the biggest bulbs. Onions for the 250g class can be sown a little later. Grow seedlings on in good light so they don’t become leggy.
How big should an exhibition onion be?
It depends on the class. Many shows have a class for onions of 250g or under, where matching and finish matter most. Large onion classes reward size as well as quality. Read the schedule carefully, as an onion over the weight limit will be marked down or disqualified.
What soil do exhibition onions need?
Deep, fertile, well-drained soil that isn’t acid. Dig in plenty of well-rotted manure or compost in autumn so it settles before planting. Avoid fresh manure, which gives soft growth and thick necks. Firm the soil before planting and keep the bed free of weeds.
How do I get a perfect onion shape for showing?
Steady, unchecked growth gives the best shape. Water and feed evenly so bulbs swell without stopping and starting. Keep the bulbs sitting on the soil surface rather than buried. Grow more than you need so you can pick a well-matched set.
What do judges look for in show onions?
Well-matched, firm, well-ripened bulbs with clean skins. Each bulb should have a thin, dry neck and unblemished skin, with a shape true to the variety. In large classes, size counts too. Tops should be neatly tied and roots trimmed as the schedule asks.
Our team produces practical UK gardening guidance from source research, contributor records and established horticultural practice. Editorial standards are overseen by Matt W.