Key takeaways
- Stand trays in about 1cm of water until the surface darkens, then lift them out to drain
- A drier compost surface helps prevent damping off and stops fine seeds washing away
- Use tap water at room temperature for seeds and seedlings, not stored rainwater
- Never leave trays sitting in water for hours, or the roots drown
- Capillary matting keeps trays watered for several days while you're away
- Check by feel and by the weight of the tray, never on a fixed schedule
Bottom watering seed trays means letting the compost drink from below instead of pouring water on top. You stand the tray in a shallow puddle, wait a few minutes until the surface darkens, then lift it out to drain. It keeps tiny seeds where you sowed them, stops the surface packing down and helps keep damping off at bay.
This guide covers the kit, the step-by-step soak, how often to do it and what to do about algae or soggy compost. If your seedlings are already keeling over, the guide to damping off and why seedlings collapse explains the cause and what to do next.
Why bottom water seed trays?
Bottom watering is gentler and more even than a watering can. Even with a fine rose, watering from above can cause four problems:
- A wet surface. Damping off thrives where the compost surface stays wet and the air is still.
- A crust. Drops of water pack fine compost into a skin that tiny seedlings struggle to push through.
- Moving seeds. Light seeds float off and gather in one corner of the tray.
- Wet leaves. Seedlings that stay damp overnight are more likely to rot or grow grey mould.
When you water from below, the water rises through the drainage holes by capillary action, the way a sugar lump soaks up tea. The surface dries first between waterings, while the lower compost stays moist. The roots follow the water down, which tends to give a good root system.
Bottom watering is one part of good sowing hygiene. Clean trays, fresh seed compost, the right temperature for germination and good air flow all play their part too.
What do you need for bottom watering?
You need very little, and most of it you’ll already have:
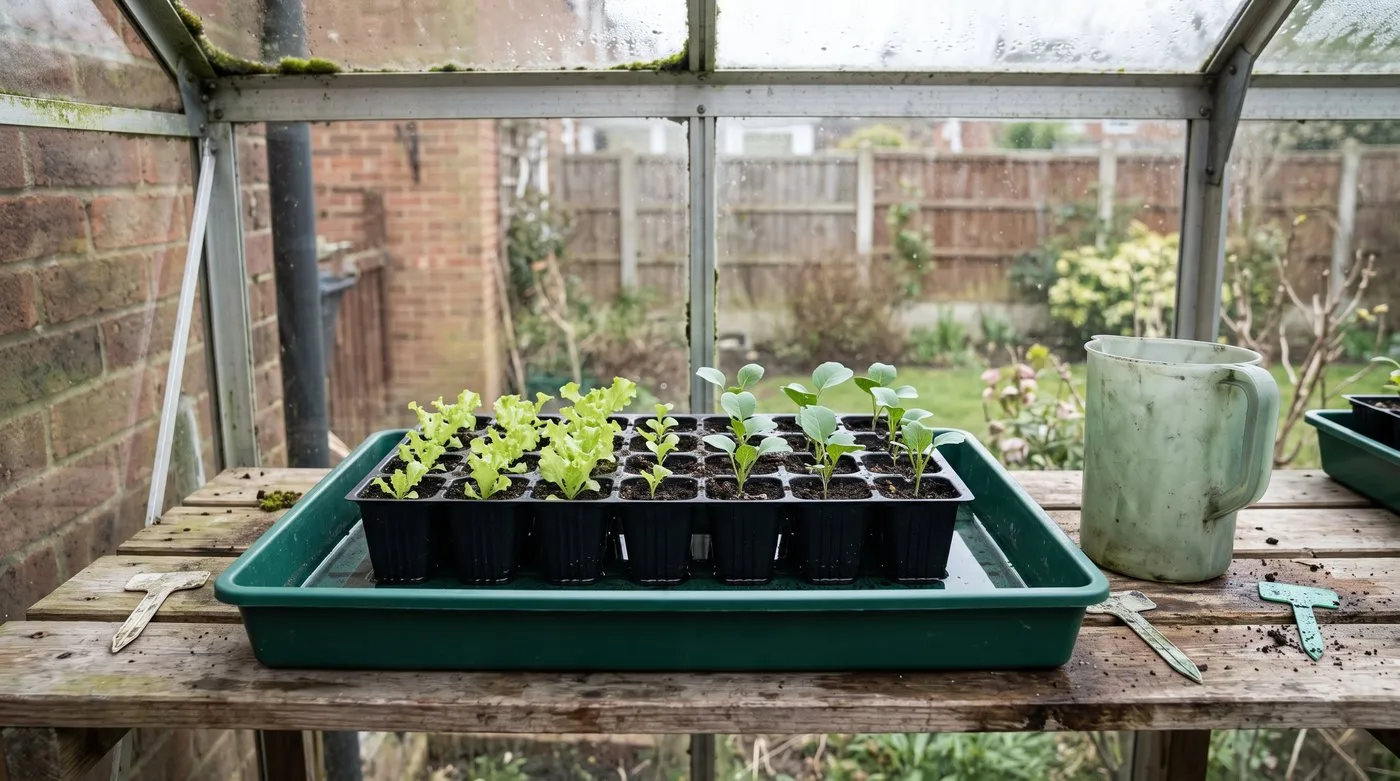
A solid outer tray with about a centimetre of water is all the kit you need to start.
- A solid outer tray with no holes, wider than your module trays and at least 4cm deep. A gravel tray, a spare seed tray without holes or a shallow storage box all work.
- Module trays or pots with drainage holes.
- A watering can or jug to fill the outer tray.
- Capillary matting (optional), a felt-like mat that wicks water up to the trays.
- Vermiculite (optional), a light mineral you sprinkle over the compost to keep the surface dry.
Use a deep enough outer tray. If it’s too shallow, the water reaches the top too fast or spills over when you lower the trays in.
How to bottom water seed trays step by step
The method takes about ten minutes for a whole bench of trays.
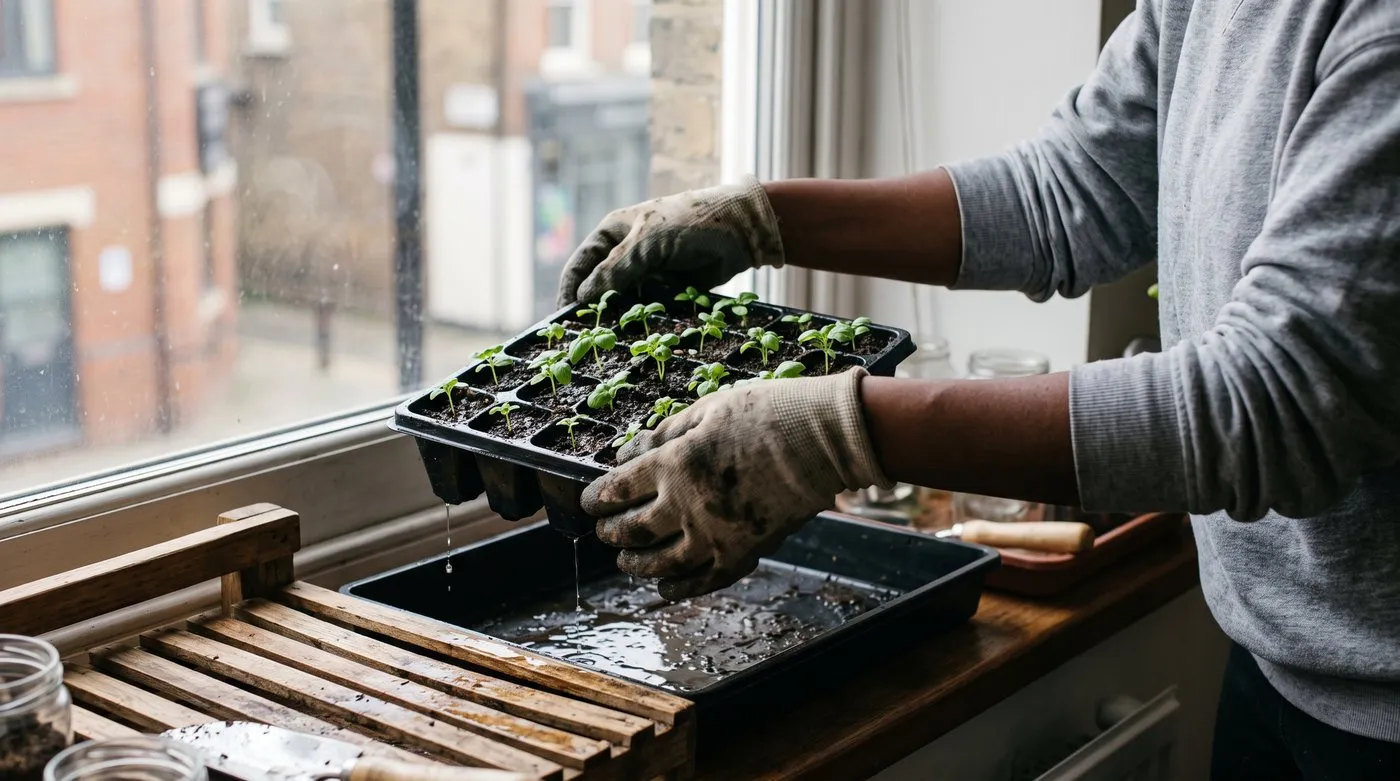
Lift the tray out as soon as the surface darkens and let it drain. Never leave it sitting in water.
- Fill the outer tray with about 1cm of tap water at room temperature. A measuring jug helps the first few times.
- Stand the module tray or pots in the water. The water should reach the drainage holes, never the top of the compost.
- Wait until the surface darkens. This usually takes 5 minutes for shallow modules and up to 15 minutes for 9cm pots. Very dry compost takes longer.
- Lift the tray out as soon as the top looks damp.
- Let it drain on a slatted bench, a rack or an empty tray for a few minutes. Then put it back on the windowsill or in the propagator.
Pour away any water left in the outer tray. Seedlings left standing in water get waterlogged roots and can rot.
Gardener’s tip: Lift a tray just after watering and again a couple of days later. You’ll soon learn the difference between a heavy, wet tray and a light one that needs a drink.
Which seeds benefit most from bottom watering?
Every seedling copes with bottom watering, but some really need it. These are the ones to soak from below:
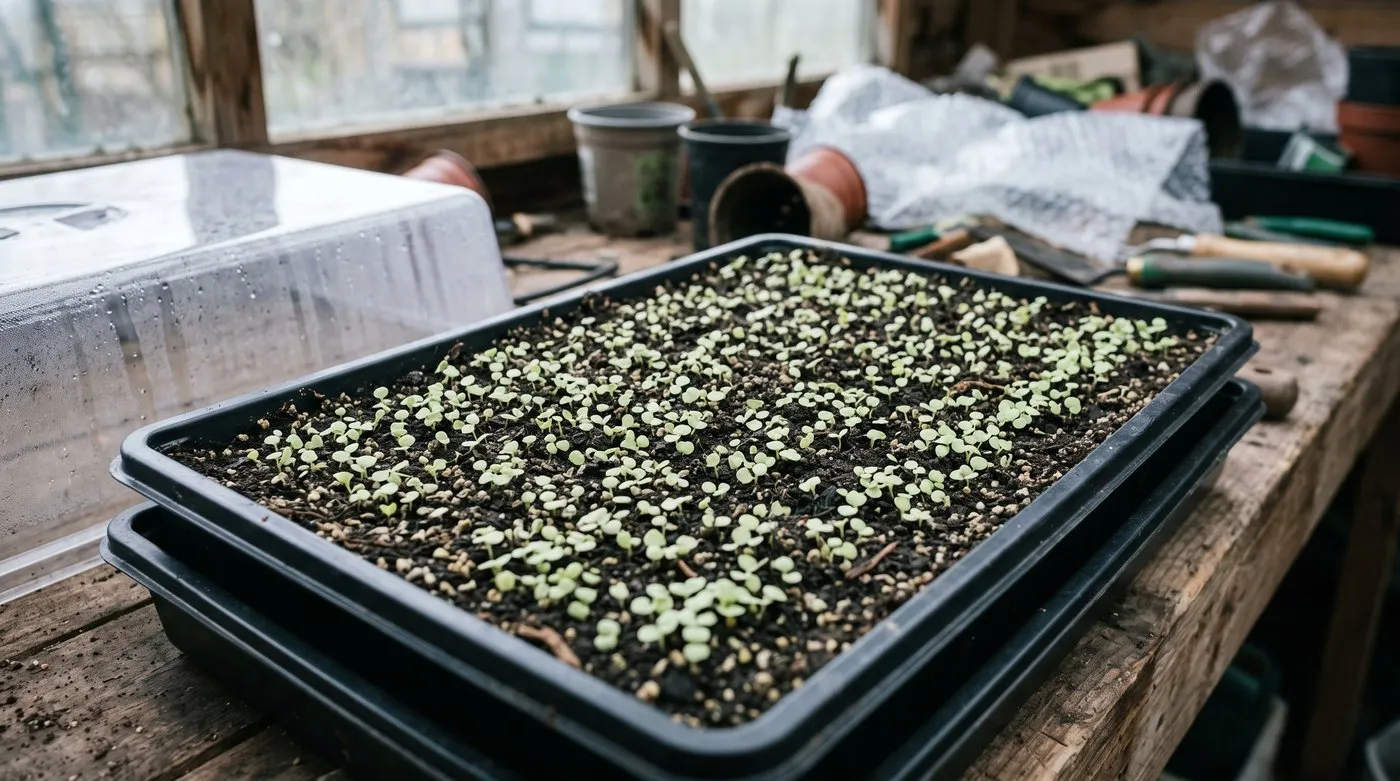
Tiny surface-sown seeds like lobelia stay evenly spread when the water comes from below.
- Tiny surface-sown seeds such as lobelia, begonia, foxglove, nicotiana and primula. They need light to germinate, so they sit on the surface and wash away easily.
- Seedlings prone to damping off, such as basil, antirrhinum, lettuce and brassicas, especially in cool, damp spring weather.
- Densely sown trays that you’ll prick out later, where a watering can would flatten the seedlings.
Big seeds sown deeper, such as courgettes, beans and sunflowers, don’t mind a careful top watering. Bottom watering still suits them well while they are in small pots. The guide to sowing seeds indoors covers sowing depths for each type.
Using capillary matting to water trays while you’re away
Capillary matting is the easy upgrade. It’s a felt-like mat that sits in the outer tray and stays damp. Trays stand on top and draw up water as they need it, so you can leave them for a few days at a time.
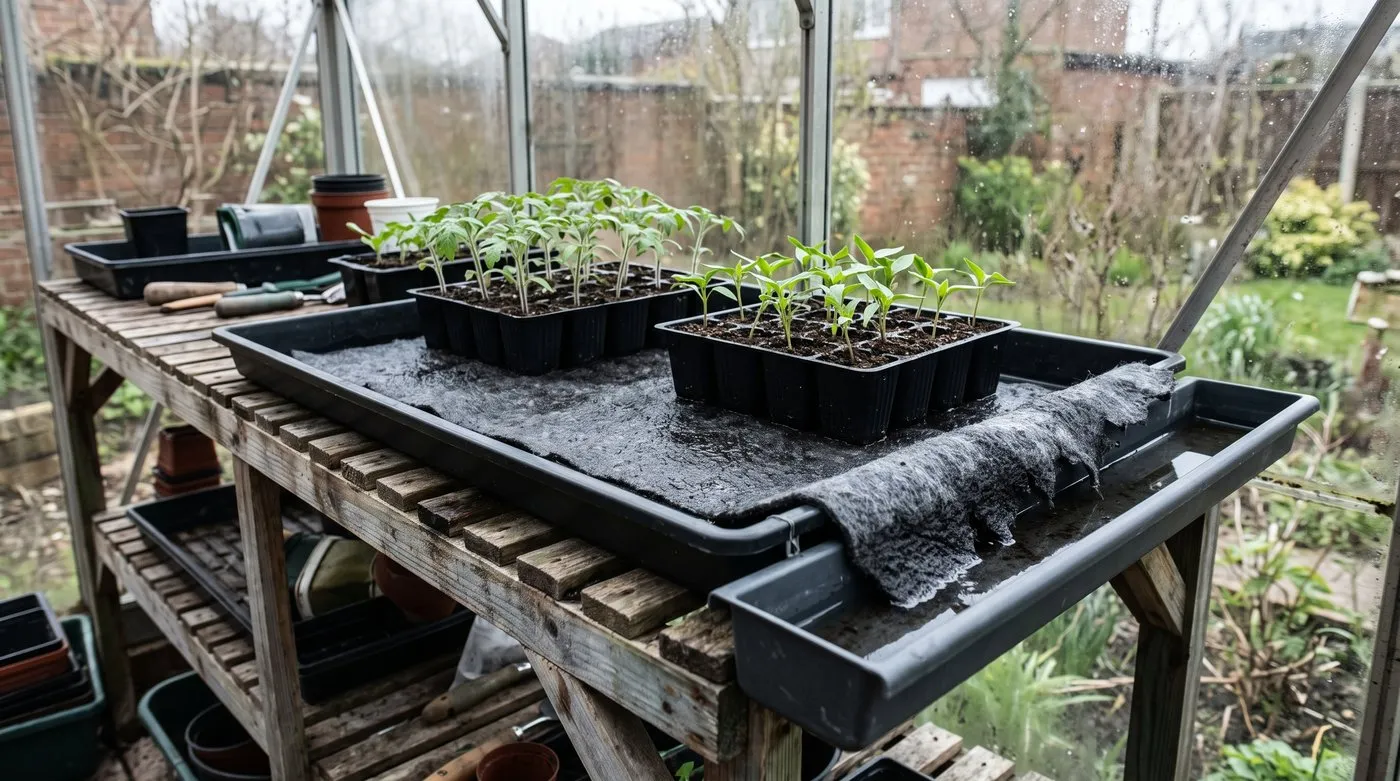
Capillary matting keeps trays topped up for a few days, handy when you can’t water every morning.
- Lay the matting in a solid tray or on a bench with a lip.
- Soak the mat thoroughly with water and press out any air bubbles.
- Stand the module trays firmly on top so the compost touches the mat through the holes.
- Keep the mat damp, topping up whenever it starts to feel dry.
You can also let one end of the mat hang into a reservoir of water, such as a bucket or a gutter, so it wicks up water on its own. Rinse the mat now and then, and let it dry out between batches of seedlings. A permanently wet mat soon grows algae.
Tap water or rainwater for seedlings?
Use tap water for seeds and young seedlings. Rainwater stored in a butt can carry the fungi and moulds that cause damping off, and seedlings are at their most vulnerable in their first few weeks.
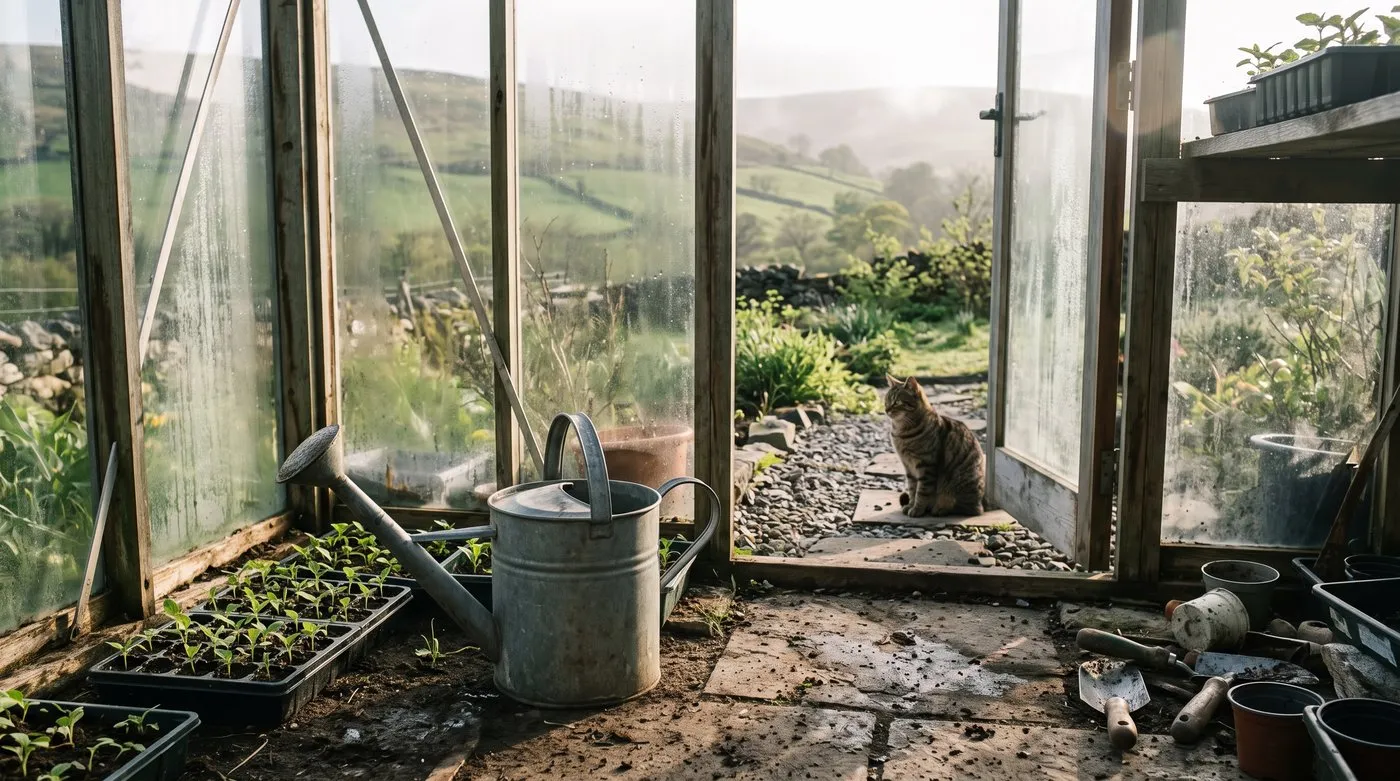
Fill the can the night before so the tap water is at room temperature when the seedlings get it.
Fill a watering can and leave it in the greenhouse or kitchen overnight, so the water is at room temperature when you use it. Icy water straight from an outside tap can give seedlings a check.
Save rainwater for established plants. It’s ideal for acid-loving plants such as blueberries and camellias, especially in hard-water areas. The RHS guide to damping off has more on clean water and clean trays.
How often should you bottom water seedlings?
Water when the surface feels dry and the tray feels light, not on a fixed day. How often depends on the weather, the size of the cells and whether you use a heated propagator.
| Stage | Cool spring weather | Warm, sunny weather |
|---|---|---|
| Sowing to germination | Every few days, when the surface dries | Every day or two |
| First true leaves | Every few days | Most days |
| Pricked out into small pots | About once a week | Every couple of days |
| Hardening off outside | Check daily | Check daily, sometimes twice |
Small cells dry out much faster than 9cm pots. Trays on a sunny windowsill or a heated mat also dry quickly. If seedlings are stretching for the light as well, the guide to why seedlings go leggy will help.
Fixing algae, crusty compost and soggy trays
Three problems turn up on bottom-watered trays, and all are easy to fix.
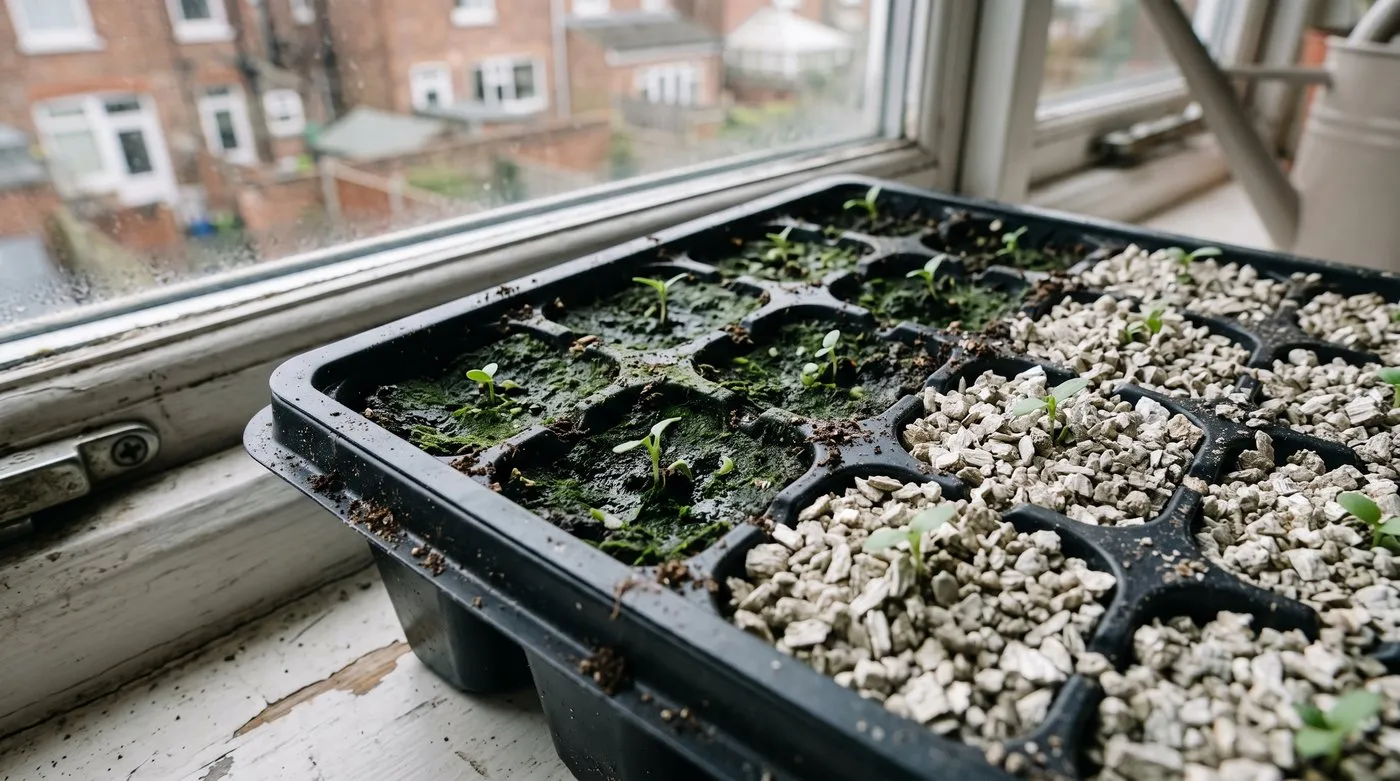
Green algae means the surface is staying too wet. A sprinkle of vermiculite helps keep it dry.
- Green algae on the surface. The compost is staying too wet in bright light. Soak for less time, drain fully and sprinkle a thin layer of vermiculite over the surface.
- A white crust on the surface. Minerals from hard tap water can build up as water dries from the top. Give the occasional top watering with a fine rose to rinse them back down, or pot on into fresh compost.
- Soggy compost that never dries. The compost may be too fine or the holes blocked. Use a proper seed compost, check the drainage holes are clear and give the trays more air.
Constantly wet compost also attracts sciarid flies, the tiny black flies that hover over seed trays. The guide to sciarid fly control in seed trays explains how to deal with them.
Common bottom watering mistakes
- Leaving trays in the water. An hour or two in a puddle drowns the roots. Always lift and drain.
- Using icy water. Cold water checks growth. Let it reach room temperature first.
- Watering on a schedule. Check the surface and the weight of the tray every day instead.
- Standing an electric propagator in water. Lift the trays out and soak them separately.
- Never letting the surface dry. A slightly dry top between waterings is what keeps damping off and algae away.
Find more seed-starting advice on the growing hub.
Frequently asked questions
What is bottom watering and why does it work?
It means standing a tray in shallow water so compost soaks it up from below. It wets the whole root zone evenly without moving seeds or flattening stems. The surface stays drier, which makes damping off less likely.
How long should I leave trays soaking?
Leave them until the compost surface darkens or feels damp. Shallow module trays may take only five minutes, while deeper pots take longer. Very dry compost is slower to take up water. Lift the tray out as soon as the top is damp, then let it drain.
Should I use rainwater or tap water?
Use tap water for seeds and young seedlings. Stored rainwater can carry the organisms that cause damping off. Let tap water warm to room temperature first, as icy water can check growth. Save the water butt for established plants.
Why is algae growing on my compost surface?
Green algae usually means the compost is staying too wet. Shorten soaks, drain trays fully and let the surface dry a little between waterings. Good air flow helps. A thin layer of vermiculite over the compost keeps the surface drier and discourages algae.
Can I bottom-water every species?
Yes, almost all seedlings can be bottom-watered. It matters most for tiny surface-sown seeds and seedlings prone to damping off. Once plants are bigger, a watering can with a fine rose works just as well. Always let the compost drain afterwards.
Can I bottom water seedlings in a heated propagator?
Yes, but lift the seed trays out to soak them. Never stand an electric propagator base in water. Soak the trays in a separate tray on the bench, let them drain, then put them back on the heat.
When should I switch to top watering?
Switch once seedlings are pricked out and growing strongly, if you prefer. Use a can with a fine rose and water the compost, not the leaves. Many growers keep bottom watering right up to planting out, which is fine too.
When your seedlings are ready to go outside, follow the guide on how to harden off seedlings so they settle in without a check.
Our team produces practical UK gardening guidance from source research, contributor records and established horticultural practice. Editorial standards are overseen by Matt W.