Key takeaways
- Slice firm, ripe fruit 3-5mm thick so it dries evenly right through
- A quick dip in lemon water stops apple and pear slices going brown
- Dry at about 57°C in a dehydrator, or 60-70°C in an oven with the door ajar
- Slices are ready when leathery and bendy, with no moisture when squeezed
- Condition in a part-filled jar for a week, shaking daily, before storing
- Bruised windfalls make great fruit leather instead of rings
Drying apples and pears turns a glut into chewy rings and slices that keep for months in a jar. Core and slice the fruit thinly, give it a lemon dip, then dry it slowly in a dehydrator or low oven. It’s simple, needs no sugar and uses fruit that would otherwise go soft in the fruit bowl.
This guide is all about apples and pears. For herbs and veg too, see the general guide to drying garden produce. To keep apples fresh in a cool shed instead, read how to store apples and pears.
Which apples and pears dry best?
Firm, sweet, ripe fruit dries best. It holds its shape and the flavour gets richer as it dries. Soft, over-ripe fruit tends to collapse on the tray.
Apples that dry well:
- Cox’s Orange Pippin makes neat, sweet, aromatic rings
- Egremont Russet dries to a nutty, chewy slice
- Kidd’s Orange Red is sweet and firm, and holds its shape well
- Discovery and James Grieve are good early options for August and September gluts
Cooking apples such as Bramley dry too, but the rings come out sharper and flimsier. Save them for baking or fruit leather.
Pears that dry well: Conference, Comice and Williams all dry nicely. Pick them when ripe but still firm, as soft pears turn mushy on the tray. The guides to the best apple varieties and best pear trees can help if you’re planting for future harvests.
How to prepare apples and pears for drying
Good prep makes the drying easy. Aim for even slices that all finish at the same time.
Wash and check. Rinse the fruit and cut out any bruises, wasp holes or rot. Bruised bits stay damp and spoil the batch.
Peel or not. It’s up to you. Peeled slices look neater and dry slightly faster. Unpeeled slices are chewier and look more homemade.
Slice 3-5mm thick. This matters most. Thick slices dry on the outside but stay damp in the middle, which leads to mould later. Very thin slices turn into crisps. A mandoline gives even slices quickly, but always use the hand guard.
- Apples: core them whole, then slice across into rings
- Pears: halve them lengthways, scoop out the core, then cut each half into long slices
Dip in lemon water. Mix about a tablespoon of lemon juice into a litre of cold water. Dip the slices for half a minute, then drain them on a clean tea towel. This stops them going brown.

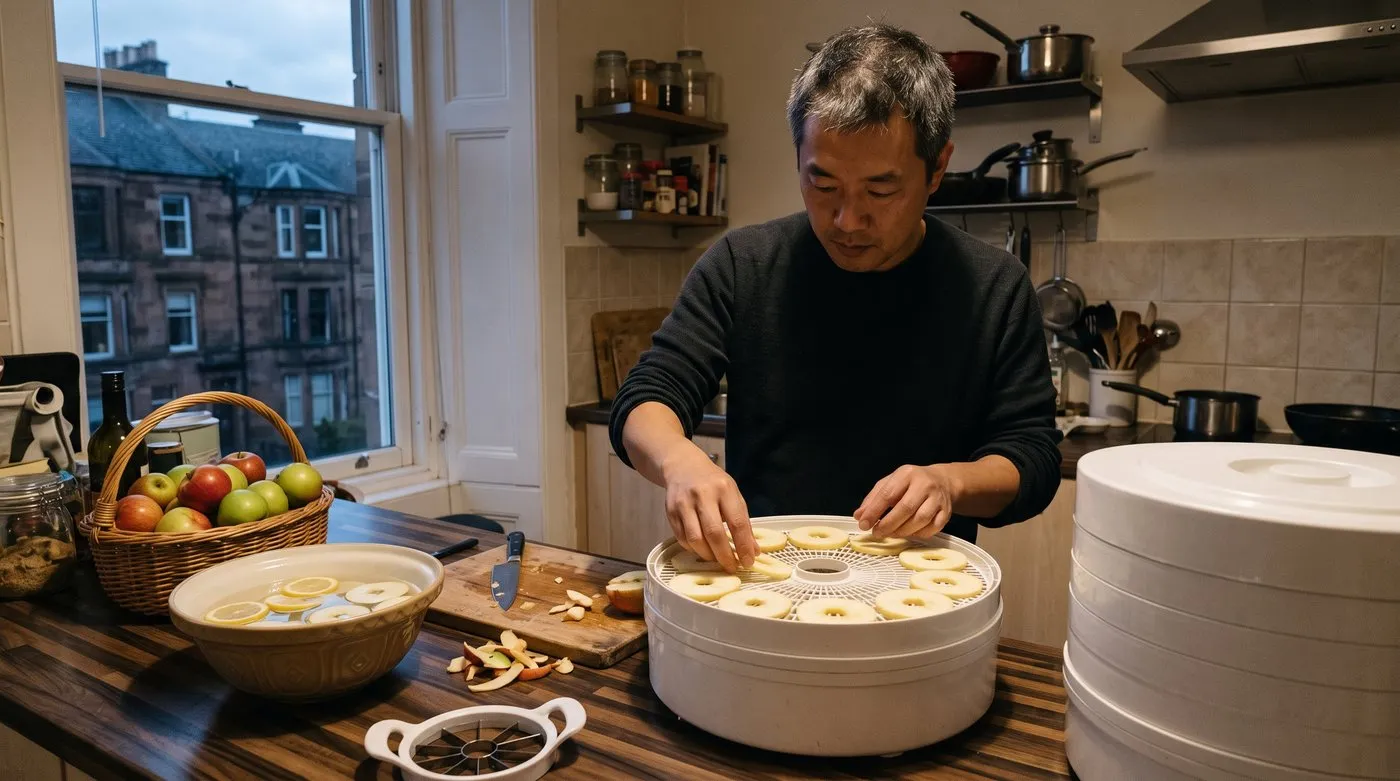
A mandoline gives even rings that all dry at the same rate. Use the hand guard as the fruit gets small, and pop slices straight into lemon water.
How to dry apples in a dehydrator
A dehydrator is the easiest and most reliable method, especially if you have a big glut each year.
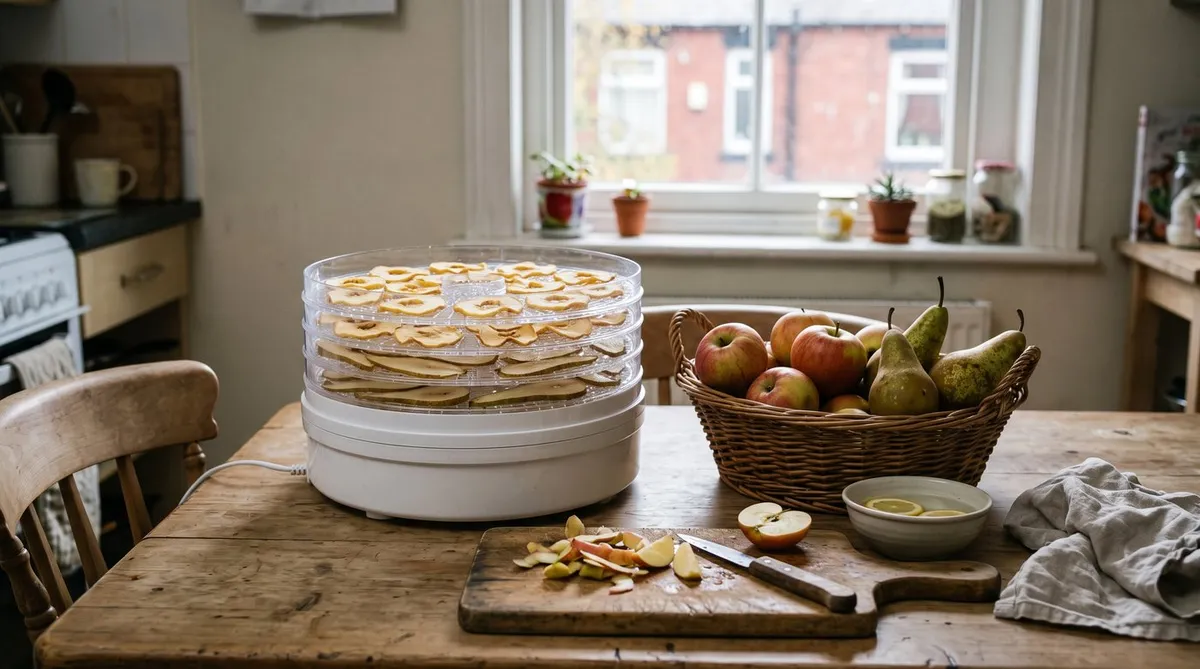
Keep the slices in a single layer with gaps between them. Air needs to reach every side.
- Set it to about 57°C. Too hot and the outside seals before the middle dries.
- Lay the slices in a single layer, not touching or overlapping.
- Dry for roughly 6-10 hours. Thicker slices and juicier fruit take longer.
- Swap the trays round once or twice so they dry evenly.
- Check a few slices from different trays before you switch it off.
Load it fully when you can. A half-empty machine takes almost as long as a full one.
How to dry apples in the oven
A low oven works well for a batch or two if you don’t have a dehydrator.
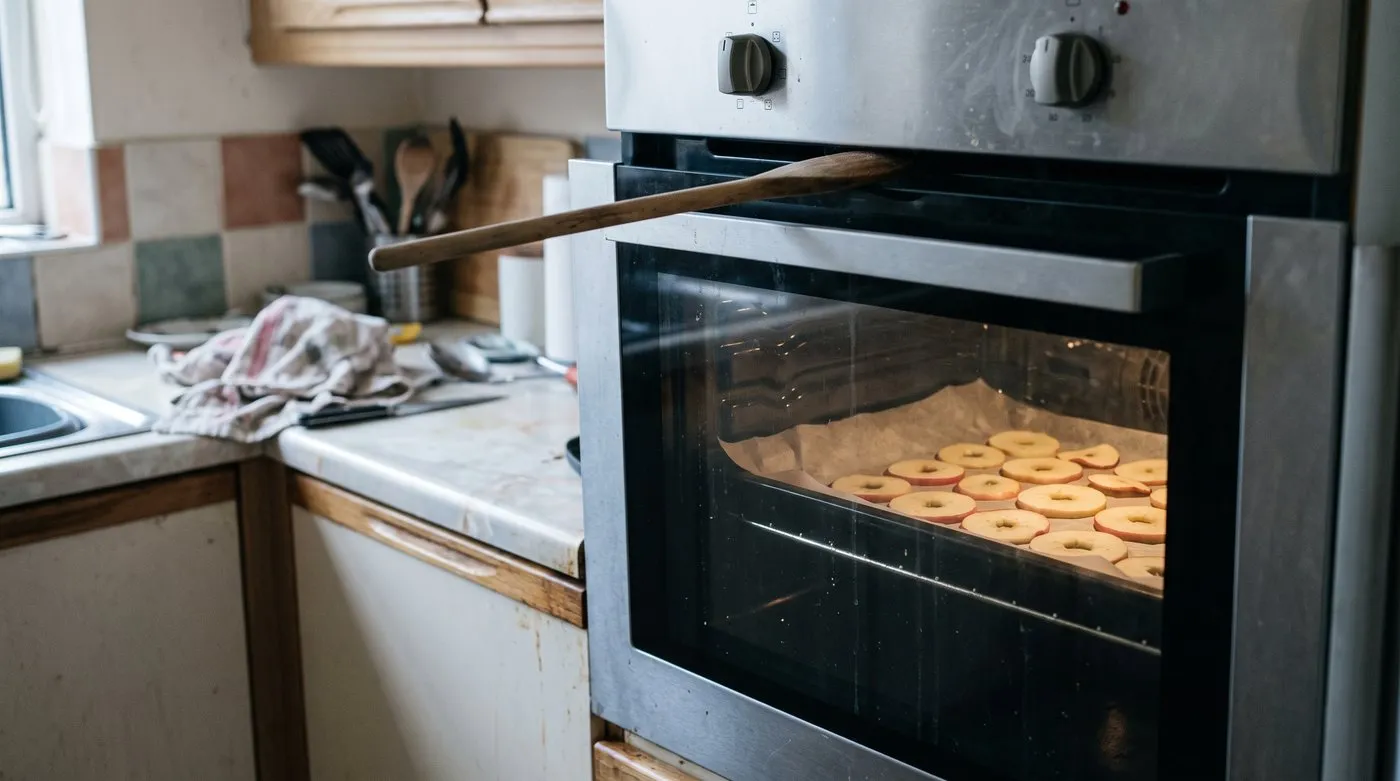
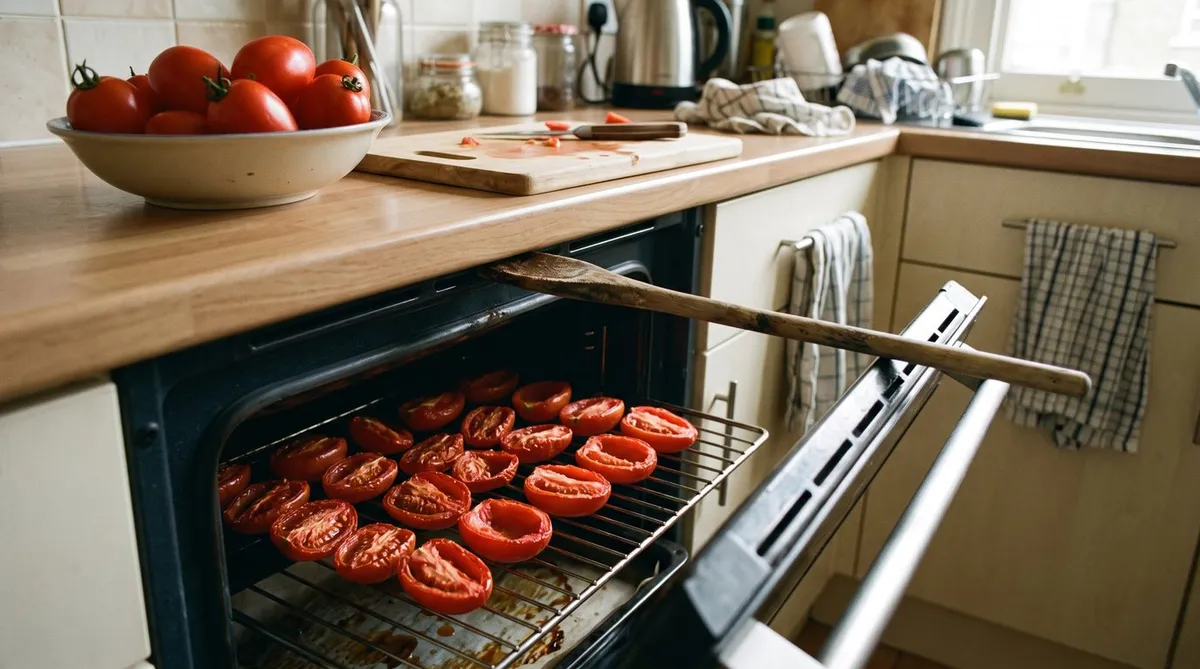
A wooden spoon in the door lets steam escape. Without the gap, the slices stew instead of drying.
- Set the oven to 60-70°C. A fan oven dries more evenly.
- Lay the slices on trays lined with baking paper, in a single layer.
- Prop the door open a little with a wooden spoon so steam can escape. With the door shut, the slices stew instead of drying.
- Turn the slices and swap the trays round every hour or so.
- Expect it to take 6-8 hours, sometimes longer.
It ties up the oven for most of a day, so it suits occasional batches best.
Air drying apple rings on string
This is the traditional way, and it needs only string and a warm, dry spot. It works for apple rings rather than pear slices.
Thread the rings onto clean string with a gap between each one so air can move around them. Hang them somewhere warm and dry with good airflow. An airing cupboard or the space above a range cooker works well. They take several days.
It’s slower and less reliable than the other methods. In a damp kitchen the rings can go mouldy before they dry. If the room feels muggy, finish them off in a low oven.

Threading rings onto string is a lovely job to share. Leave a gap between each ring so the air can get round them.
How to tell when dried apples and pears are done
Use the bend test. Let a slice cool for a few minutes, then bend and squeeze it.
- Done: leathery and bendy, with no moisture on your fingers
- Too dry: it snaps. That’s fine to eat as a crisp, just a different texture
- Not done: it feels damp, sticky or squashy in the middle. Give it longer
Test slices from the middle of the tray and from the thickest pieces. They are the last to finish.
Conditioning dried fruit before storing
Conditioning means letting the moisture even out across a batch before you store it. Some slices always dry a little less than others. Skip this step and the damper ones can go mouldy in the jar.
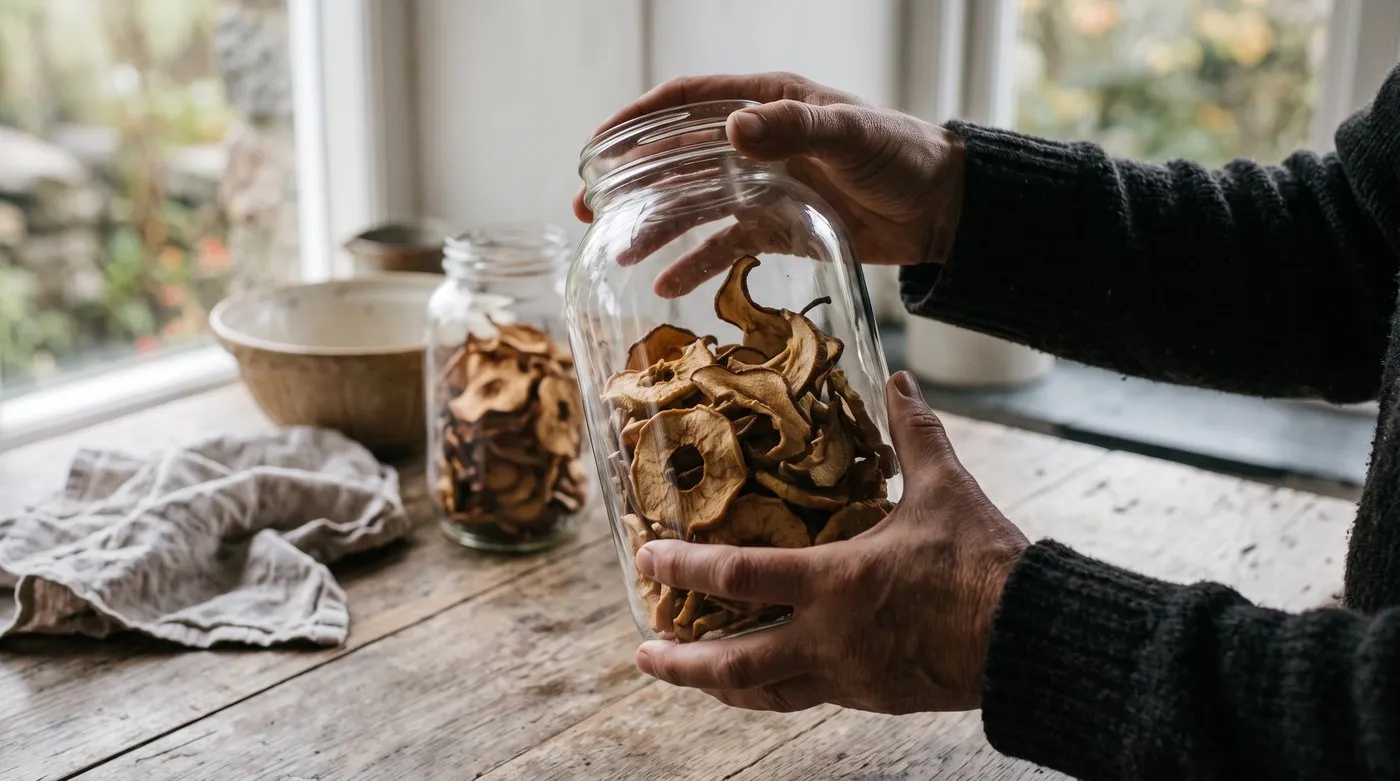
A daily shake for a week spreads any leftover moisture round the jar. Watch the glass for condensation.
- Let the slices cool completely.
- Pack them loosely into a clean, dry glass jar, about two-thirds full.
- Seal it and shake the jar once a day for a week.
- Watch for any condensation on the glass. If you see it, put the slices back in the dehydrator or oven for a while and start again.
How to store dried apples and pears
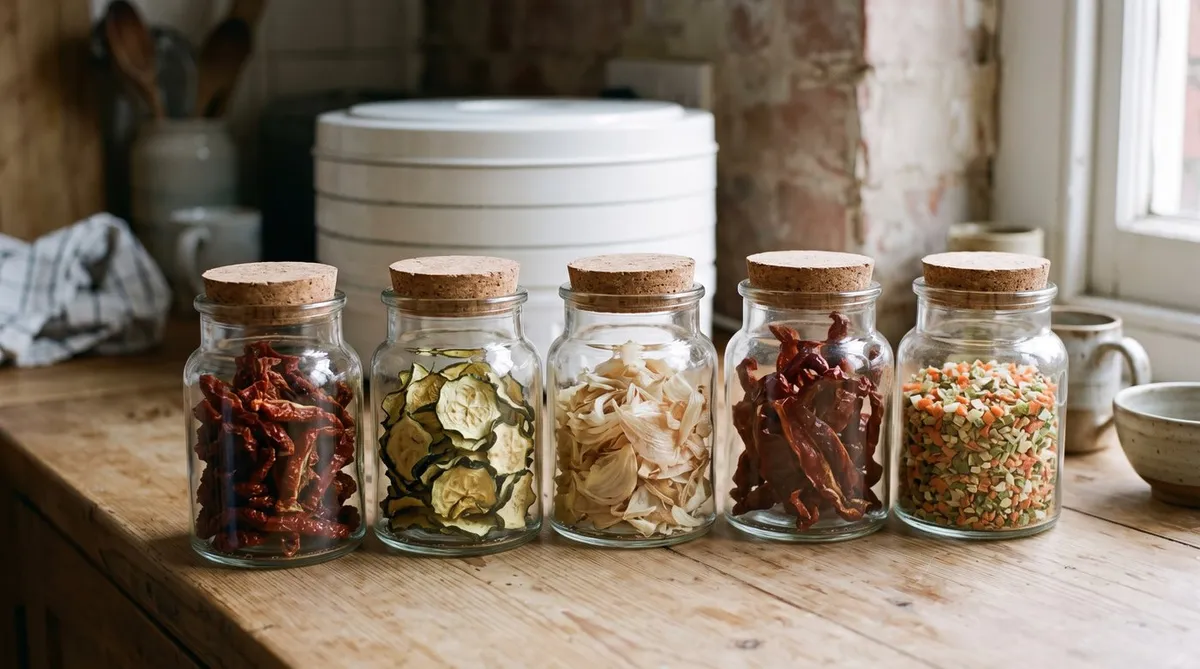
Once conditioned, store the slices in airtight glass jars somewhere cool, dark and dry. They keep for several months like this. Vacuum-sealed bags also work well. Avoid thin sandwich bags, which let moisture in.
Check jars now and then. If a batch smells musty or shows any fluffy or powdery mould, throw the whole jar away.

Label each jar with what’s inside and when you made it. Then you know which to eat first.
Making apple and pear fruit leather
Fruit leather is the best use for bruised windfalls and cooking apples that make poor rings.
- Peel, core and chop the fruit. Cook it gently with a splash of water until soft.
- Blend to a smooth, thick purée. Add a squeeze of lemon and a pinch of cinnamon if you like.
- Spread it thinly and evenly on a tray lined with baking paper or a silicone sheet.
- Dry in a dehydrator or low oven until it’s no longer tacky and peels off in one sheet.
- Cut into strips, roll them up in baking paper and store in a sealed jar.
Pear makes a sweeter leather than apple. A half-and-half mix is a good place to start.
Ways to use dried apples and pears
- Snacks: eat them straight from the jar, or add to lunchboxes
- Breakfast: chop into porridge or homemade granola
- Baking: soak in warm apple juice for 20-30 minutes, then add to scones, cakes or bread pudding
- Christmas: thread apple rings with cinnamon sticks to make a garland
For other ways to deal with too much fruit, see how to use up a garden glut. Plums and damsons need slightly different handling, covered in drying stone fruit.
Common mistakes when drying apples and pears
Slicing too thick. The outside dries but the middle stays damp and goes mouldy later. Stick to 3-5mm.
Drying too hot. The surface seals and traps moisture inside. Keep the dehydrator at about 57°C and the oven at 60-70°C.
Shutting the oven door. Steam can’t escape and the slices stew. Prop it open a little.
Skipping conditioning. One damp slice can spoil a jar. Give every batch a week.
Using soft, over-ripe pears. They collapse on the tray. Dry pears when ripe but still firm.
Frequently asked questions
What is the best way to dry apples and pears at home?
An electric dehydrator is the most reliable way. It holds a steady low temperature and dries several trays evenly, whatever the weather. A low oven works well for small batches. Air drying on string costs nothing but is slow and needs a warm, dry room.
Which apple varieties are best for drying?
Firm, sweet dessert apples dry best. Cox, Egremont Russet, Kidd’s Orange Red and Discovery all make lovely chewy rings. Cooking apples such as Bramley dry too, but the rings are sharper and flimsier. They are better saved for baking or fruit leather.
Do I need to peel apples before drying?
No, peeling is optional. Unpeeled slices are a little chewier and look more rustic. Peeled slices look neater and dry a touch faster. The same goes for pears. Either way, a lemon dip helps them keep their colour.
How long do dried apples and pears keep?
Several months in a sealed jar somewhere cool, dark and dry. Condition the slices for a week first so any leftover moisture evens out. Check jars now and then. Throw out any batch that smells musty or shows mould.
Can I dry apples in the oven without a dehydrator?
Yes, a low oven works well for small batches. Set it to 60-70°C and prop the door open a little with a wooden spoon so steam escapes. Turn the slices and swap the trays round every hour or so. Expect it to take most of a day.
How do I know when dried apple rings are done?
Let a slice cool, then bend and squeeze it. It should be leathery and bendy, with no moisture on your fingers. If it snaps, it has gone crisp, which is fine for snacking. If it feels damp or sticky, it needs longer.
Now your rings are in the jar, read the guide to freezing fruit for the rest of the harvest, or browse more how-to guides.
Our team produces practical UK gardening guidance from source research, contributor records and established horticultural practice. Editorial standards are overseen by Matt W.